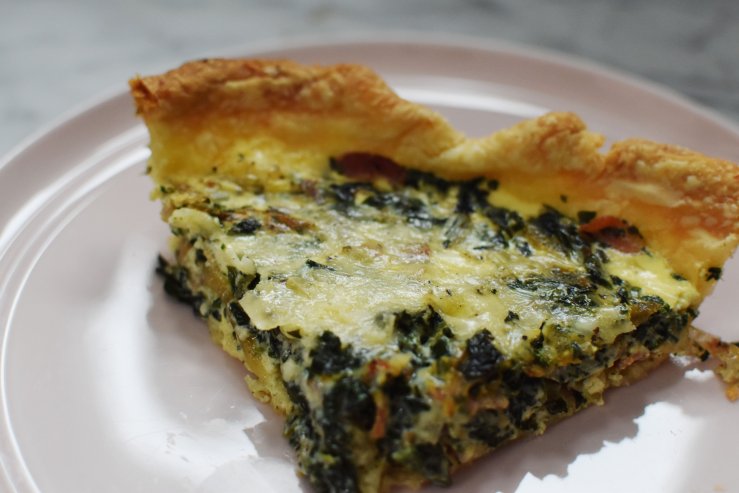
If you live in Massachusetts, you are probably having a snow day too. It is supposed to snow all day today. Aside from playing with the dog in the backyard, I have nothing else to do, so I made a quiche and I would like to share it with you.
I think quiche is a great meal for breakfast, lunch, or dinner. You can make them with almost any type of filling or cheese. You can make your own pie crust or use a frozen one. The whole process takes a bit of time, but on a day like today, I believe it’s worth it.
I made my own pie crust, and I found the recipe here: https://www.seriouseats.com/recipes/2016/06/old-fashioned-flaky-pie-dough-recipe.html
I like this recipe because it doesn’t use any equipment aside from a nice wide bowl and your hands. You don’t need a pastry cutter or food processor. In fact, I use this recipe for all of my pie crusts because I prefer the texture. This recipe makes enough for two pie crusts, so you can cut it in half if you like. I didn’t realize this at first, so now I have an extra pie dough that I will freeze and save for another time.
On another note, do you weigh your flour? I find this is key to getting accurate measurements. Flour is often very packed down so your measurements vary if you just scoop it out of the vessel. If you weigh it, you have consistent measurements all the time. 1 cup of all purpose flour= 120 grams.
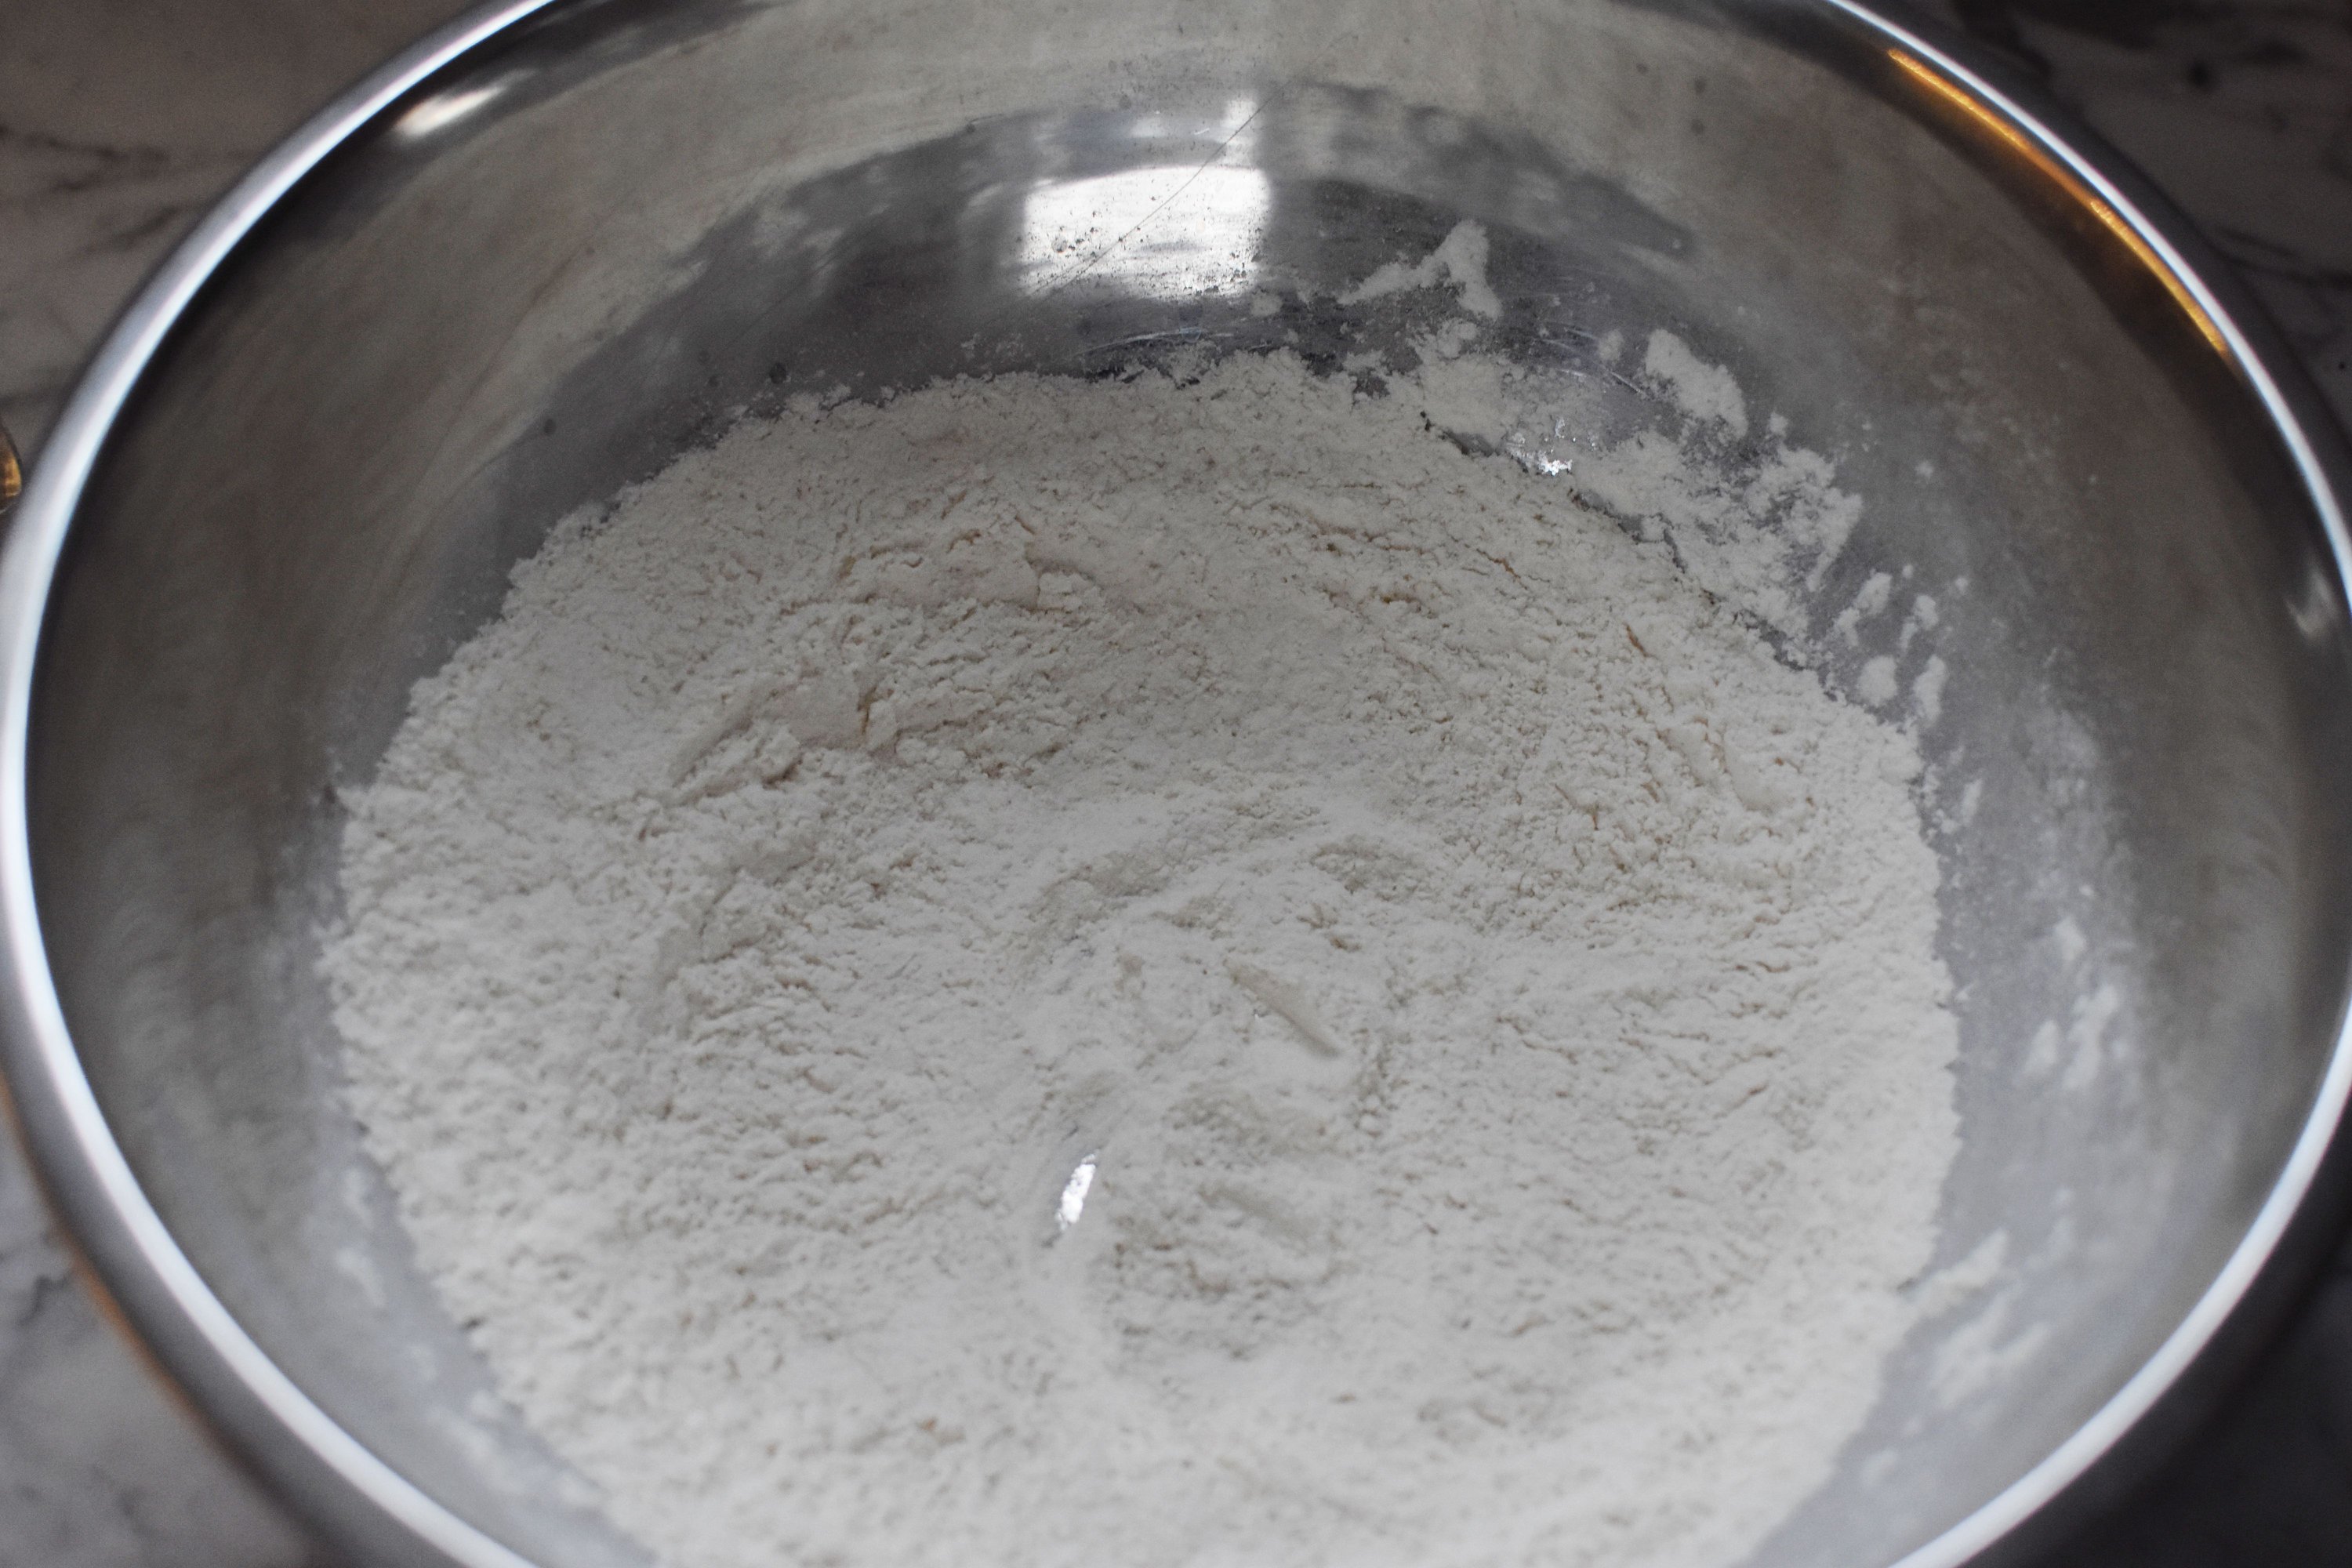
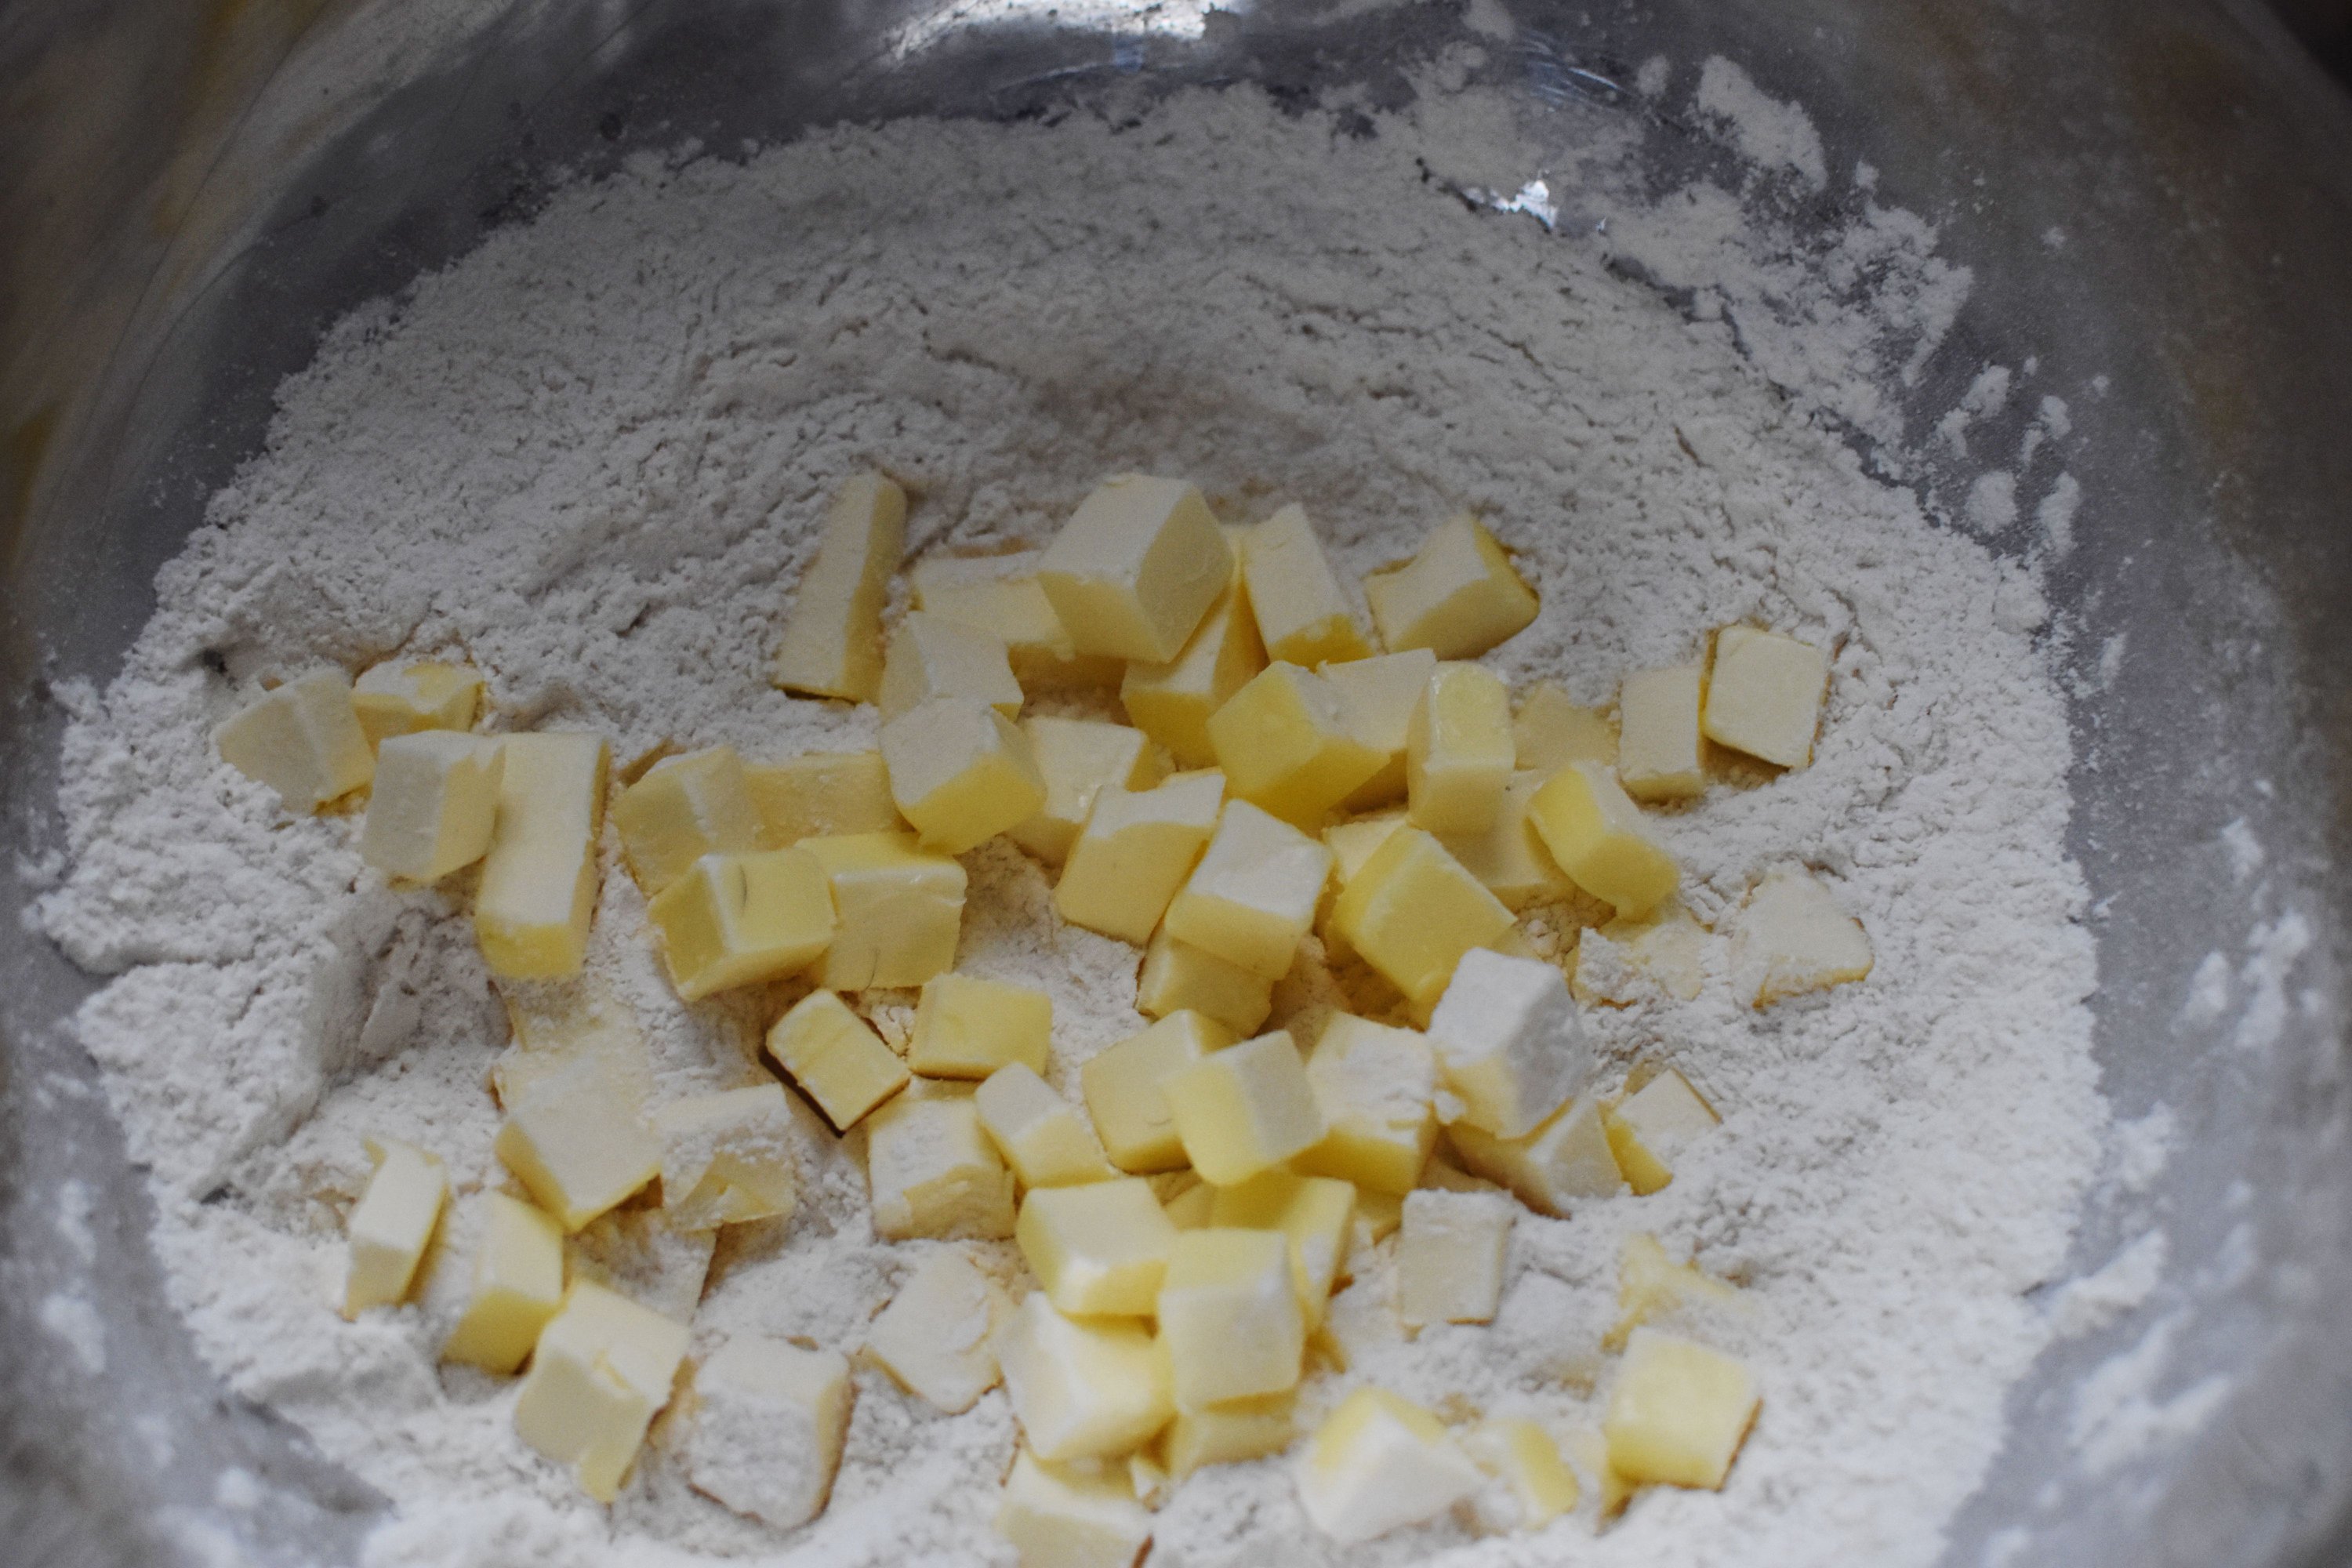
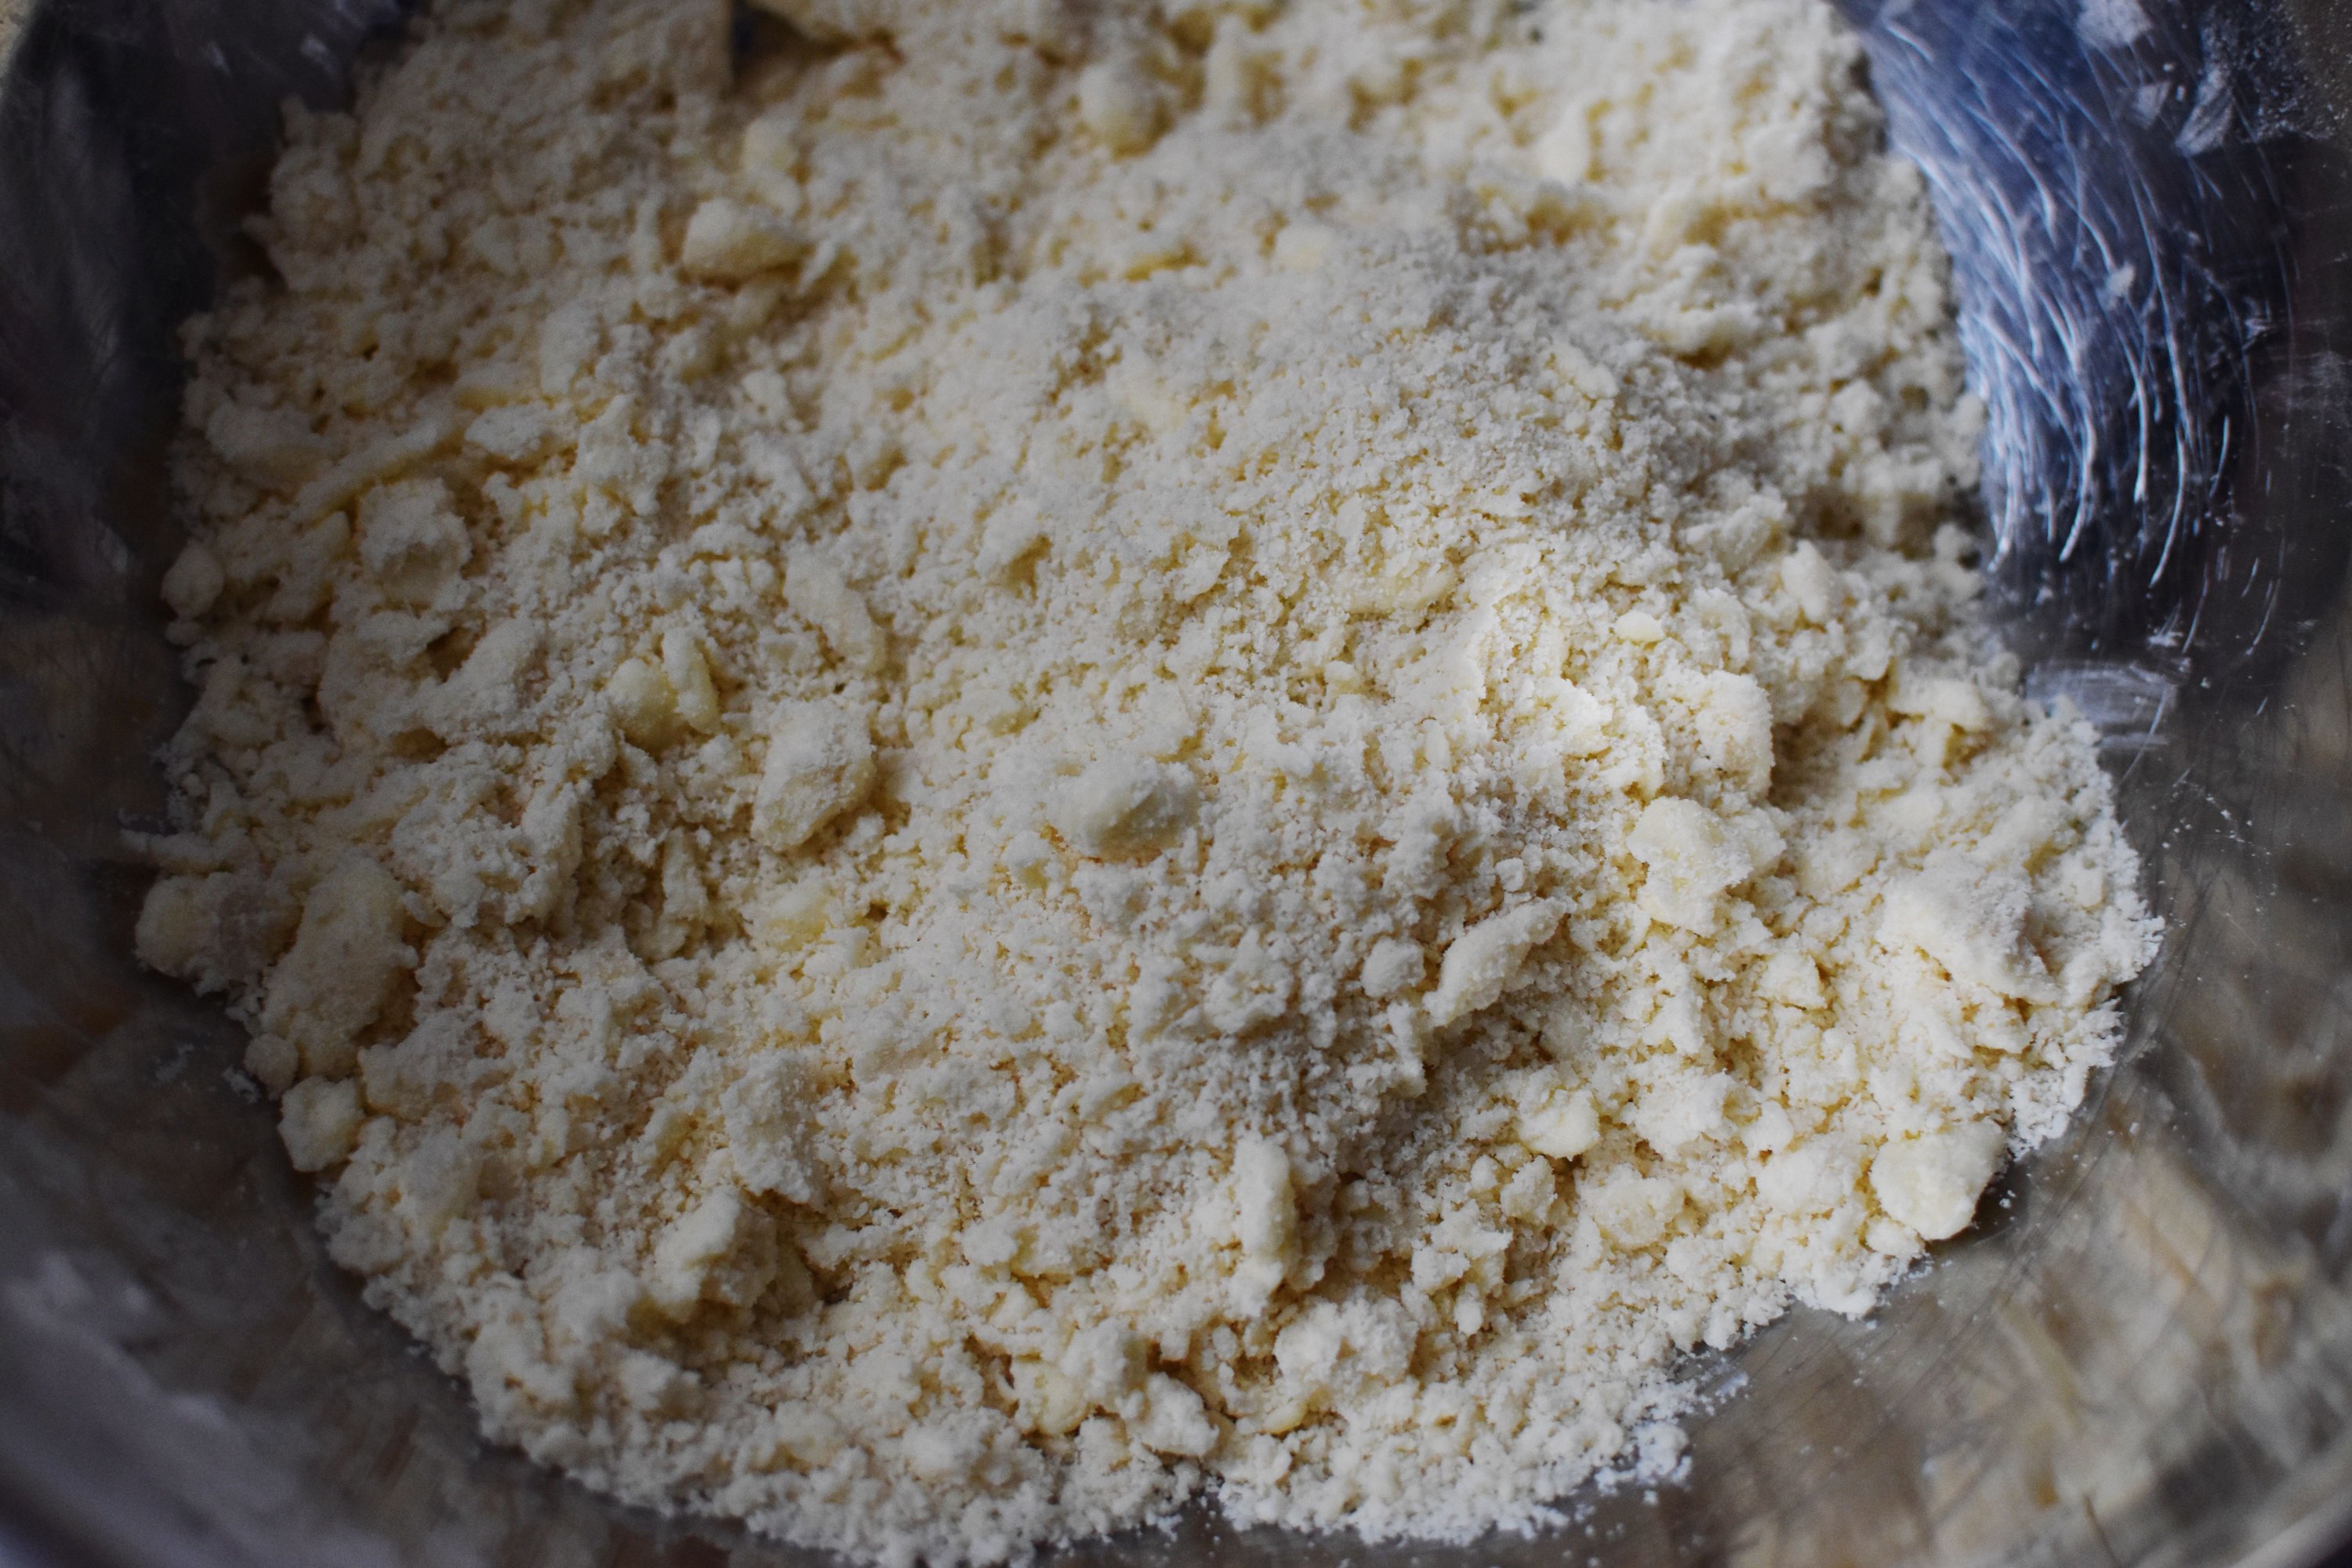
I weighed my flour (2 cups, 240 grams), then whisked it with 1/2 tsp salt and 1 tablespoon of sugar. Then, I took 2 sticks of unsalted butter and cut them into 1/2 inch cubes, and added to my flour mixture. I felt the butter was a bit warm at this point, so I stuck it in the fridge for a few minutes.
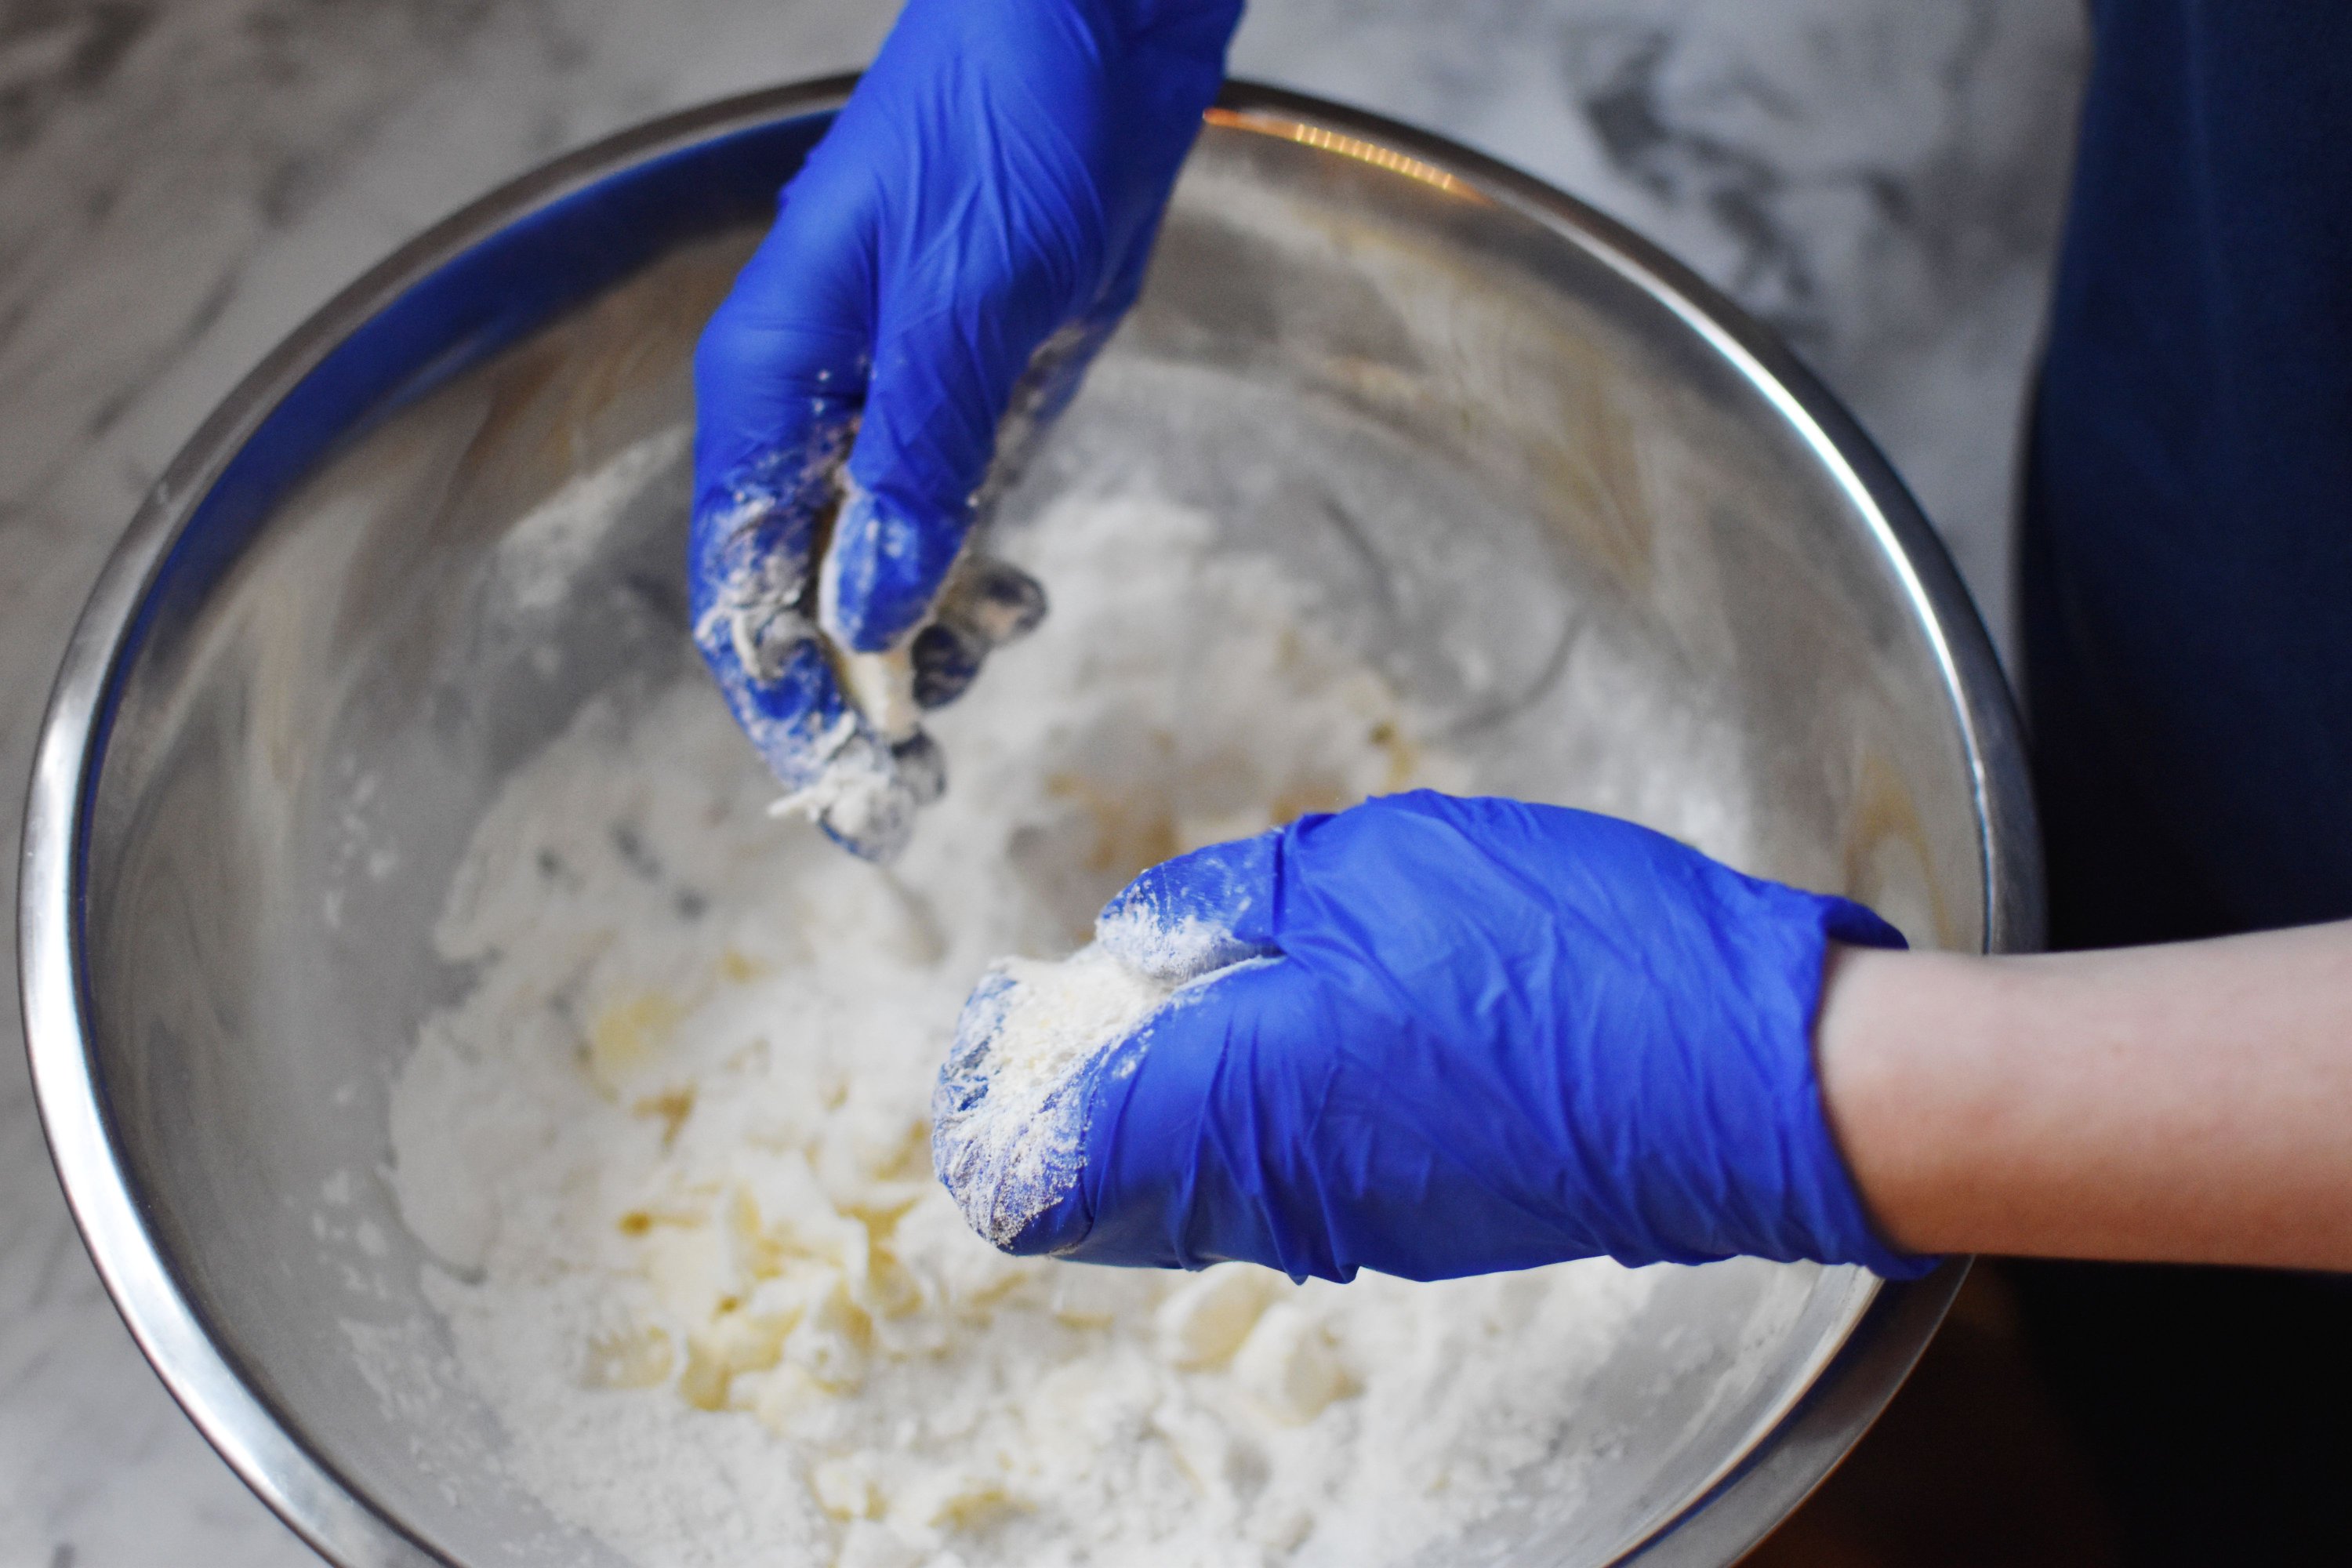
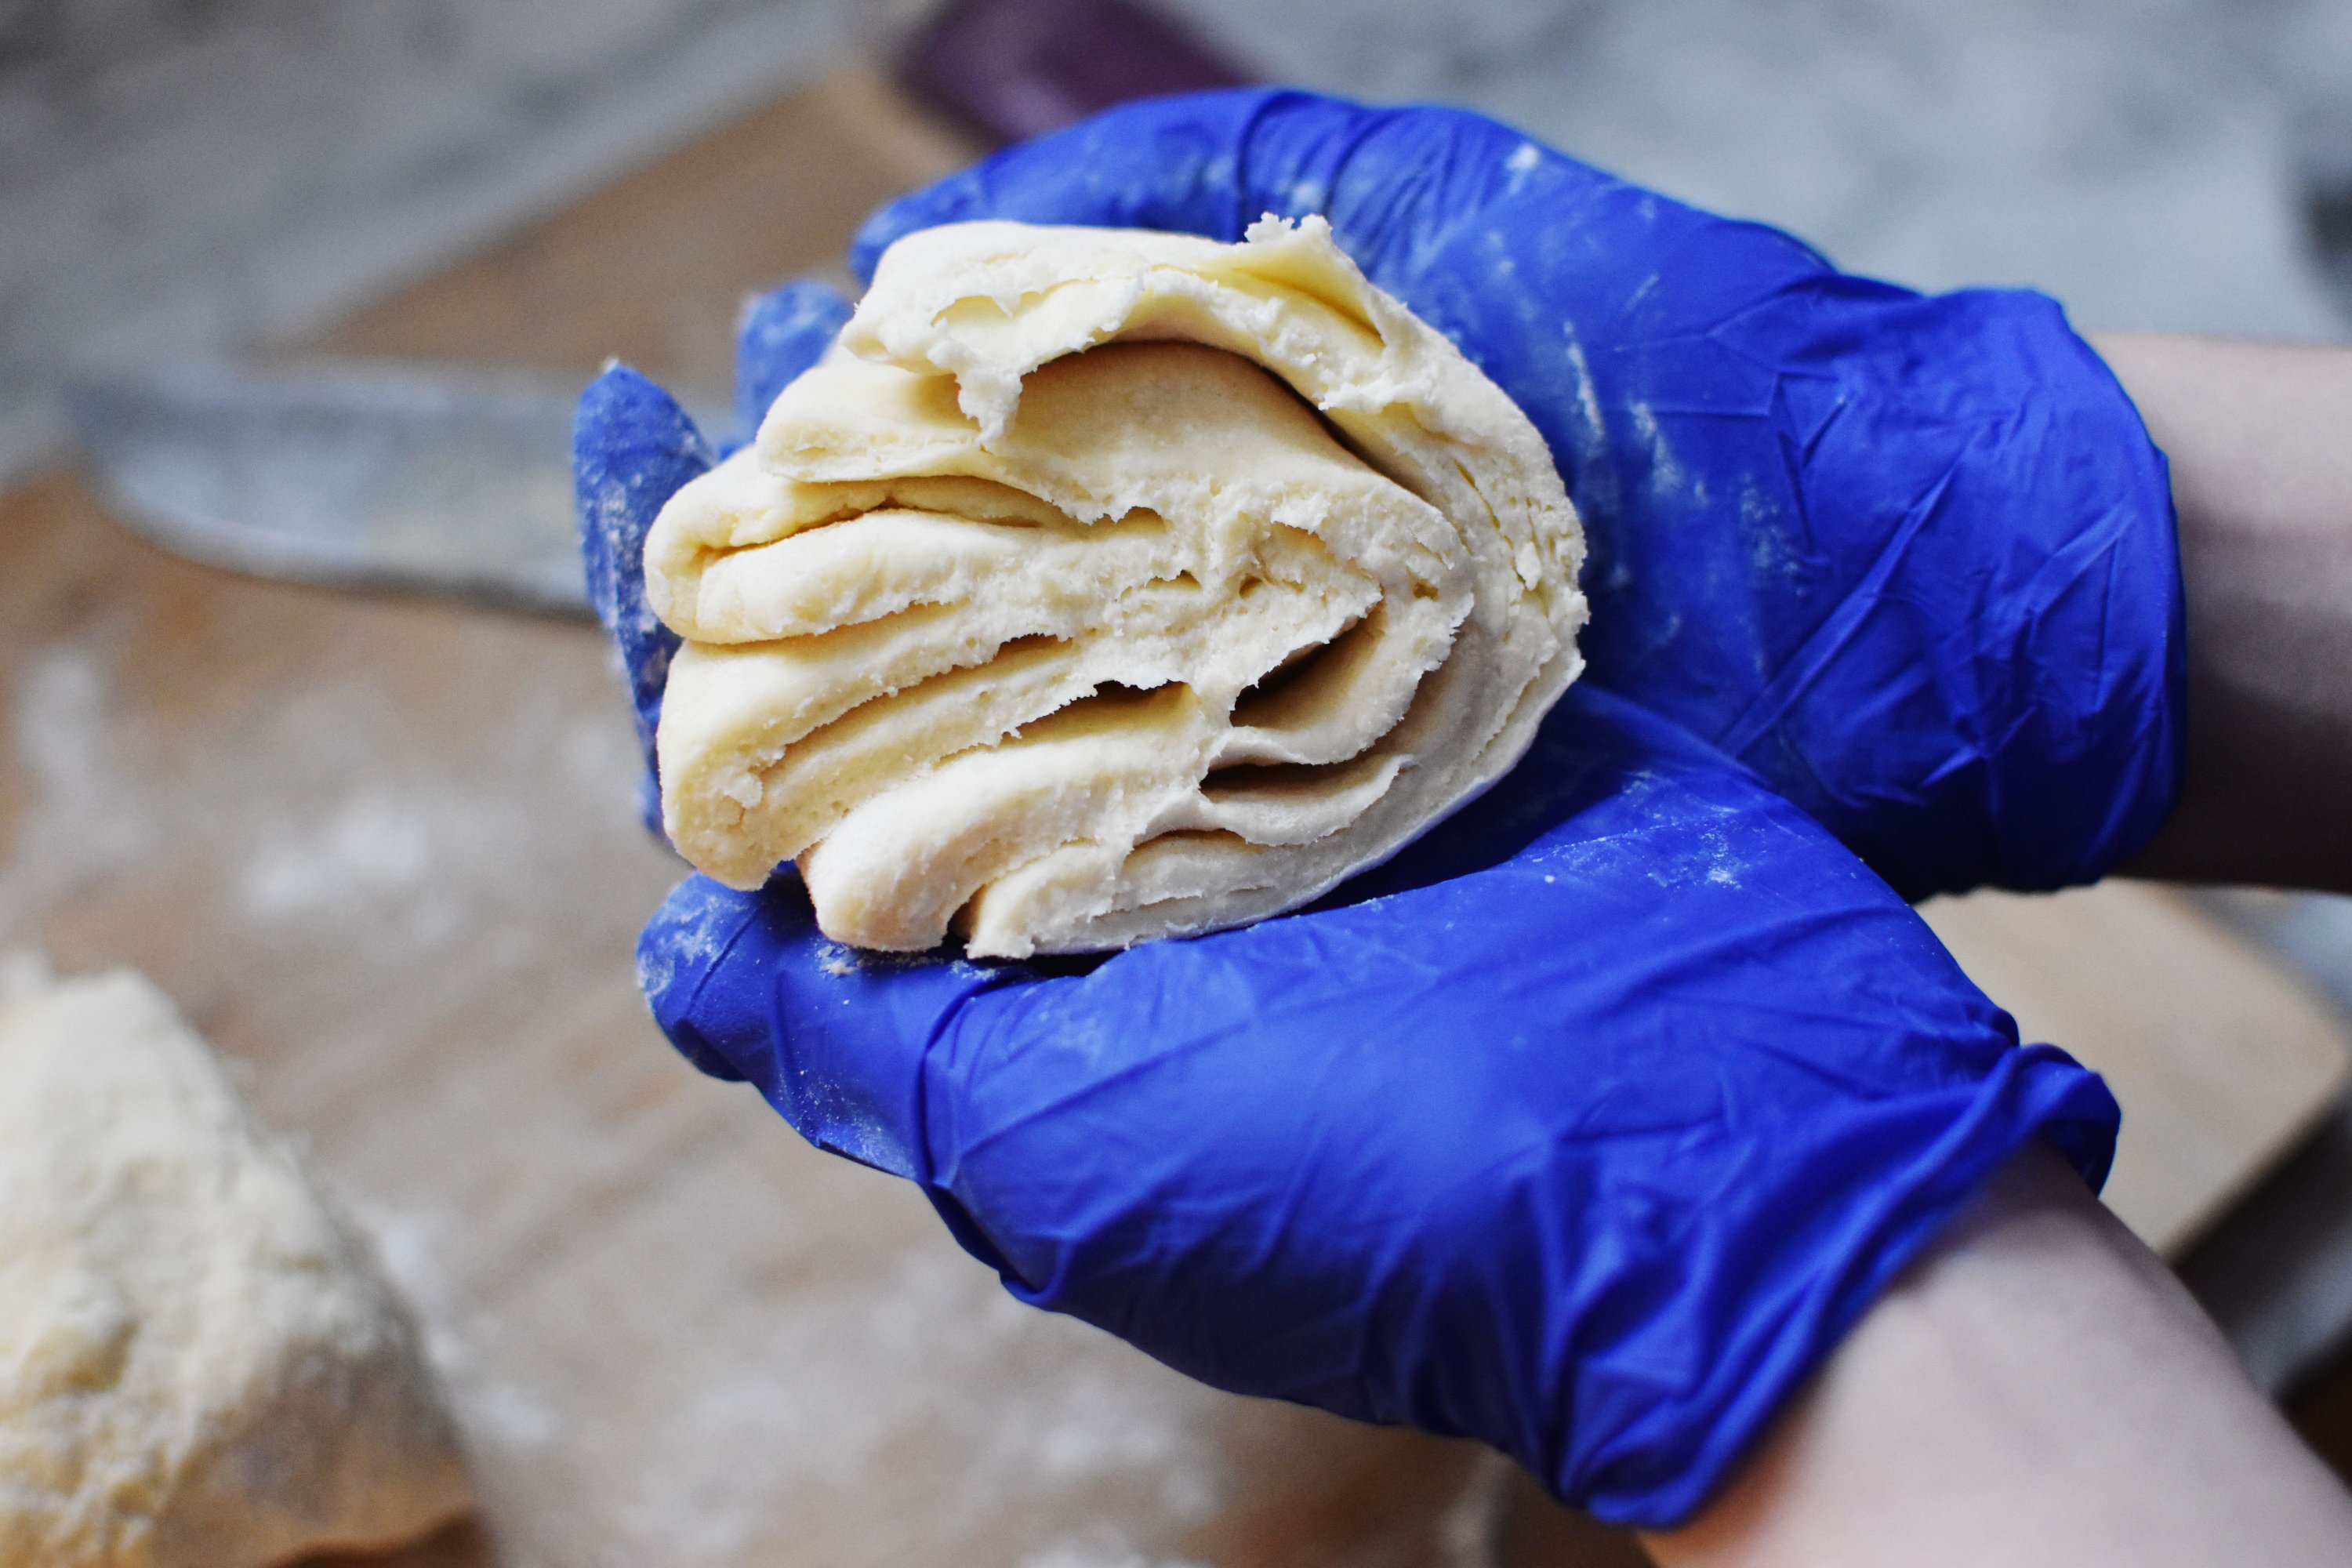
To mix the butter into the flour, use your hands to squash the butter into the flour. I break it up like this until it resembles little peas. I stop when it holds itself together, like below.
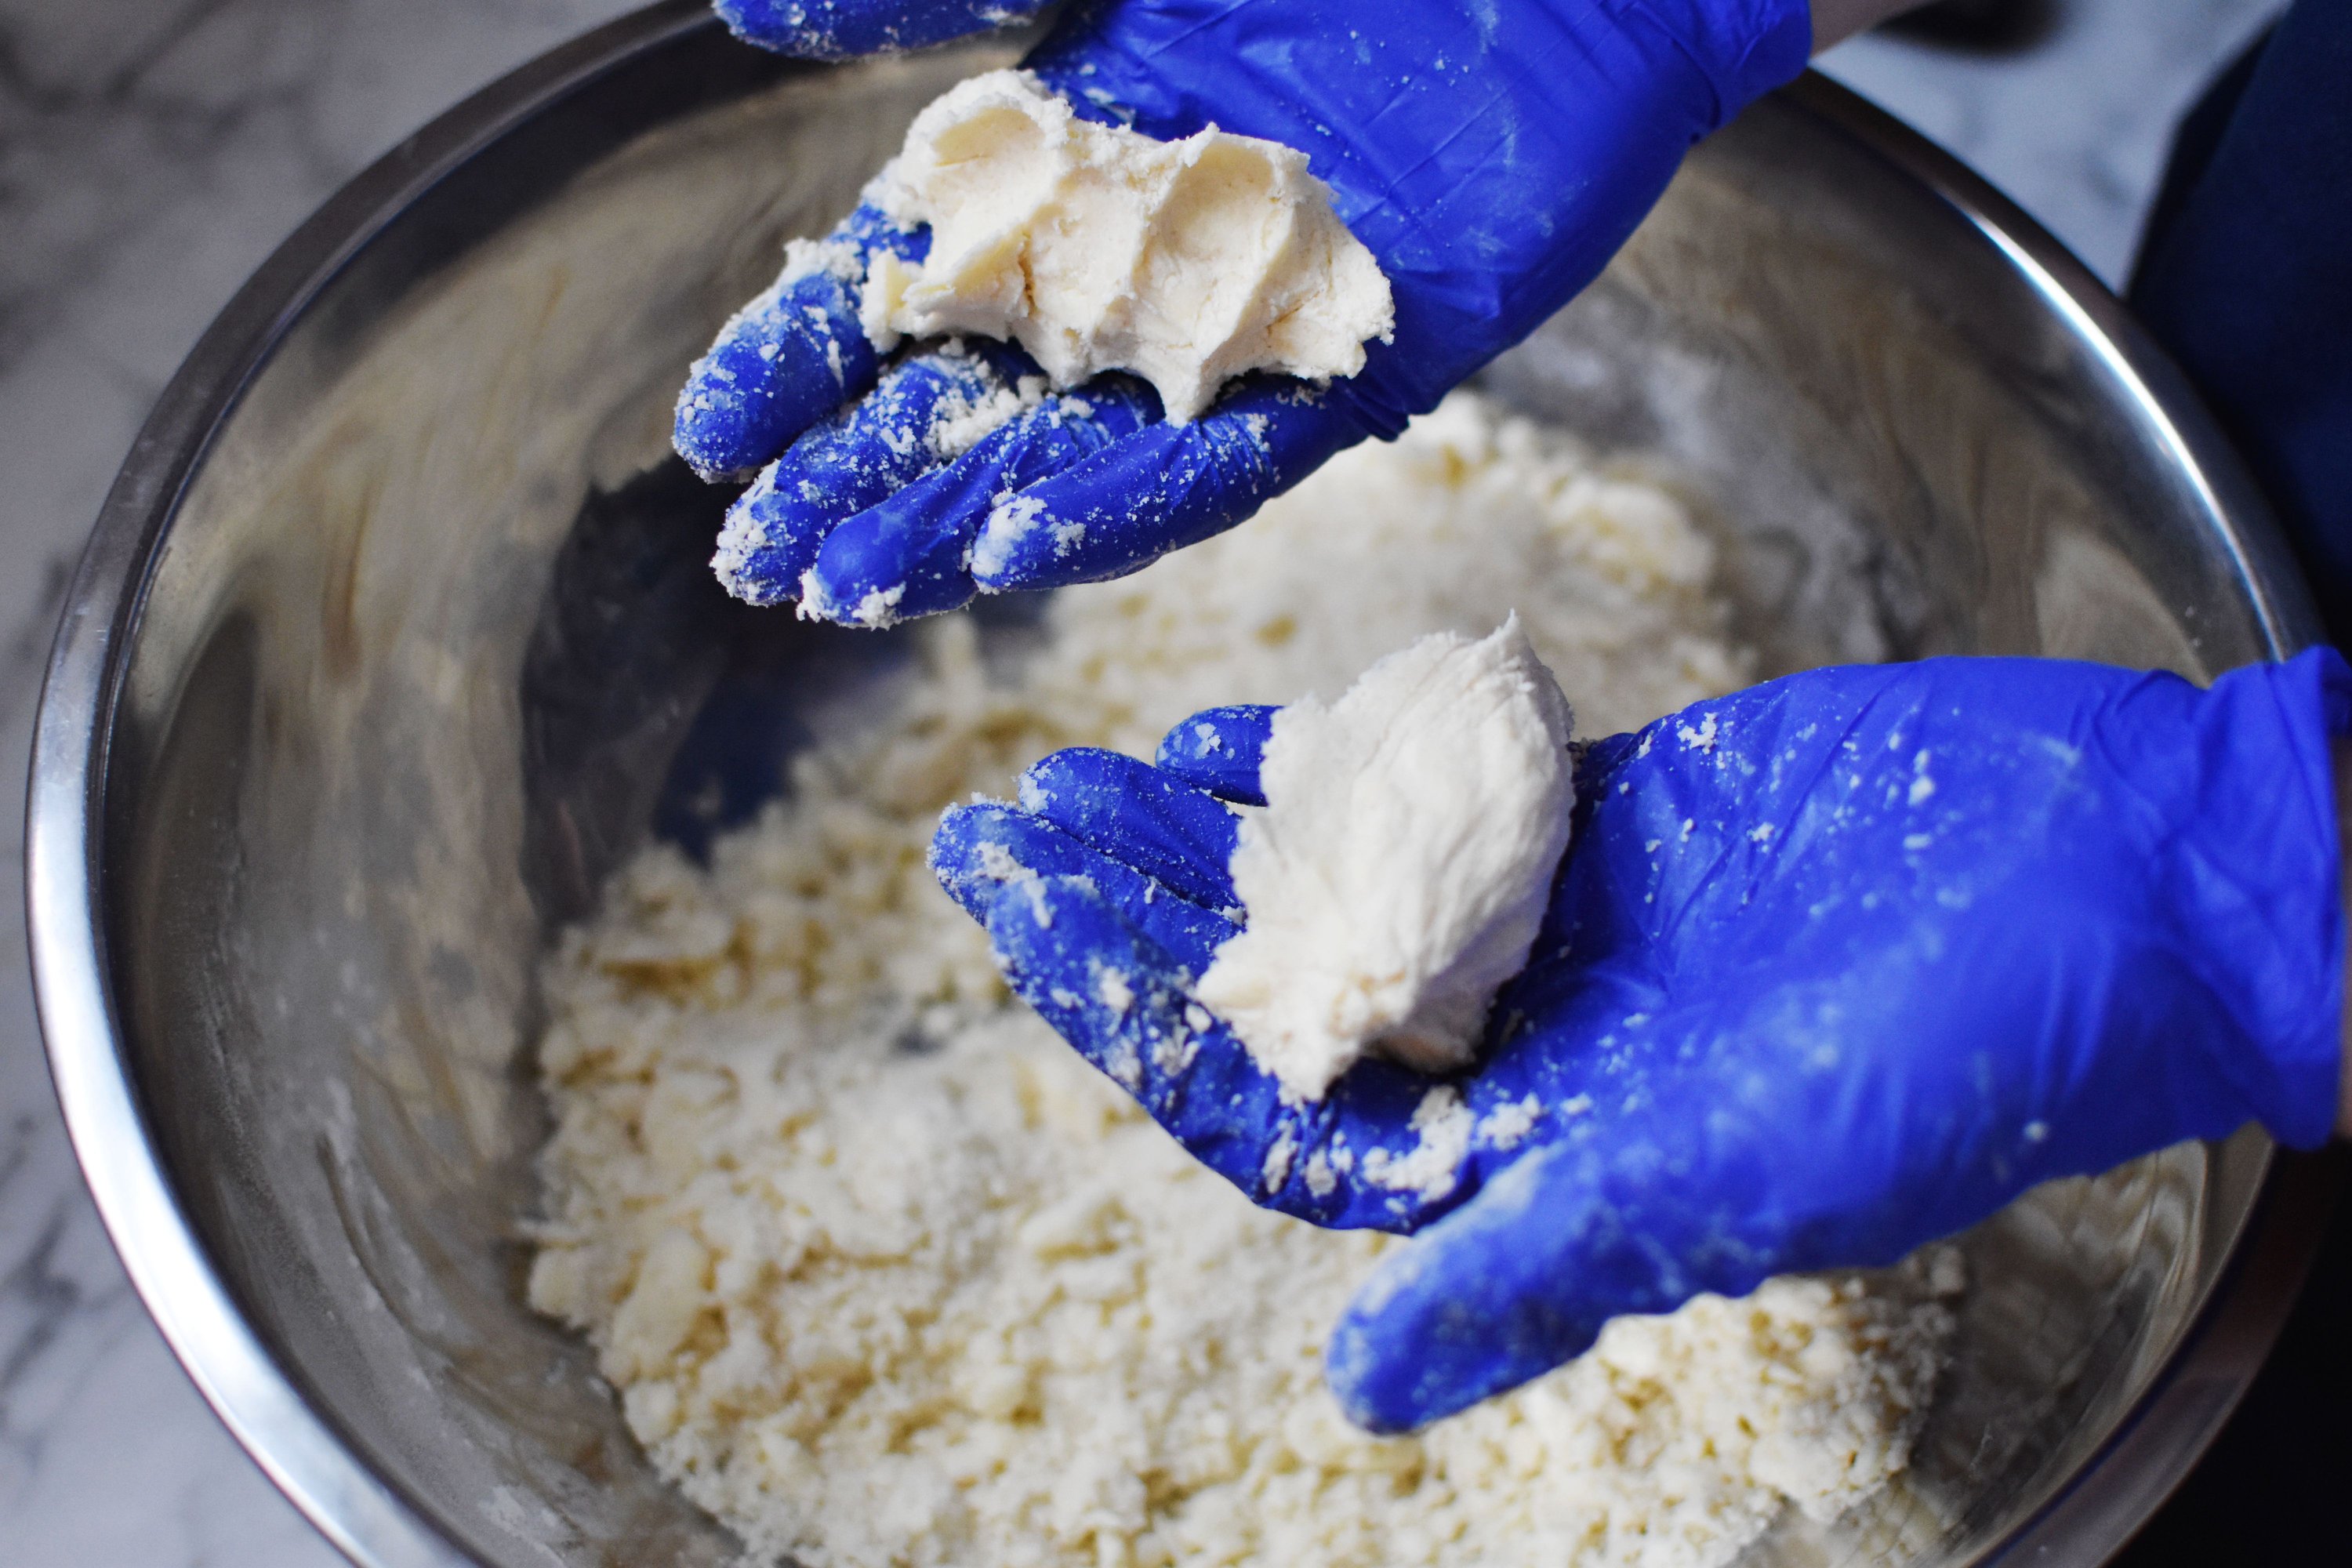
Then add 1/2 cup cold water and knead it together until it forms a ball. Mine felt very wet, but I knew I could add some more flour during the rolling out process.
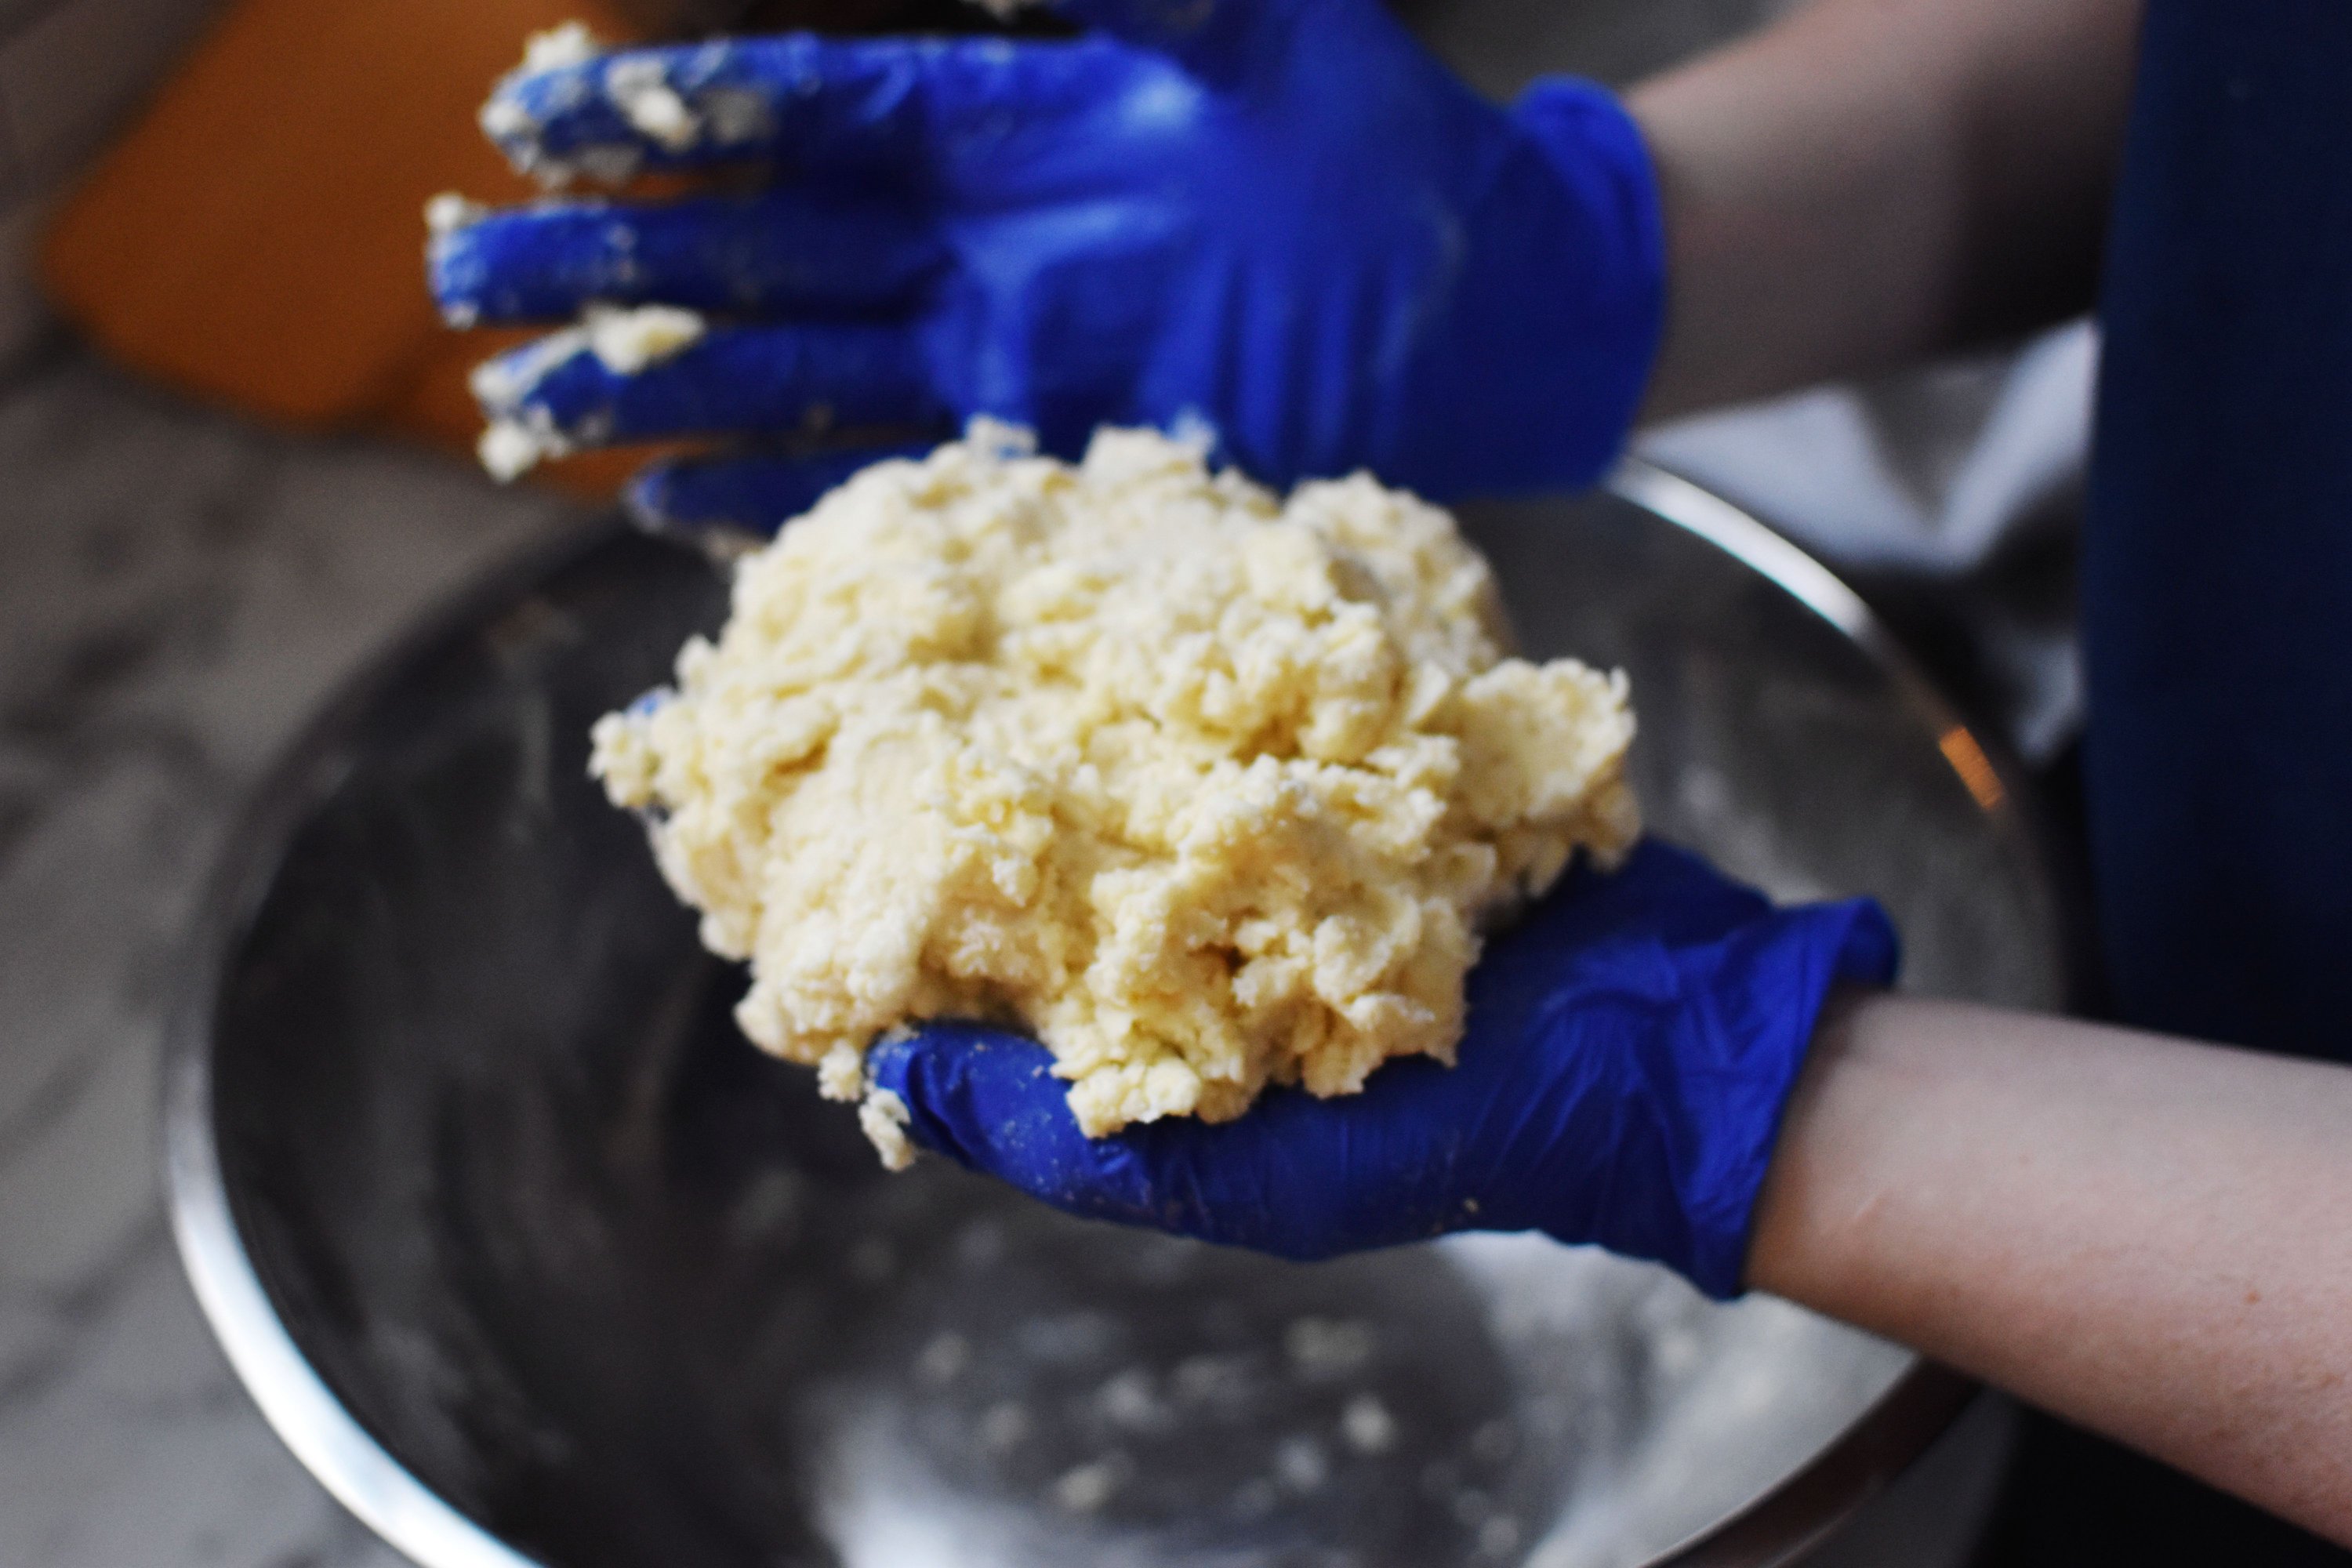
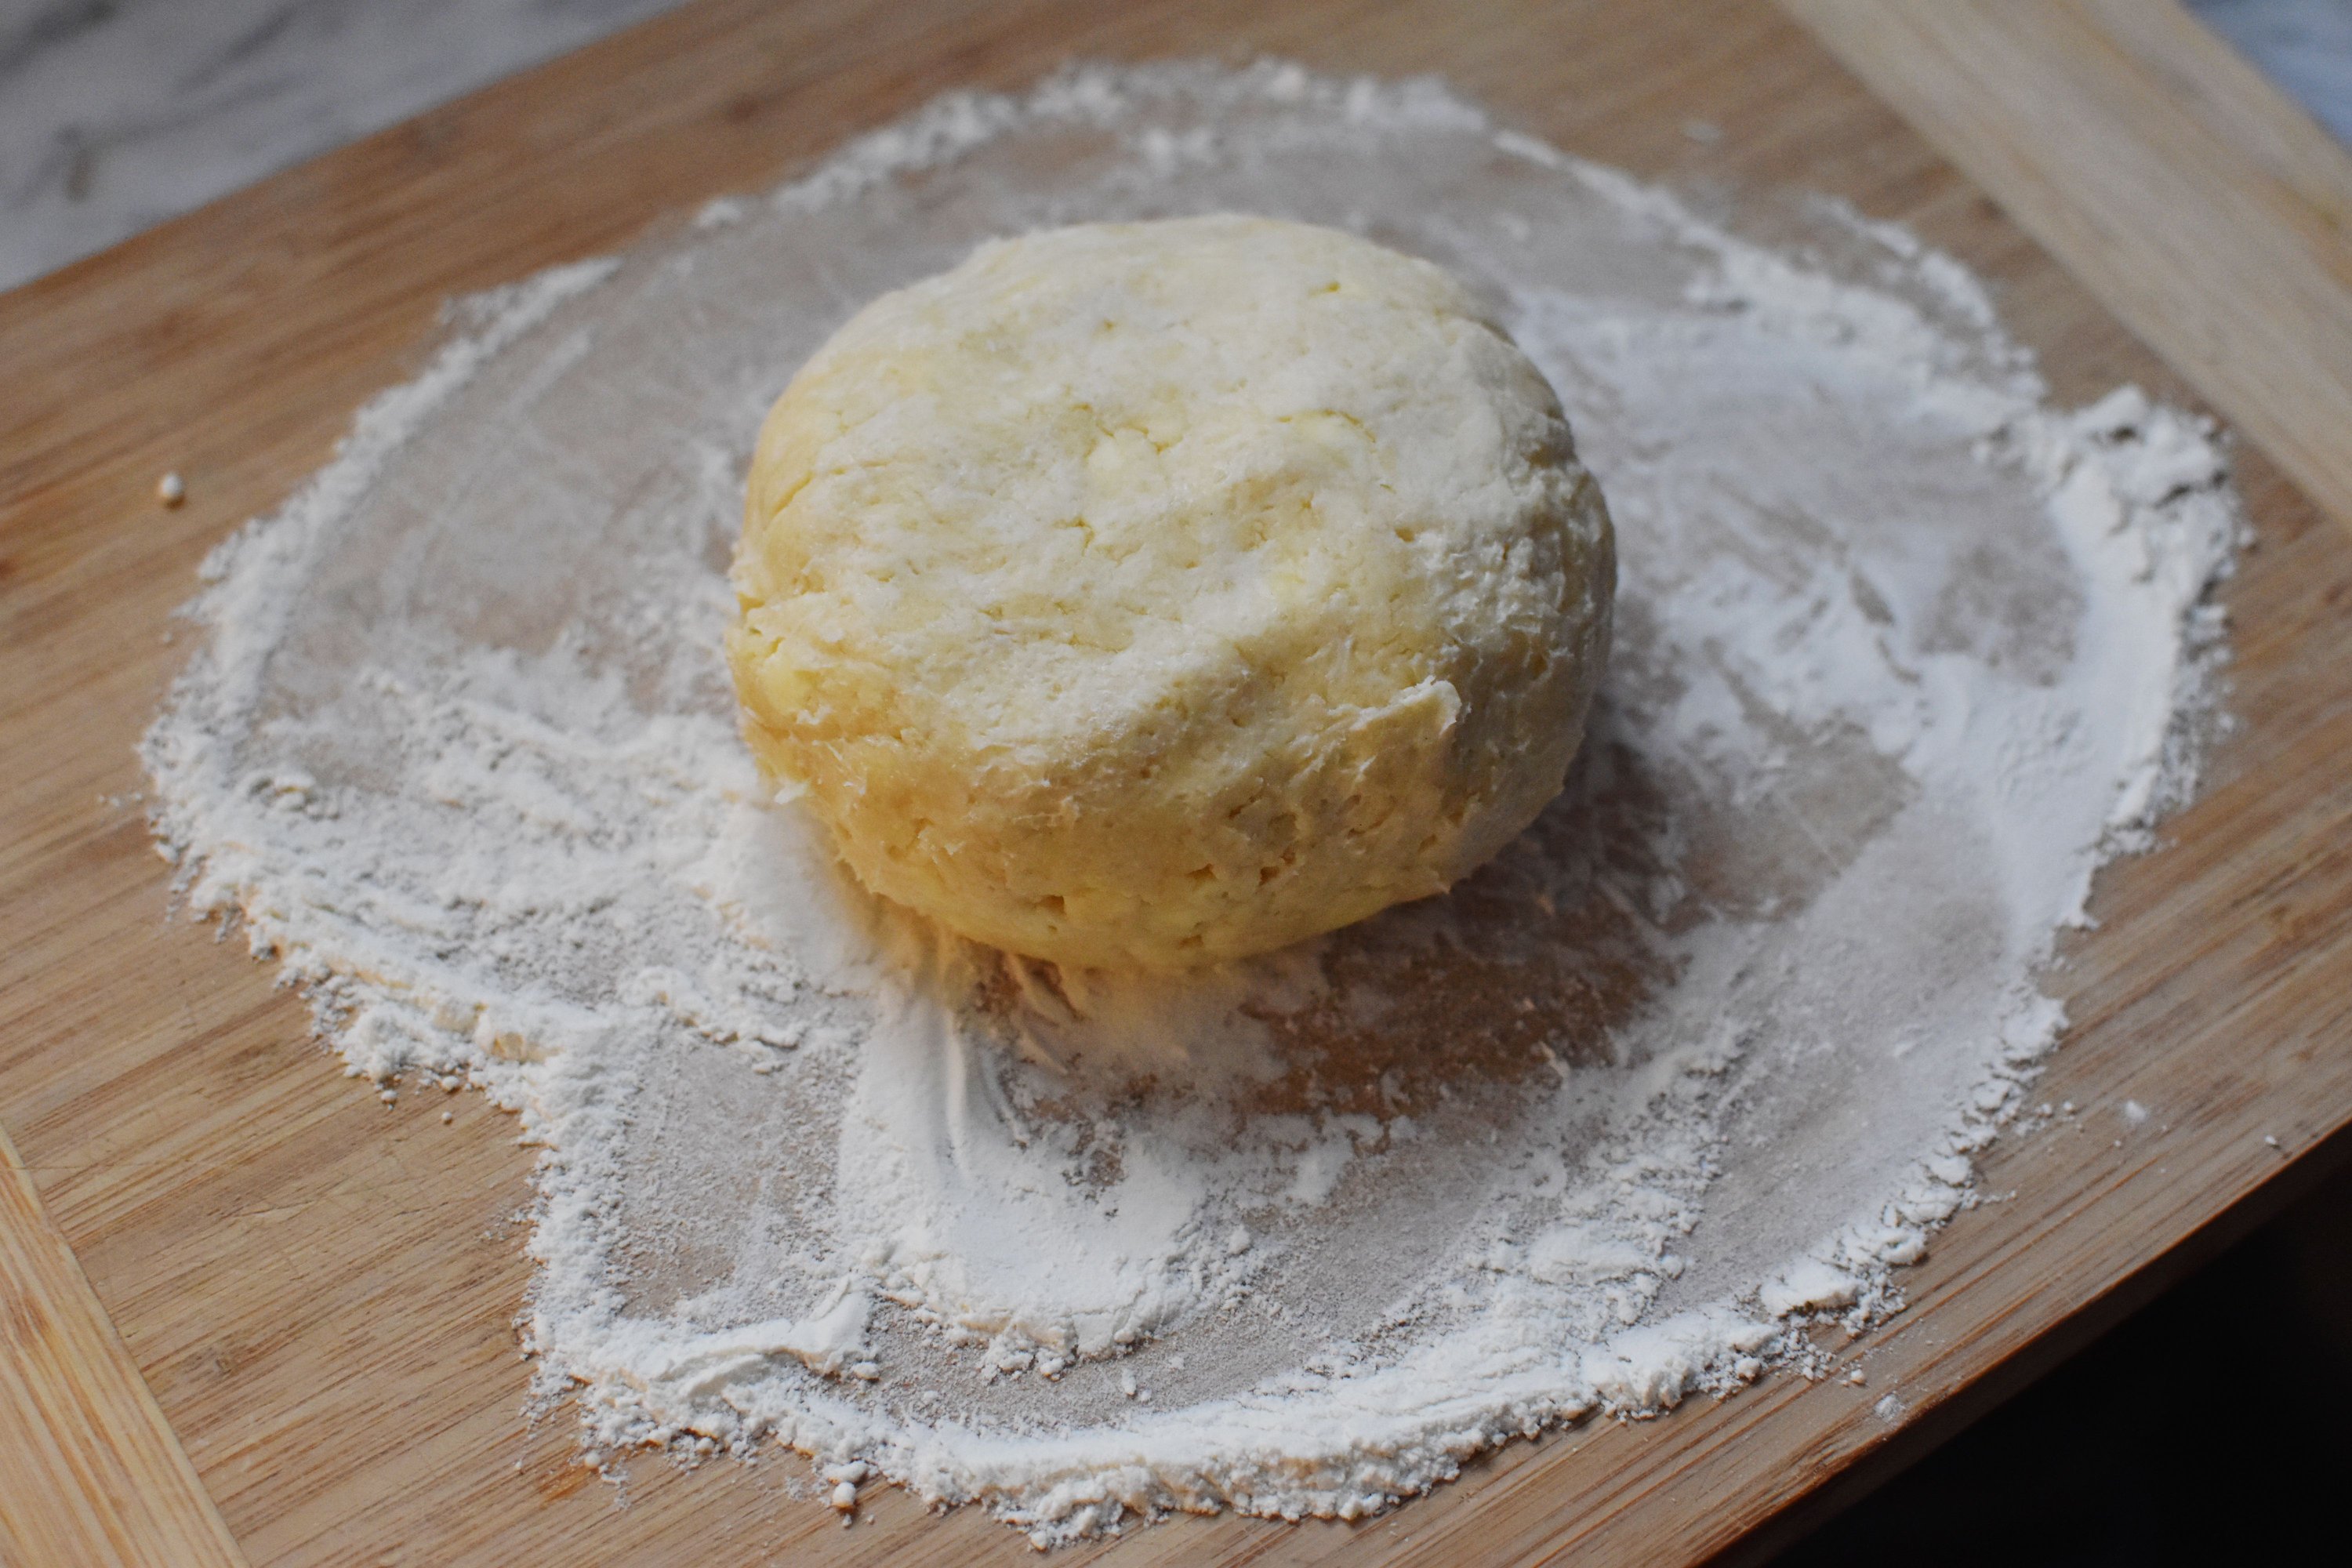
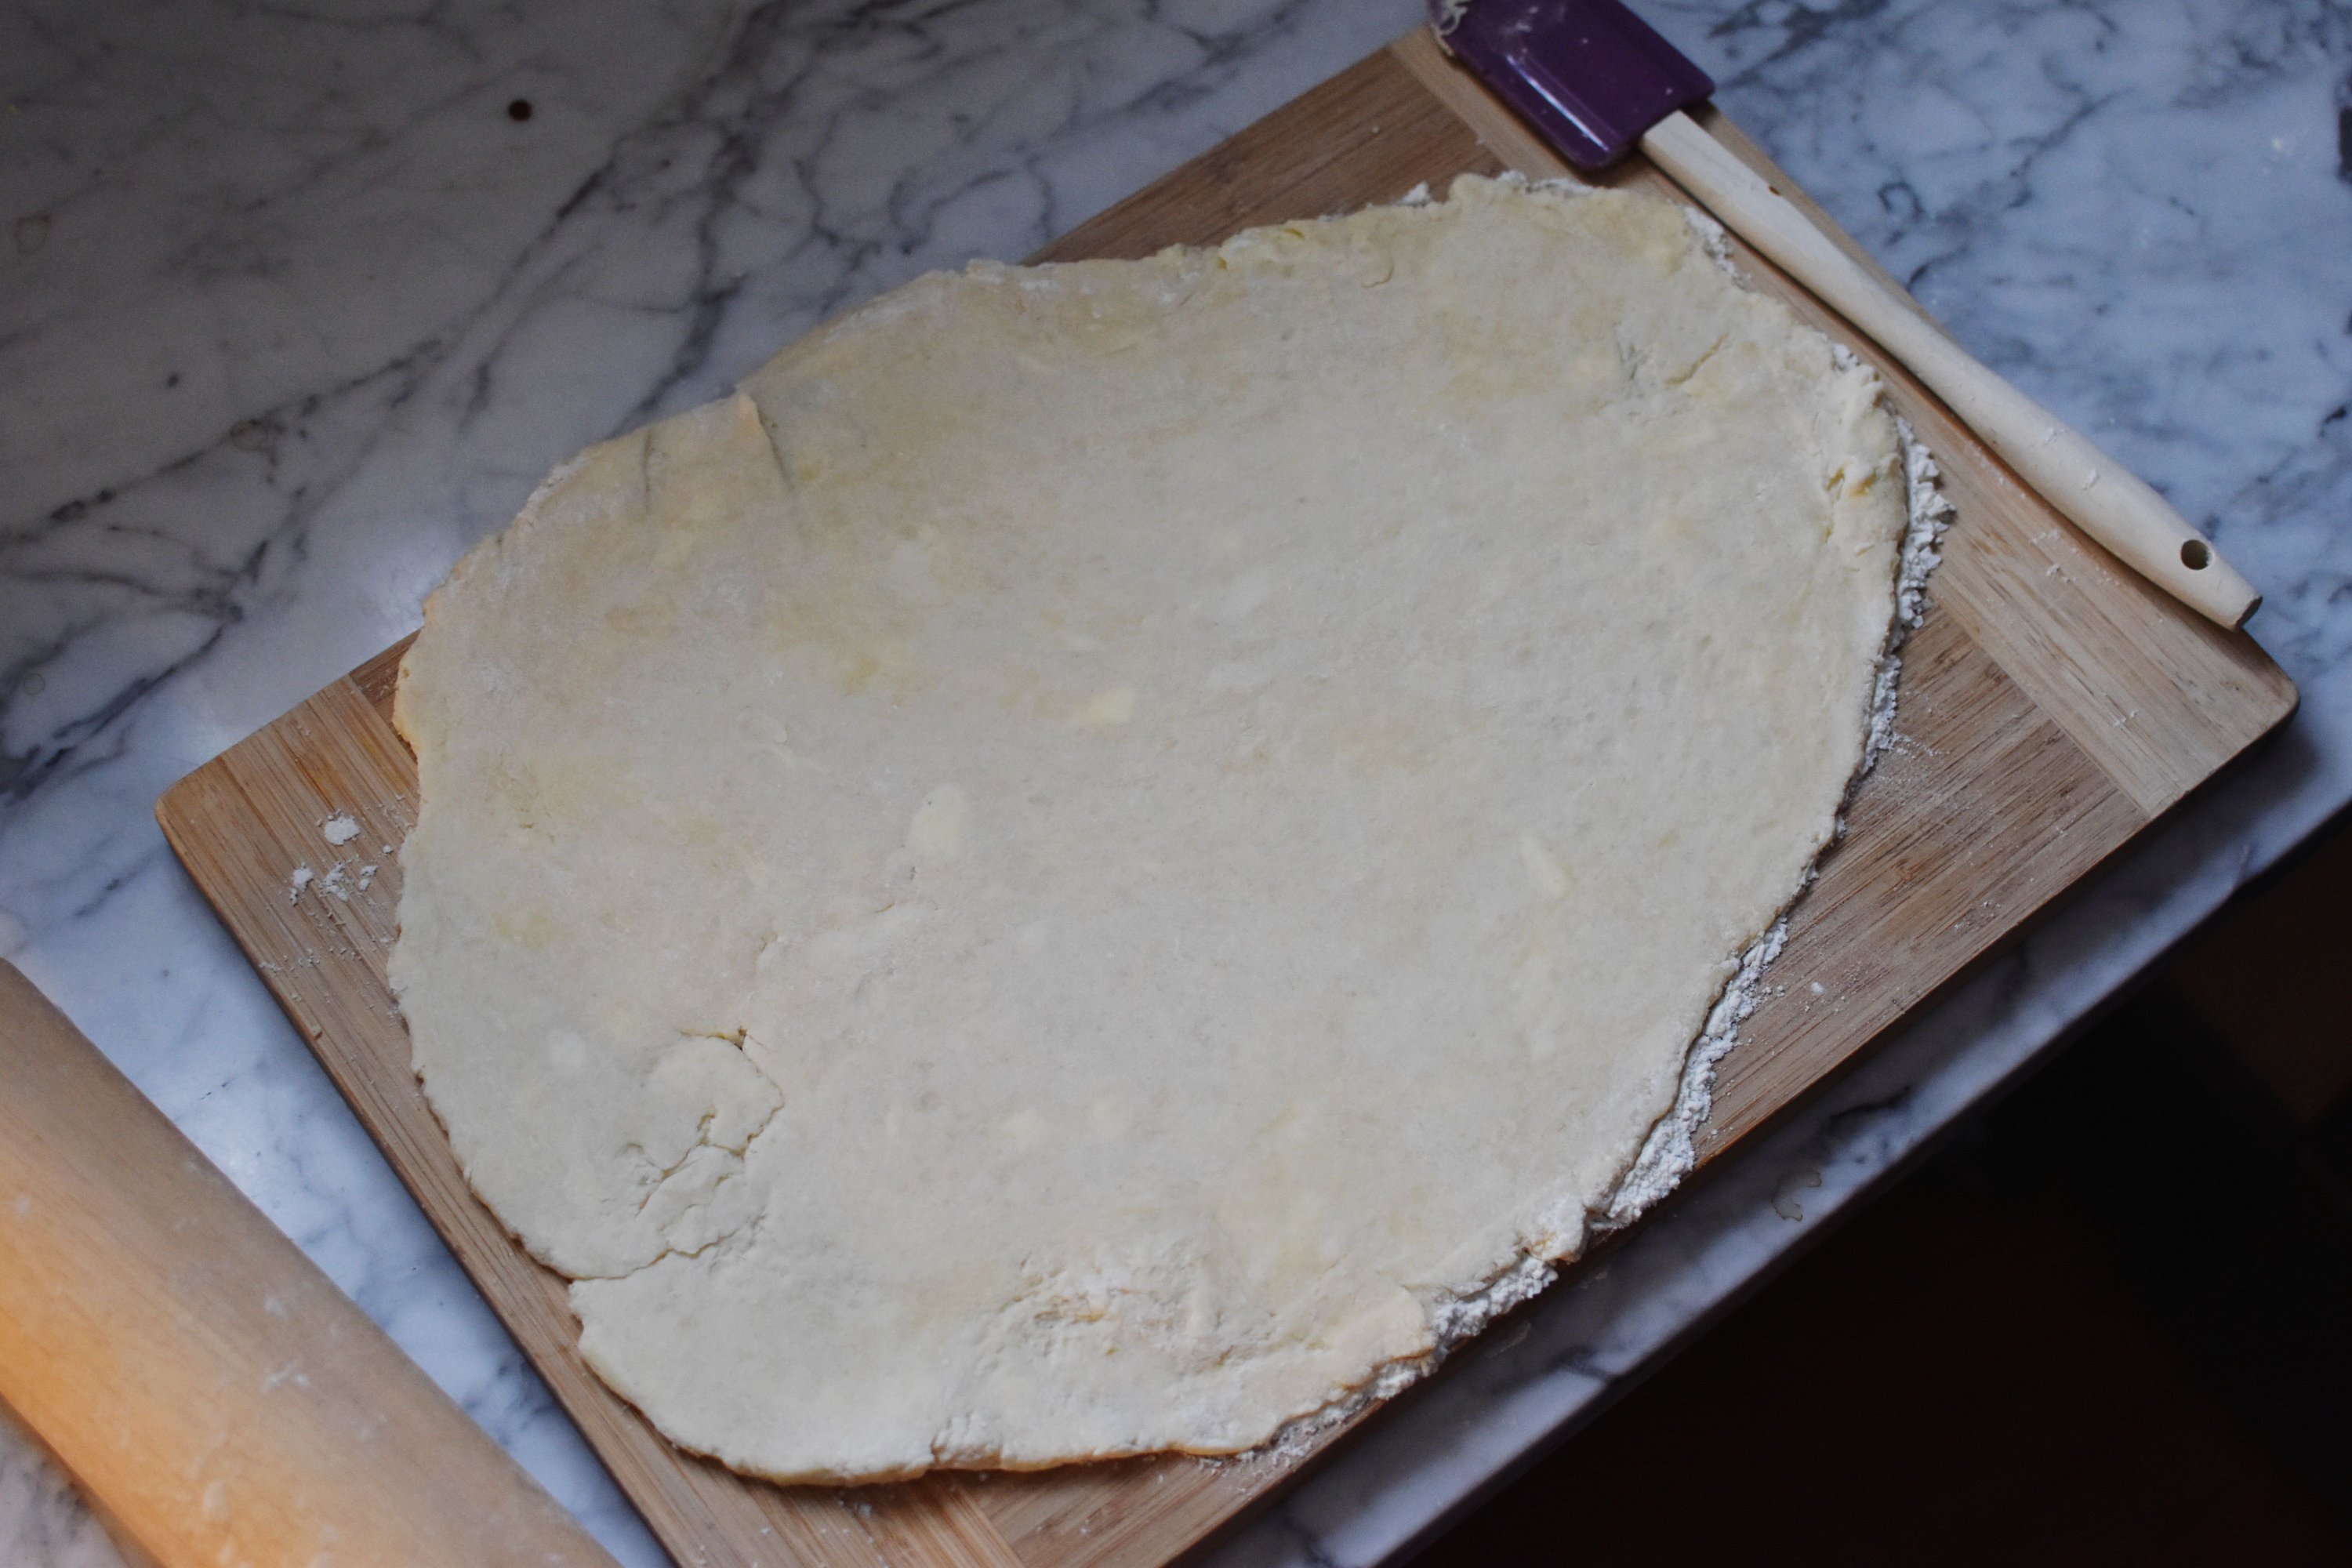
I then turned it out onto a well floured cutting board and formed it into a ball.
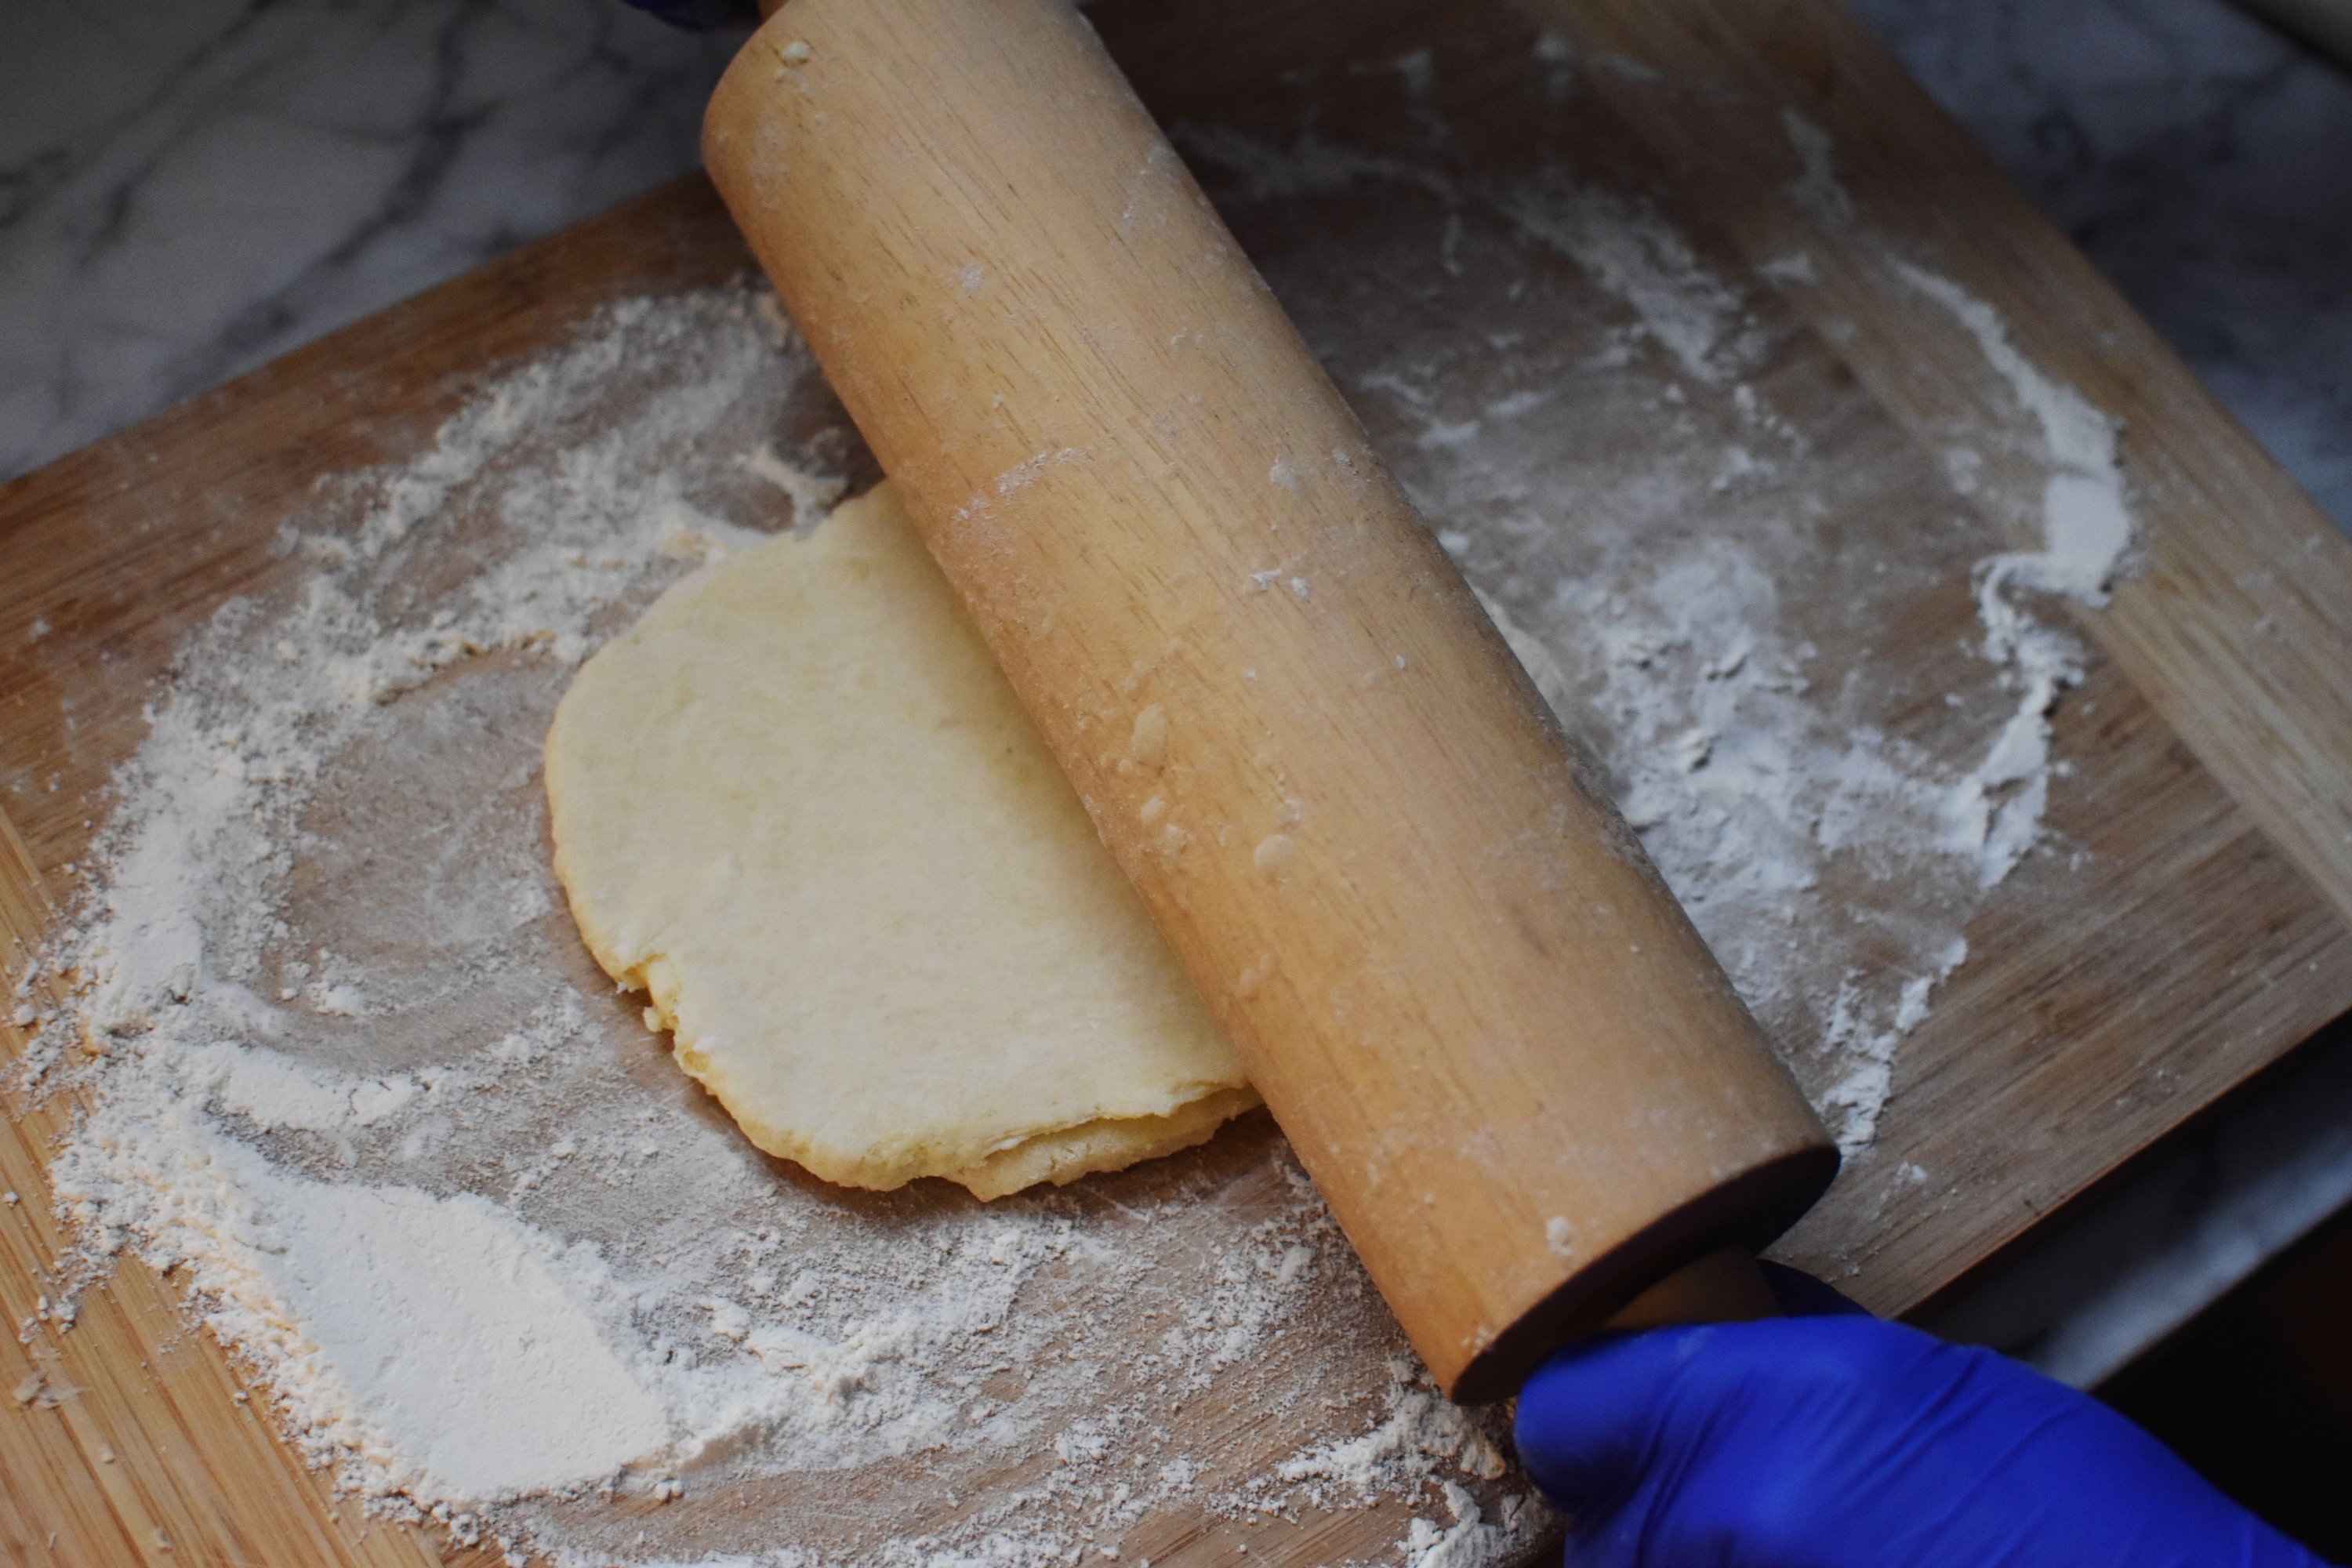
I rolled it out until it was about 1/4 inch thick. The shape does not have to be perfect.
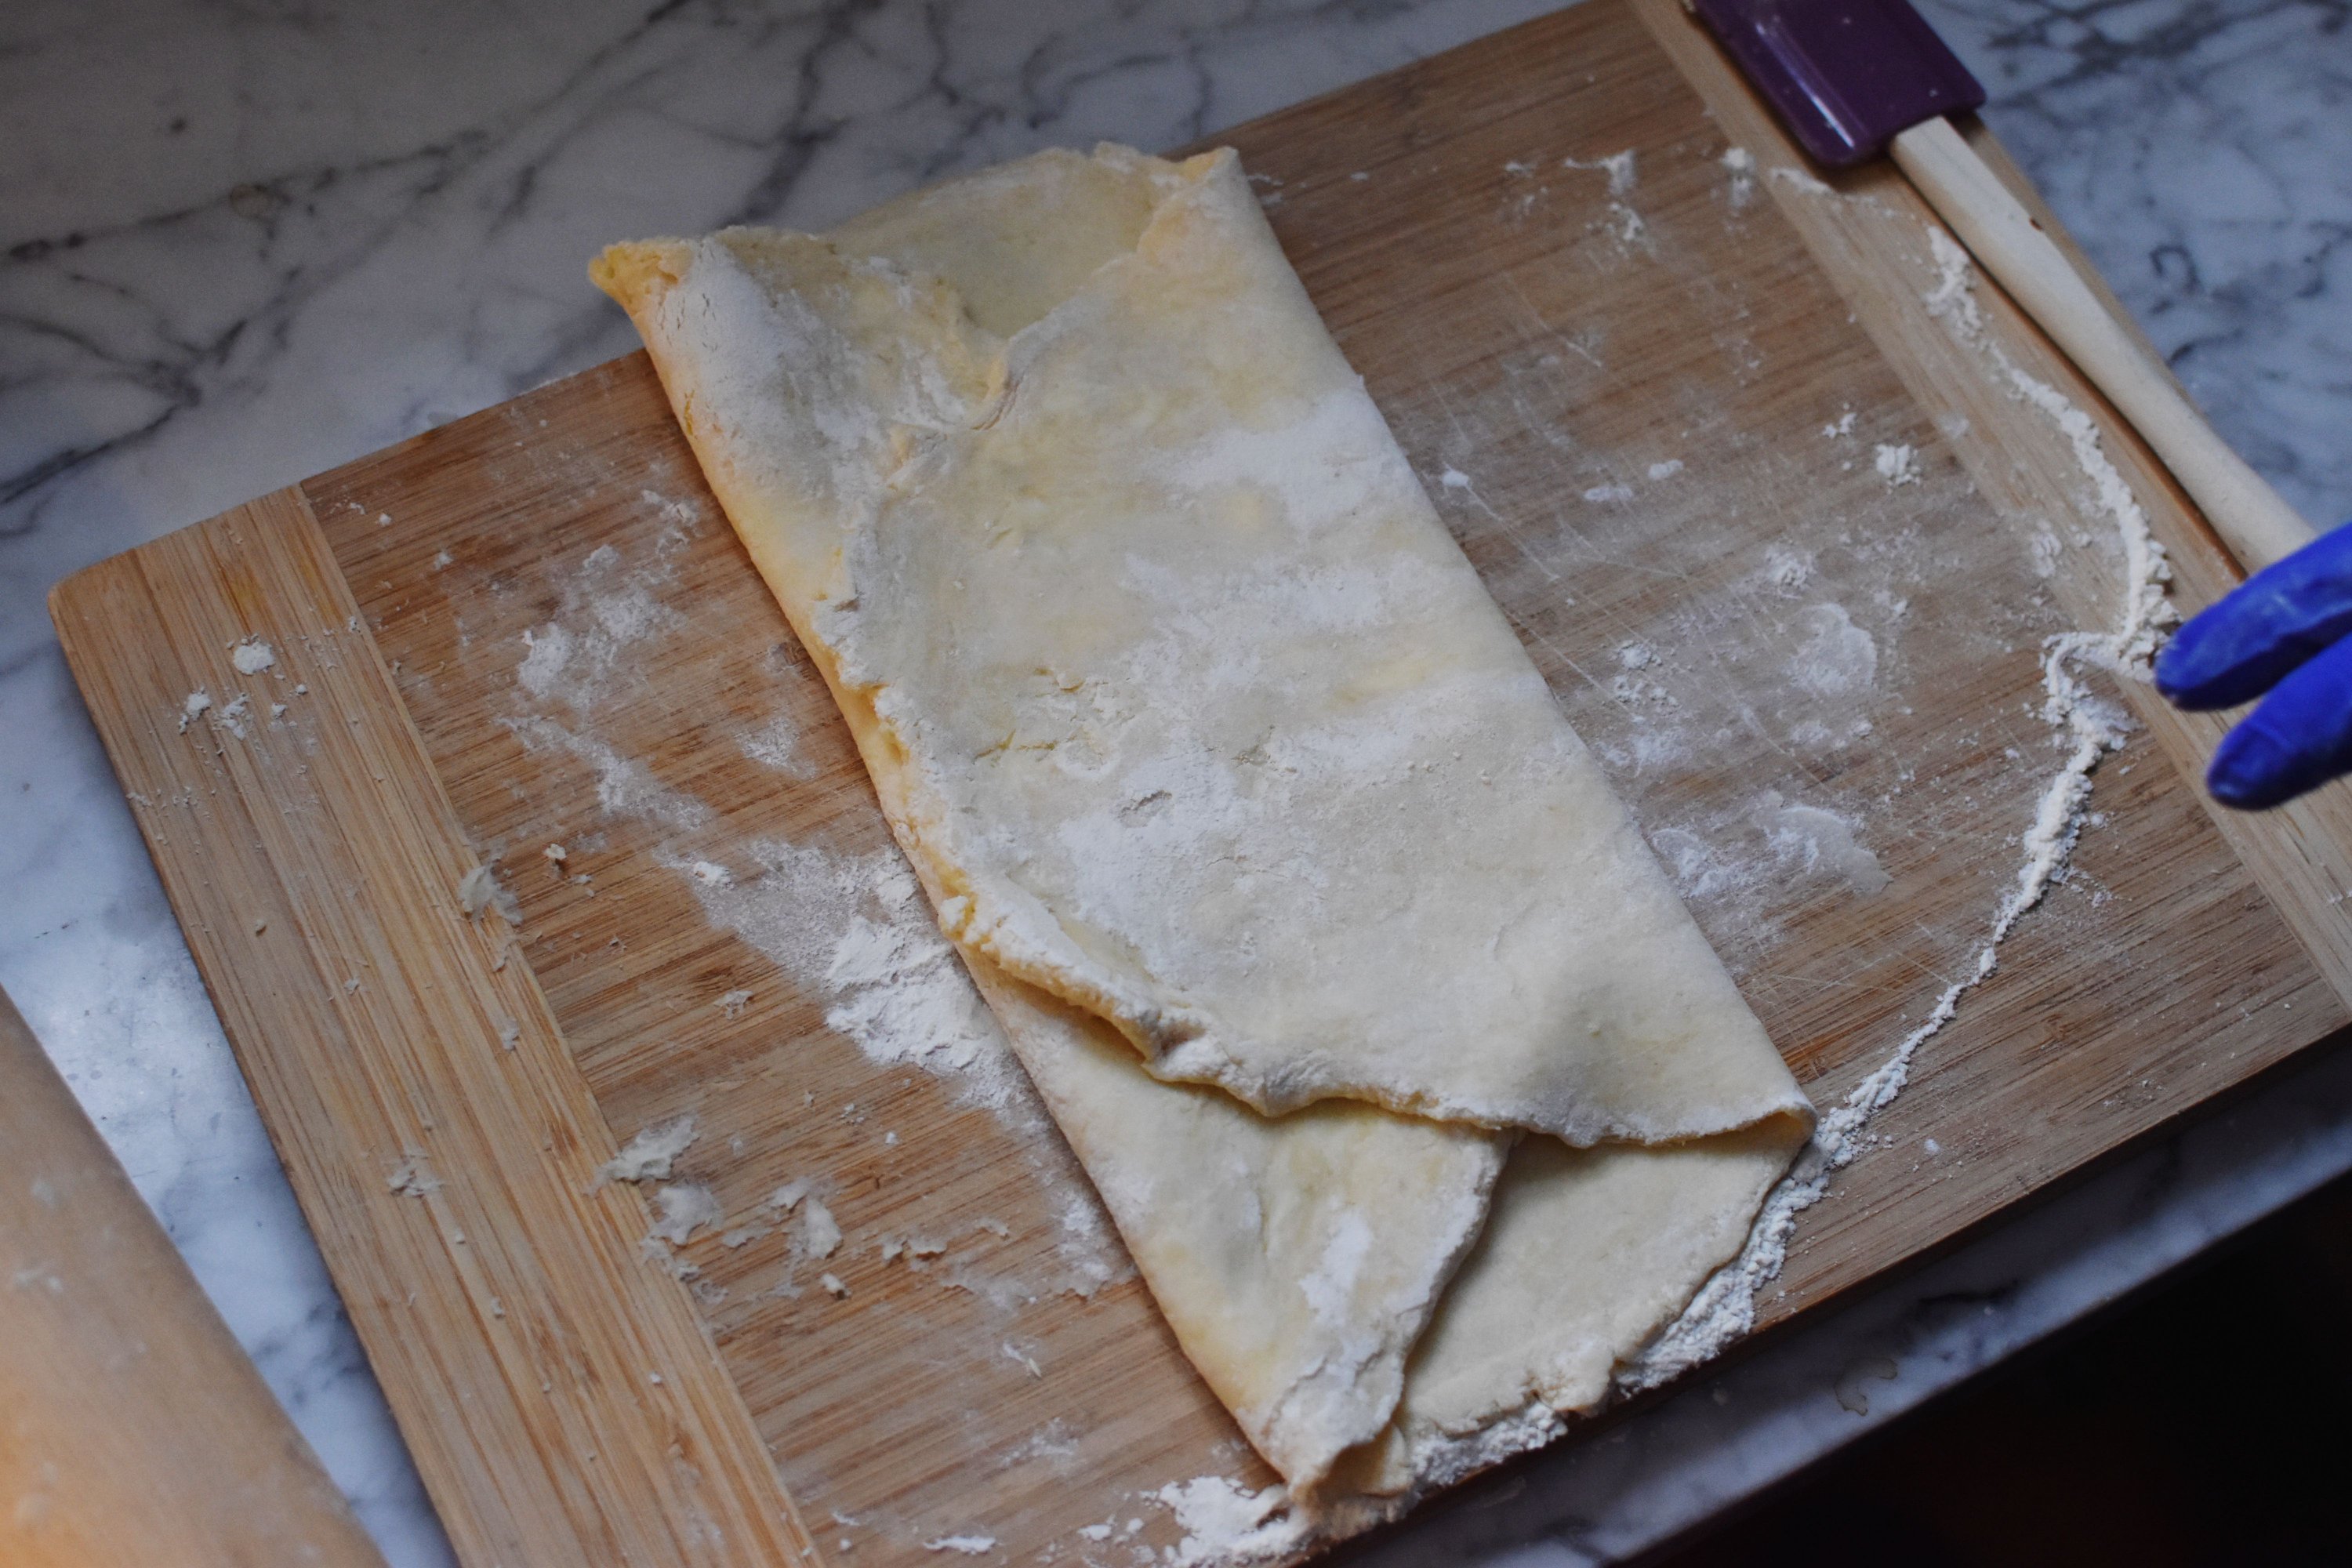
Then you fold it up, kind of like a little envelope. This helps to create flaky layers.
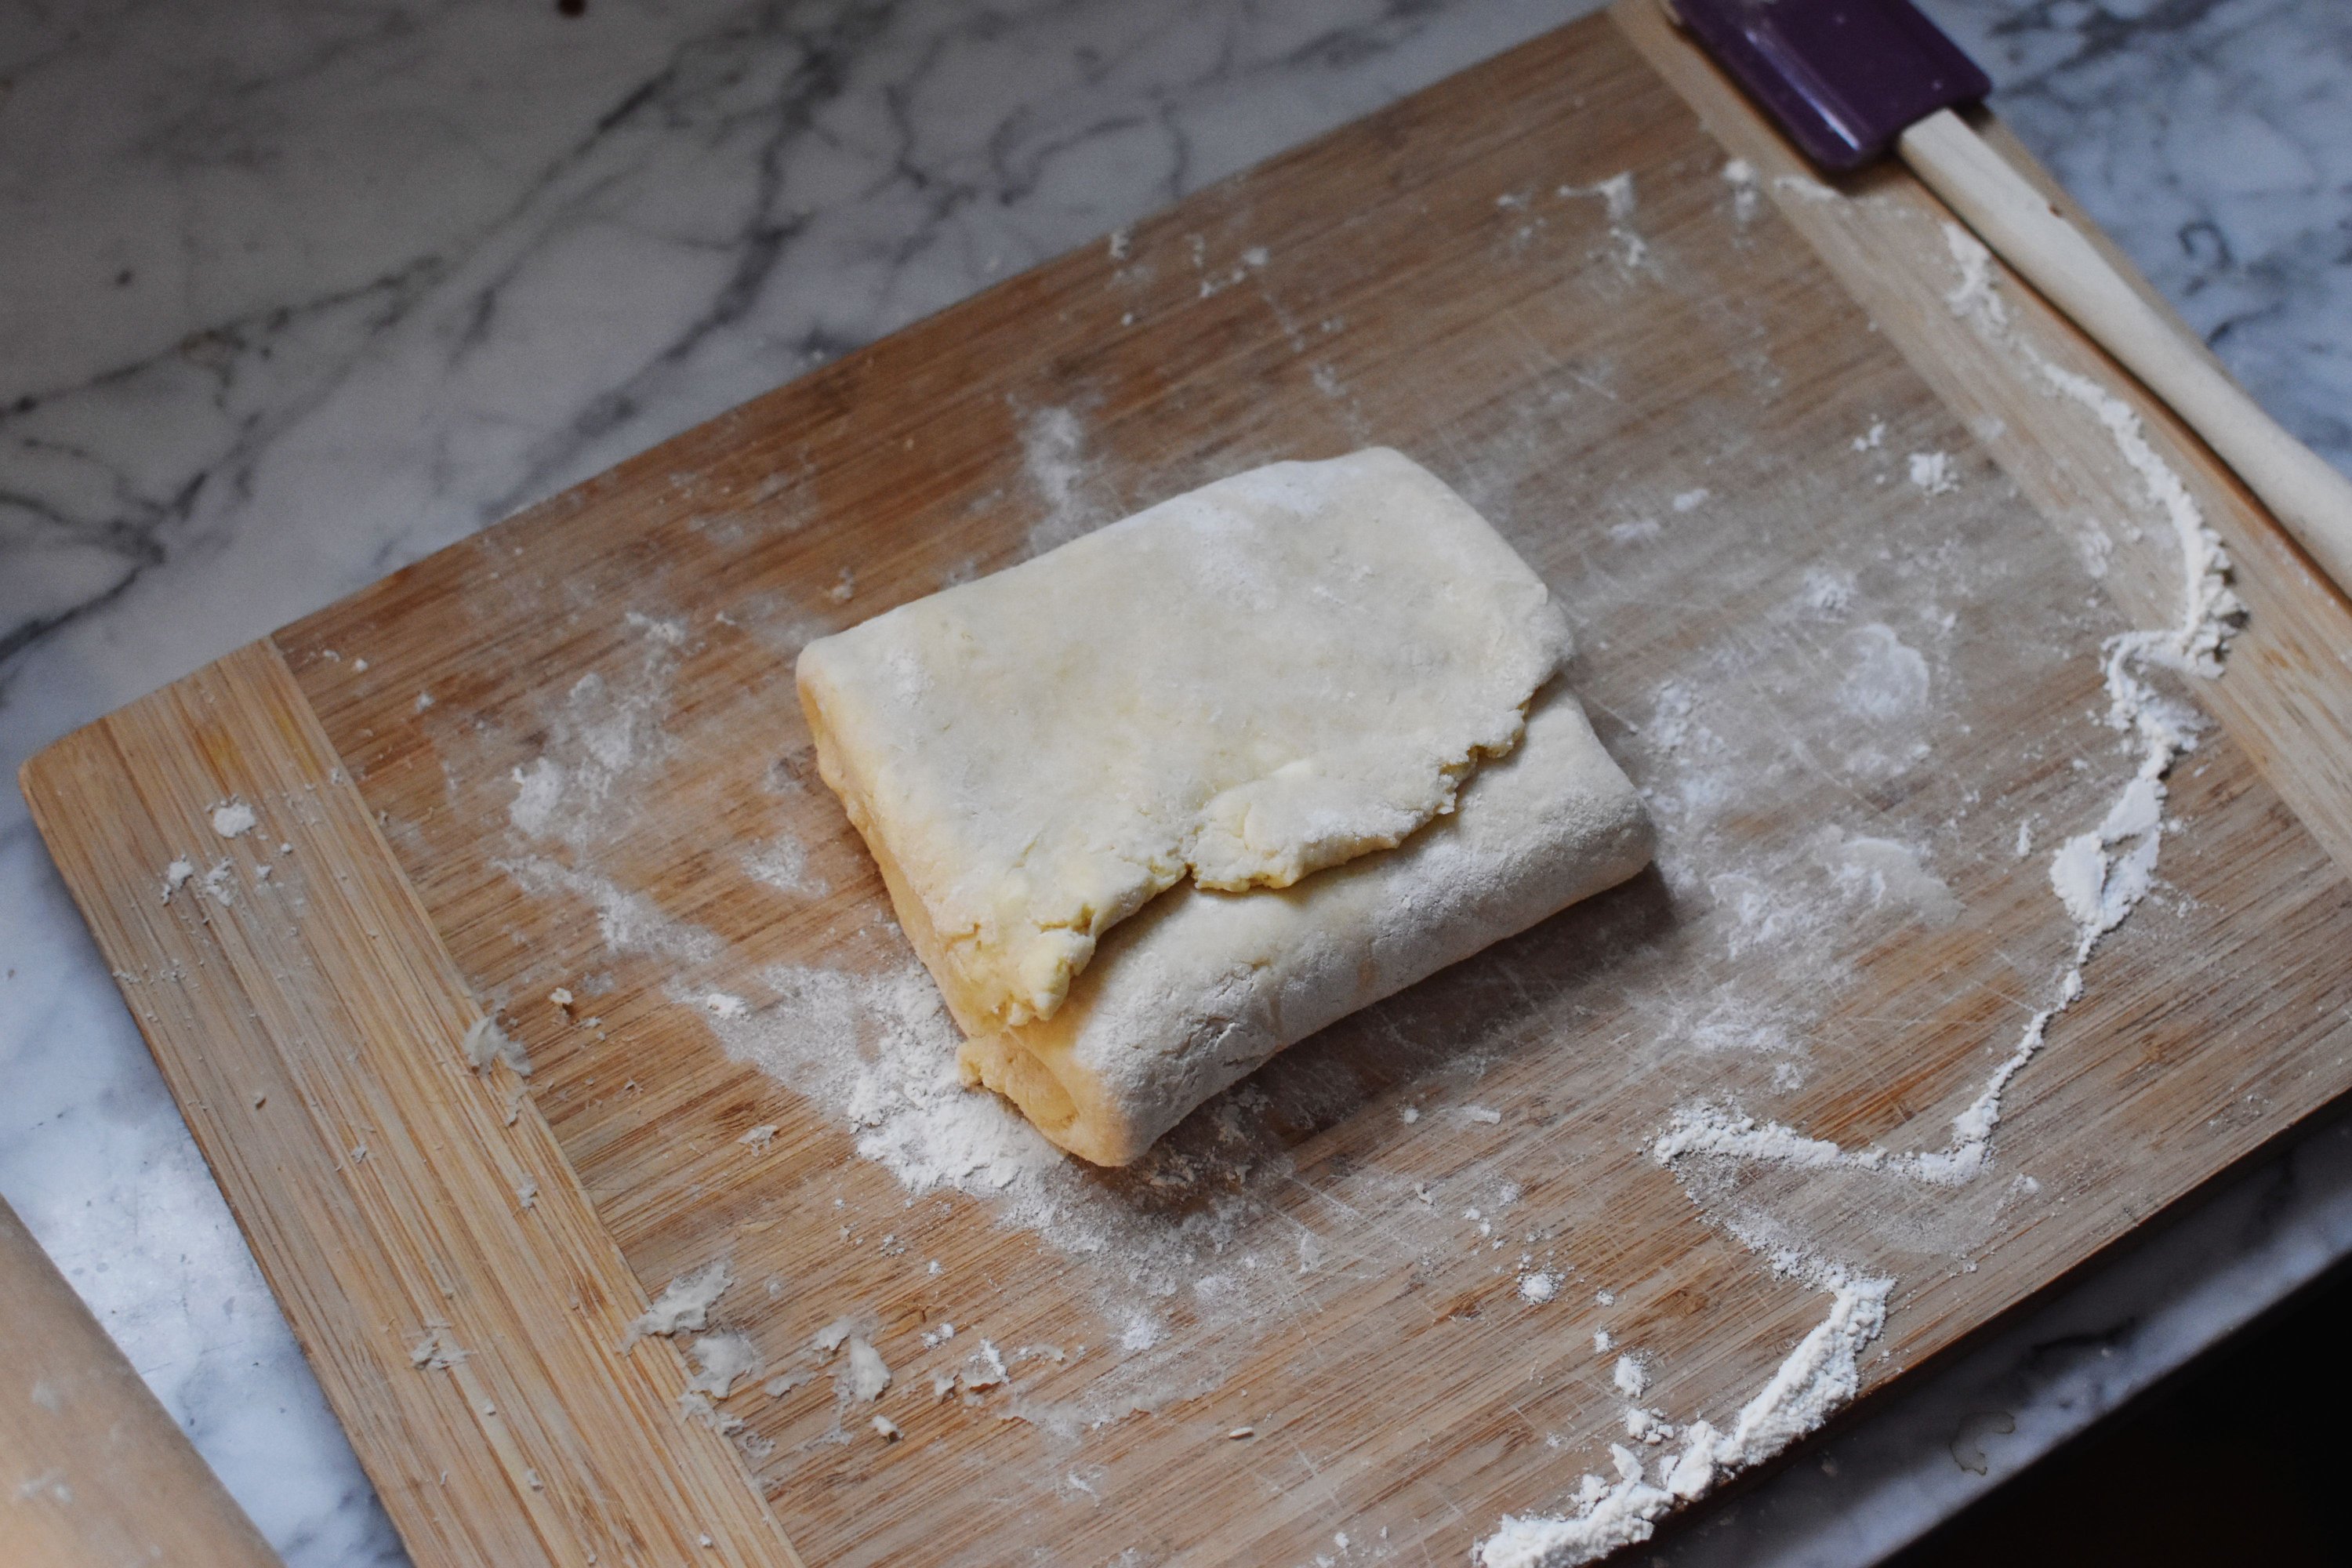
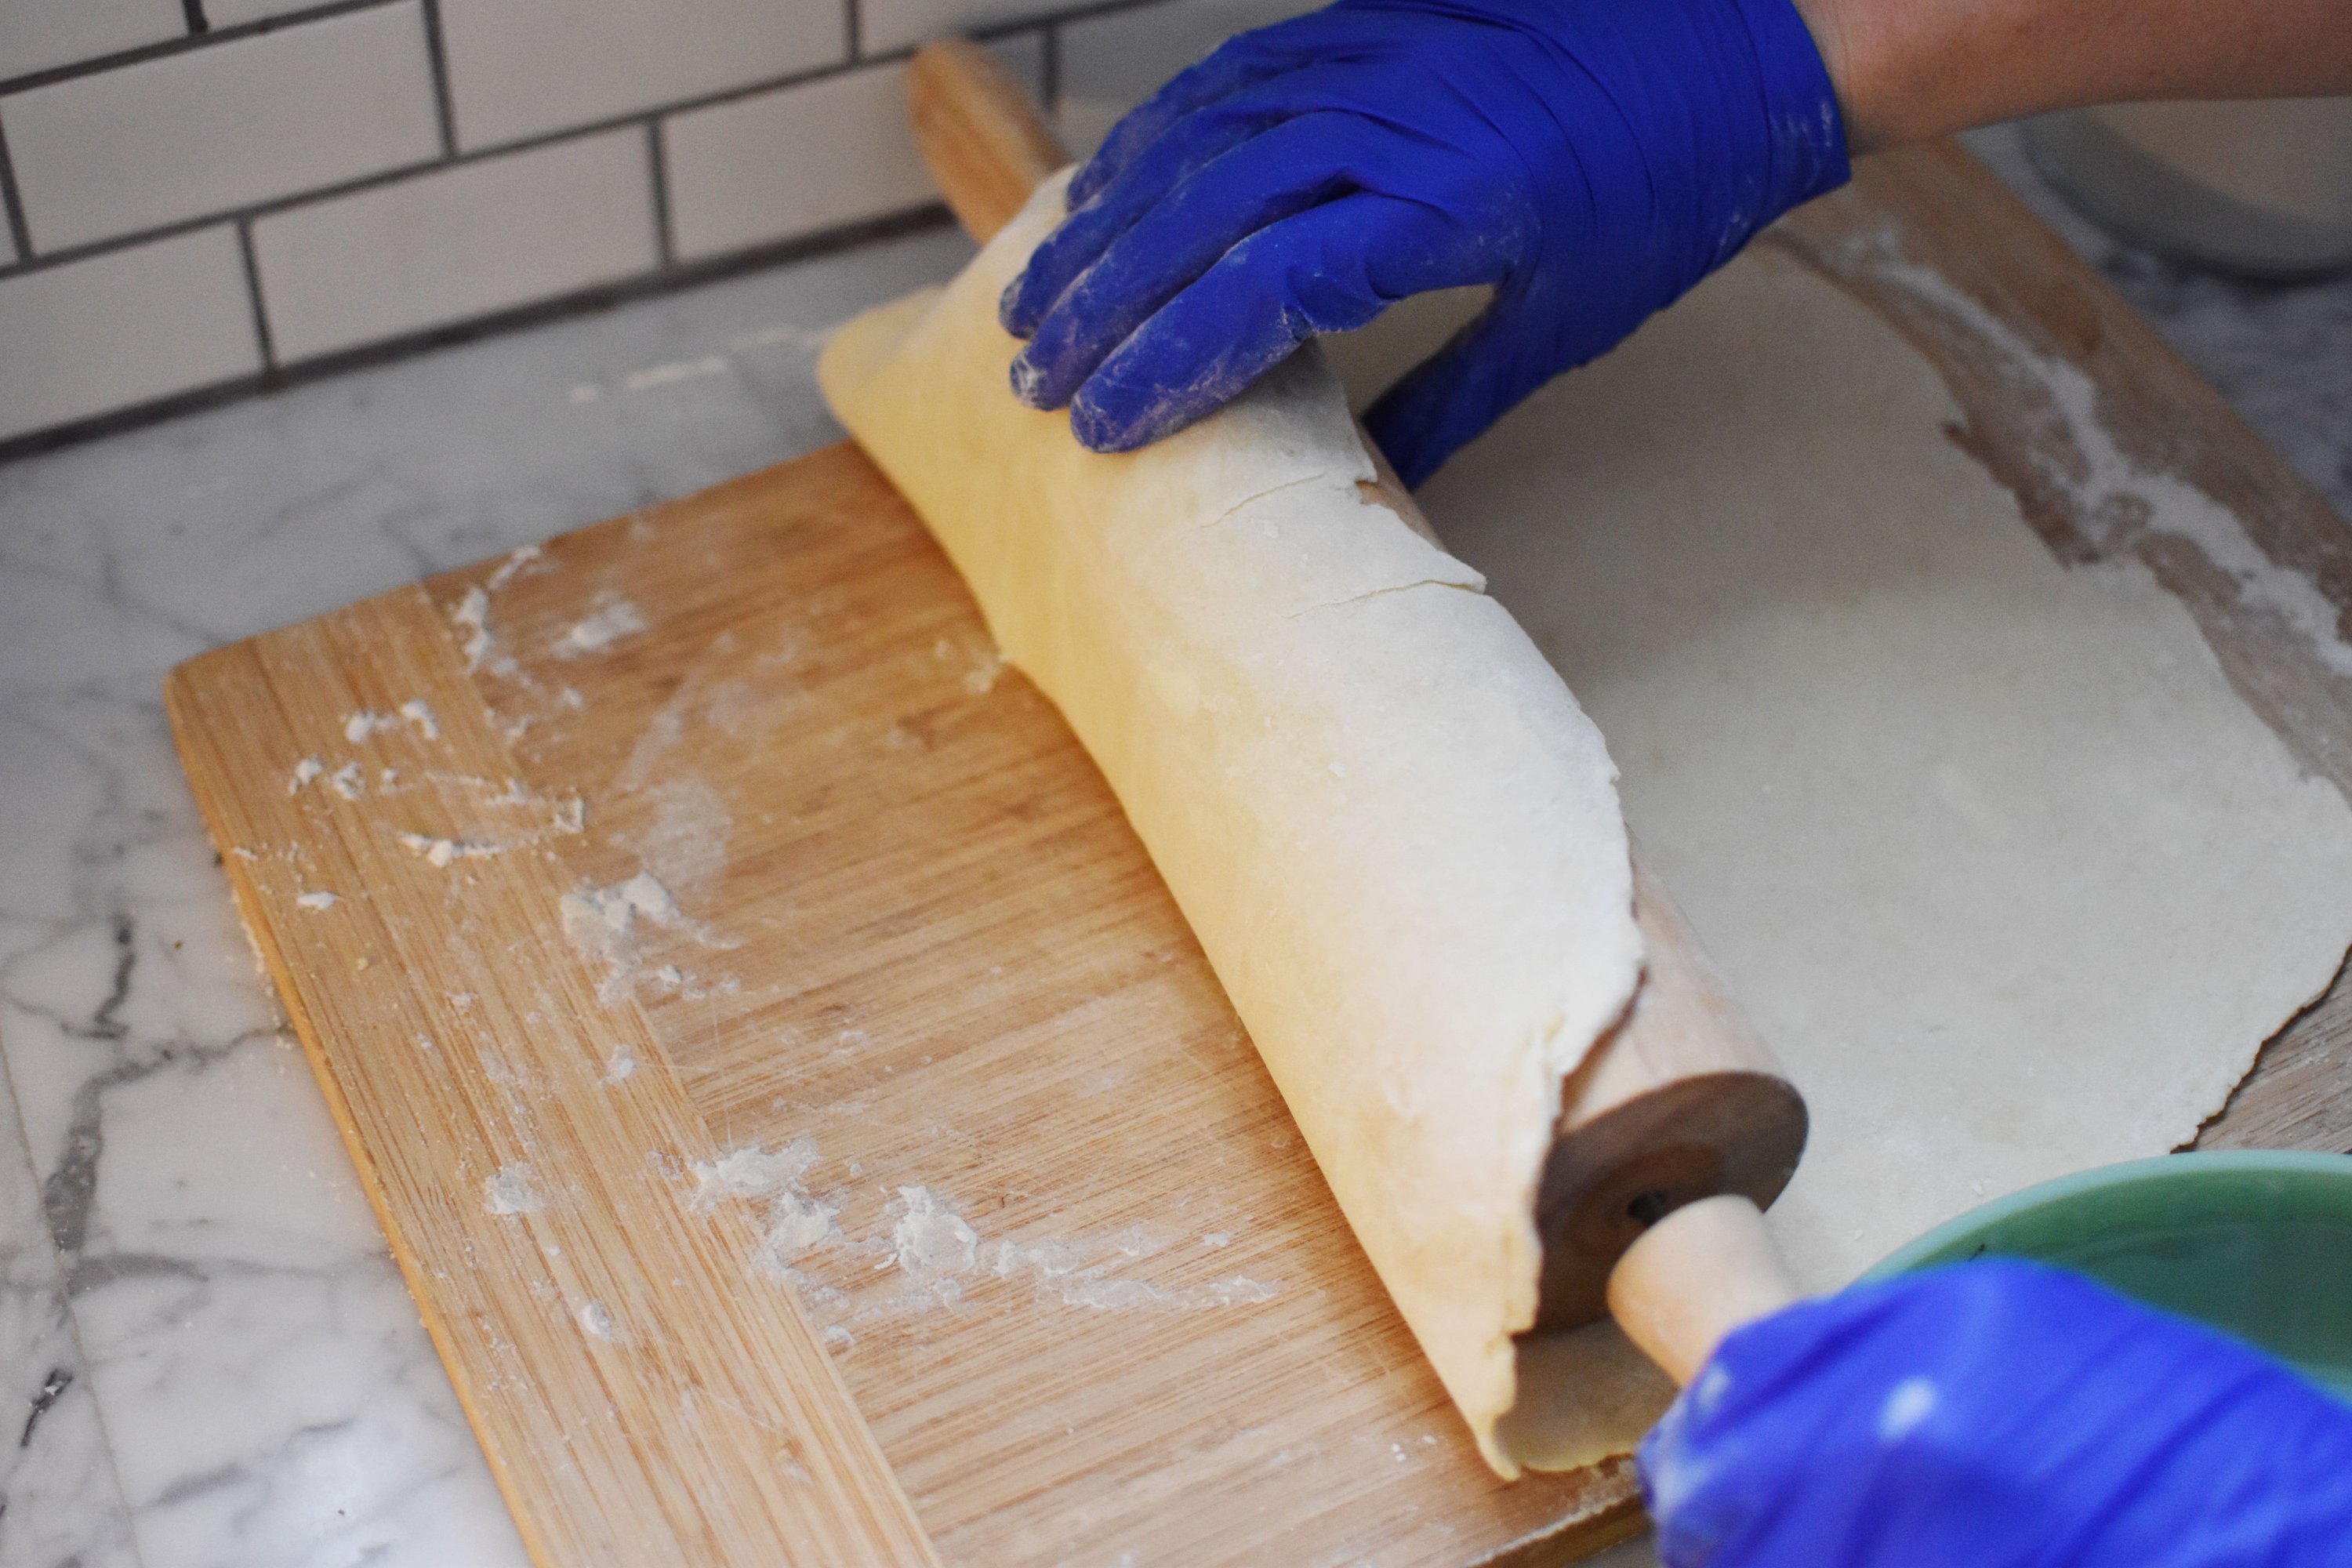
 Then you cut this in half. Each piece is a pie crust. I then rolled one out so it was big enough for my 9 inch pie crust, with enough overhang to create an edge.
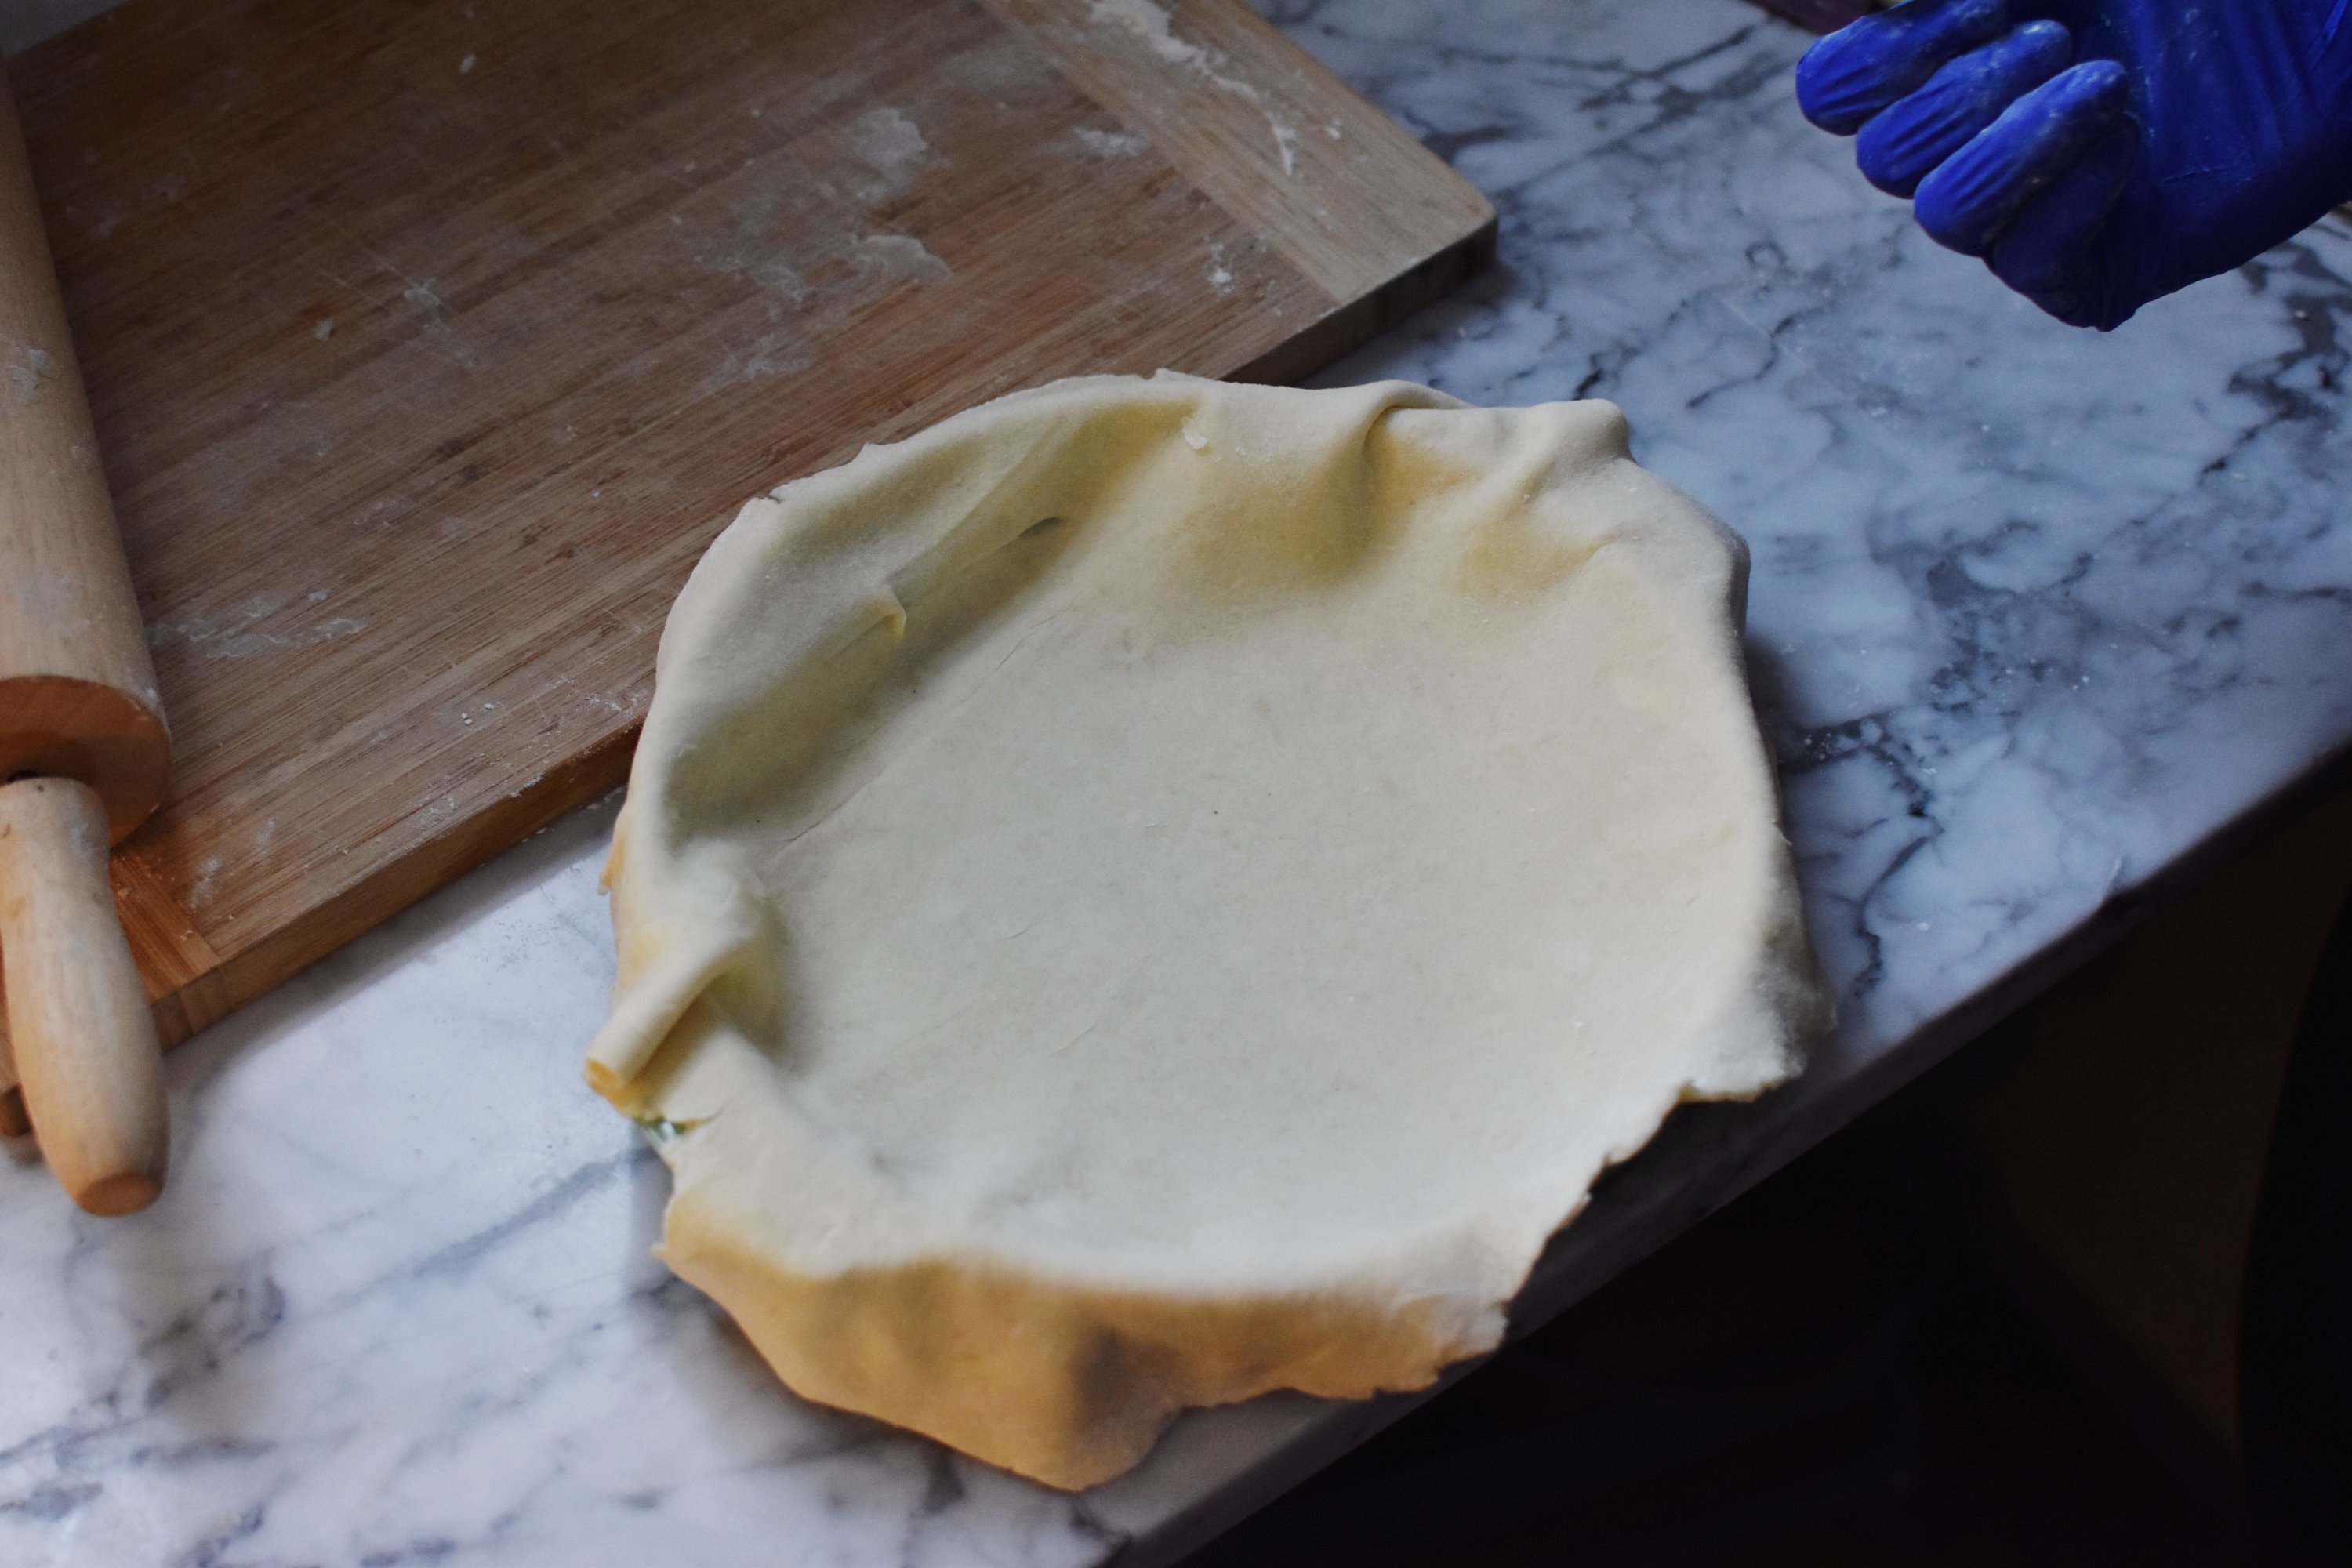
Once it is in the pie plate, trim any excess. Fold the overhang under and then you can use your fingers or a fork to create a pretty crust edge. I did not refrigerate, but I should have, because my pretty crust melted once I put it in the oven.

Now we are going to blind bake the crust. Because the quiche will bake for longer, we are only going to partially bake. If you were using this recipe for something that would not bake longer, like a chocolate cream pie, you could cook the crust fully. I bought some nifty pie weights recently, but I have also used beans or rice to prevent the crust from puffing out.
Line your pretty pie crust with some aluminum foil, making sure you press it into the corners (gently). Then fill with your pie weights, beans, rice, or even sugar. This will prevent the crust from bubbling. I guess it was kind of unsightly, because I did not take a picture.
Now put it in the bottom rack of an oven preheated to 350 degrees. Bake for about 20 minutes, then remove the foil and pie weights and bake for another 10-15 minutes, until the crust is slightly browned.

Let cool while you make your filling for the quiche. Keep the oven on. Make sure your pie crust is on a baking sheet. It will make it easier once it is full of liquid custard.
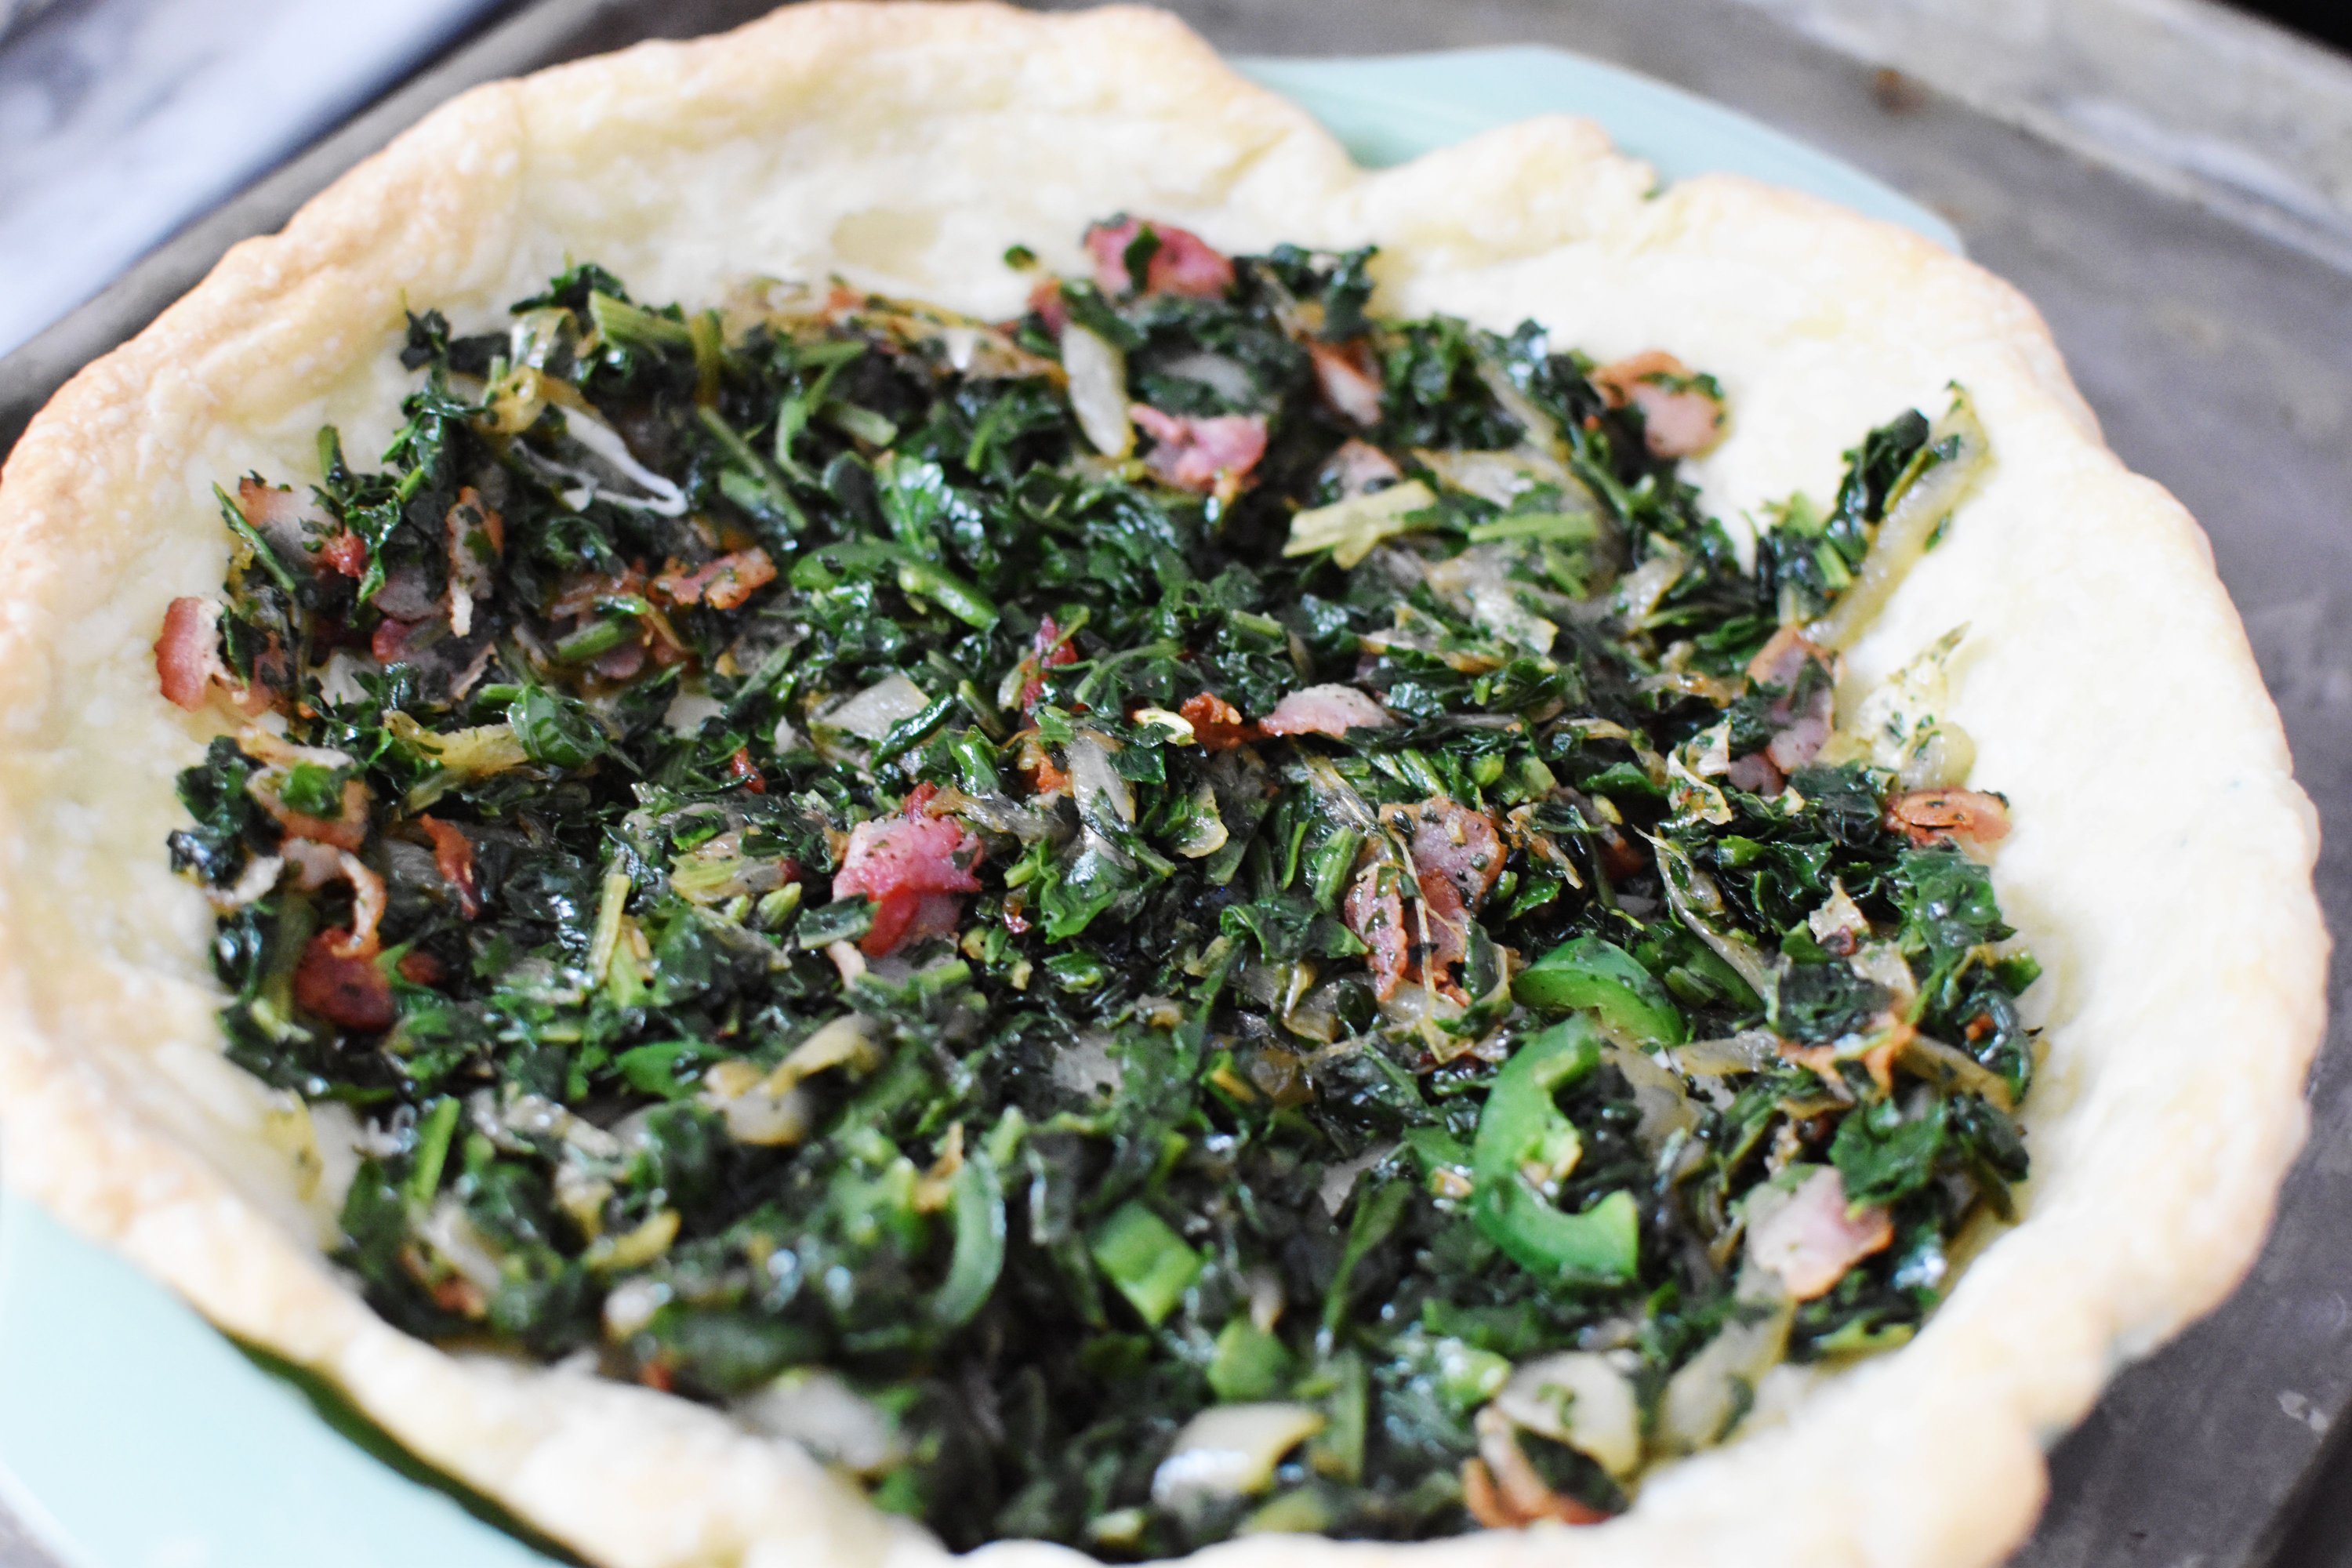
I used 4 slices of bacon, which I chopped up and browned, then drained on a paper towel. I used the bacon fat plus 1 tablespoon olive oil to caramelize 1 onion that I sliced up. I cooked these low and slow, then added a few jalapeno slices, then some frozen spinach. Once the spinach was warmed through, and most of the liquid cooked off, I seasoned with salt and pepper. Remember that cheese adds a lot of salt, so you may not need as much as you normally would.
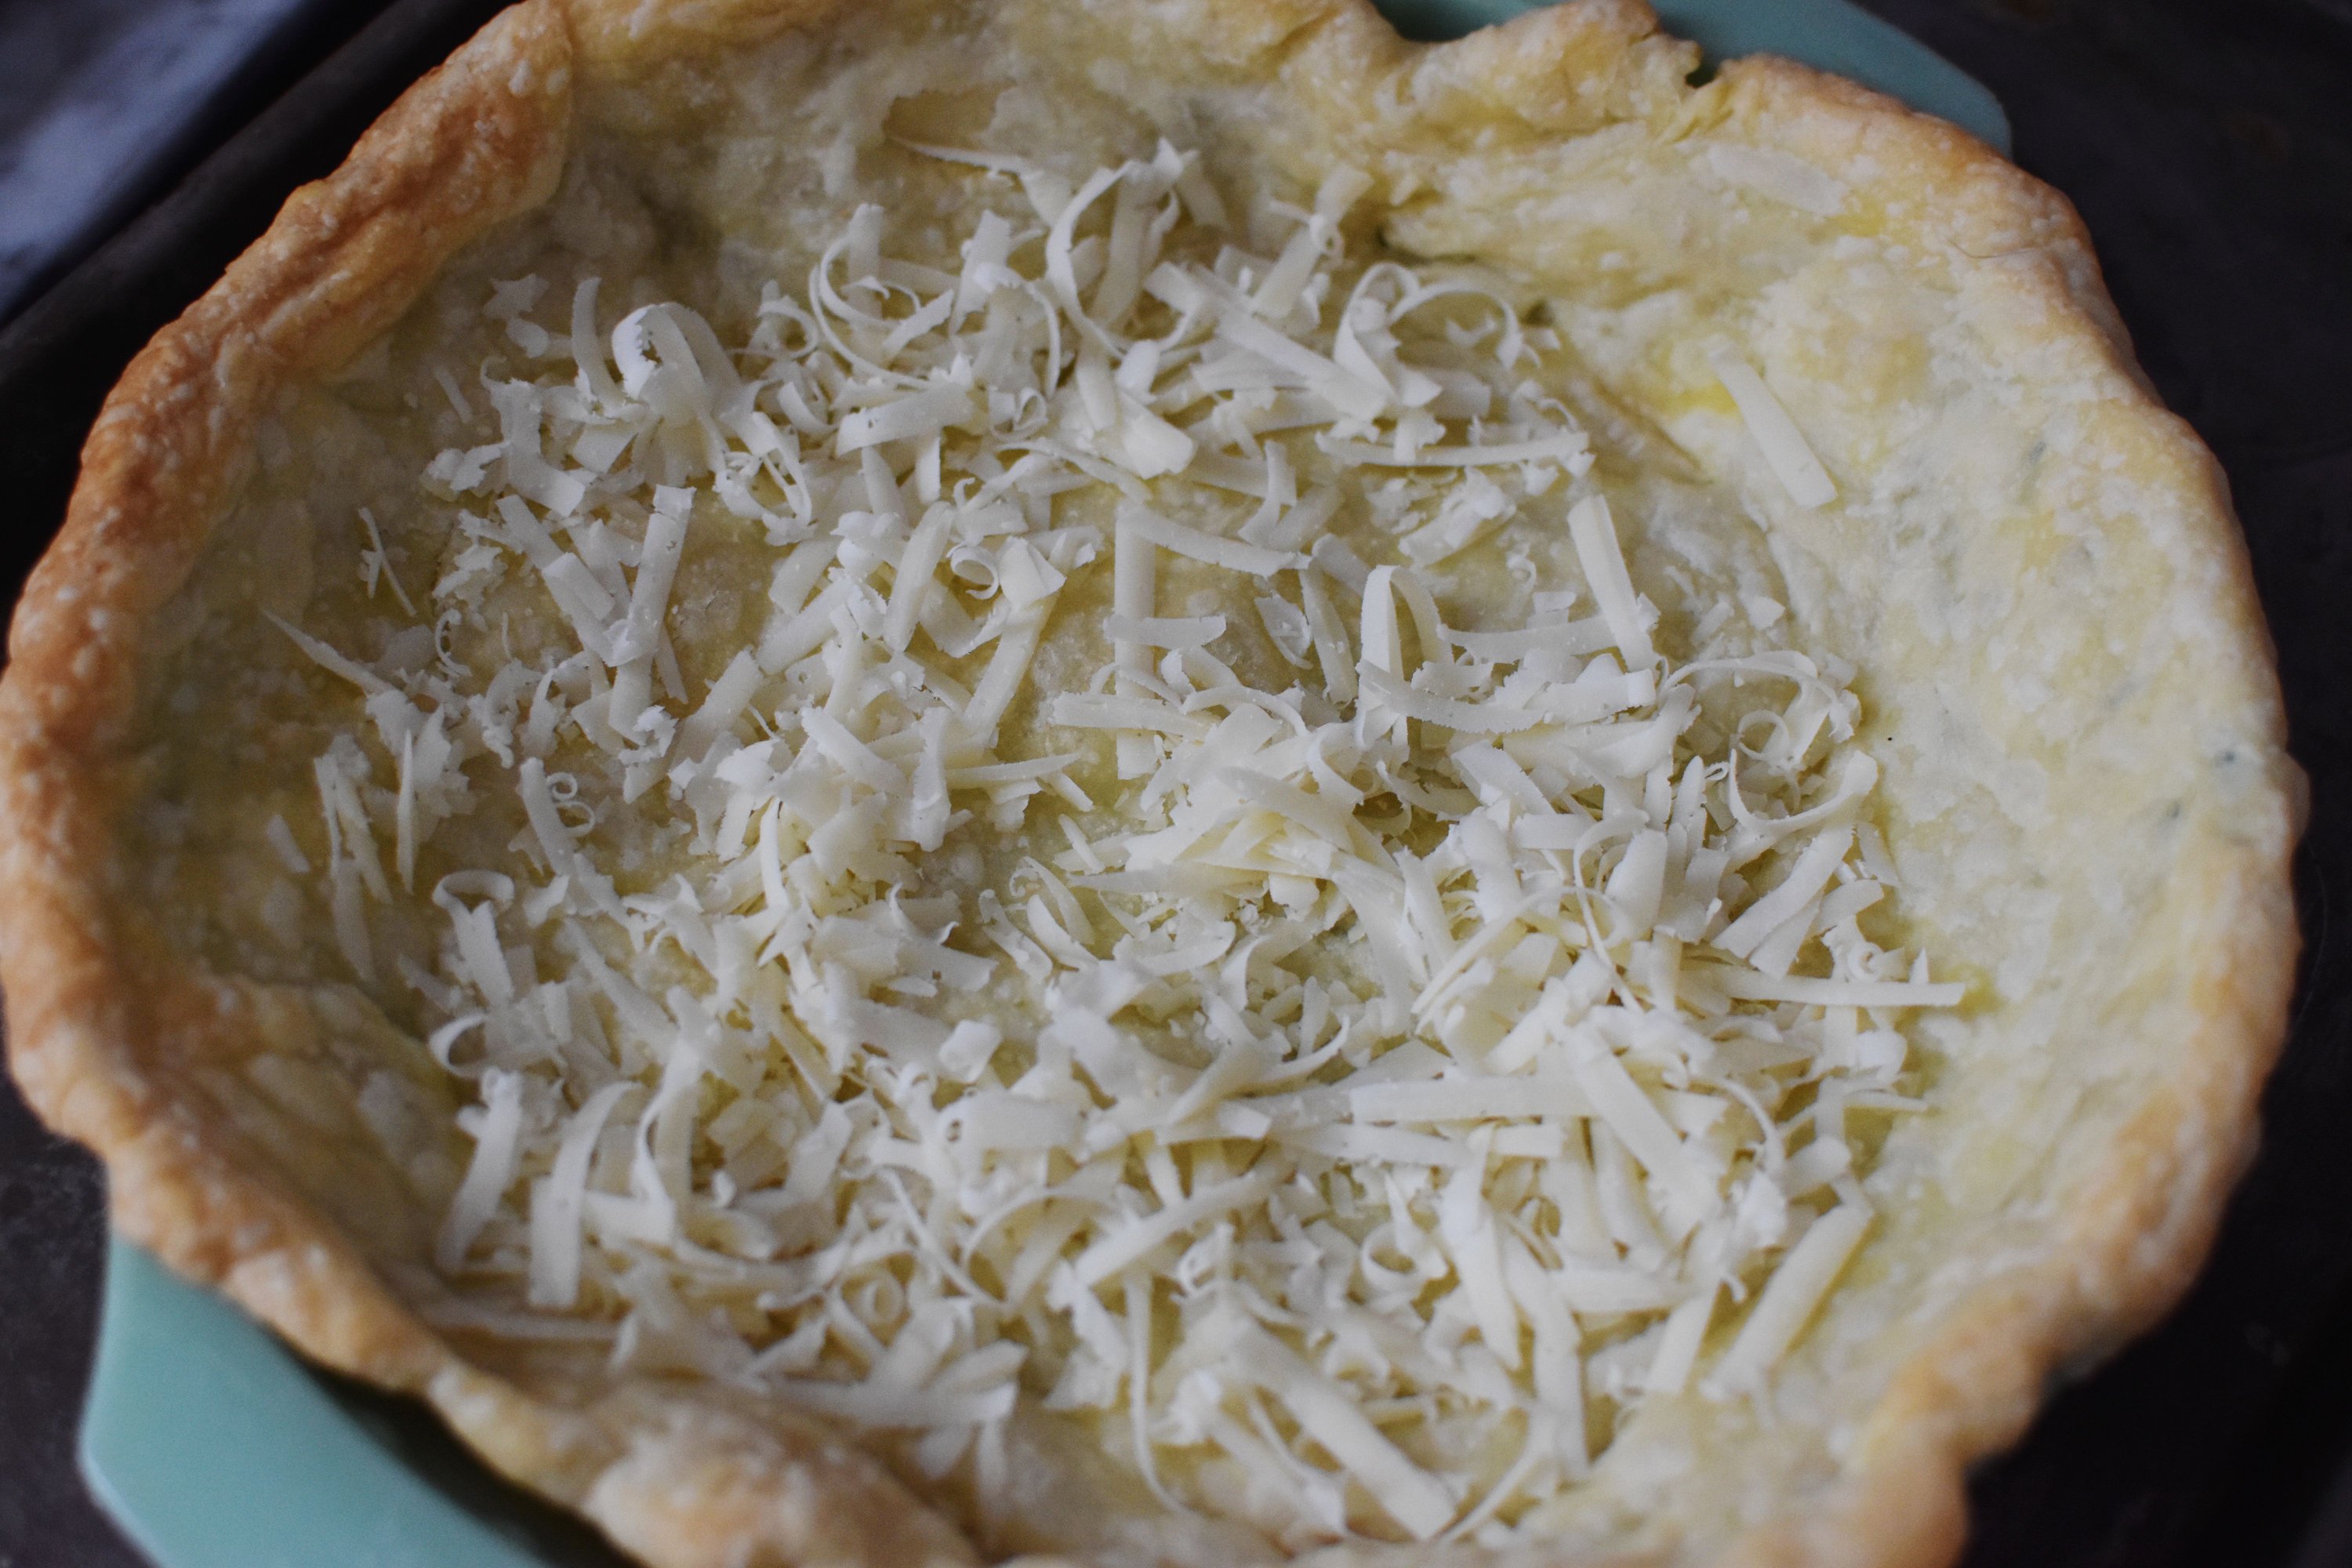
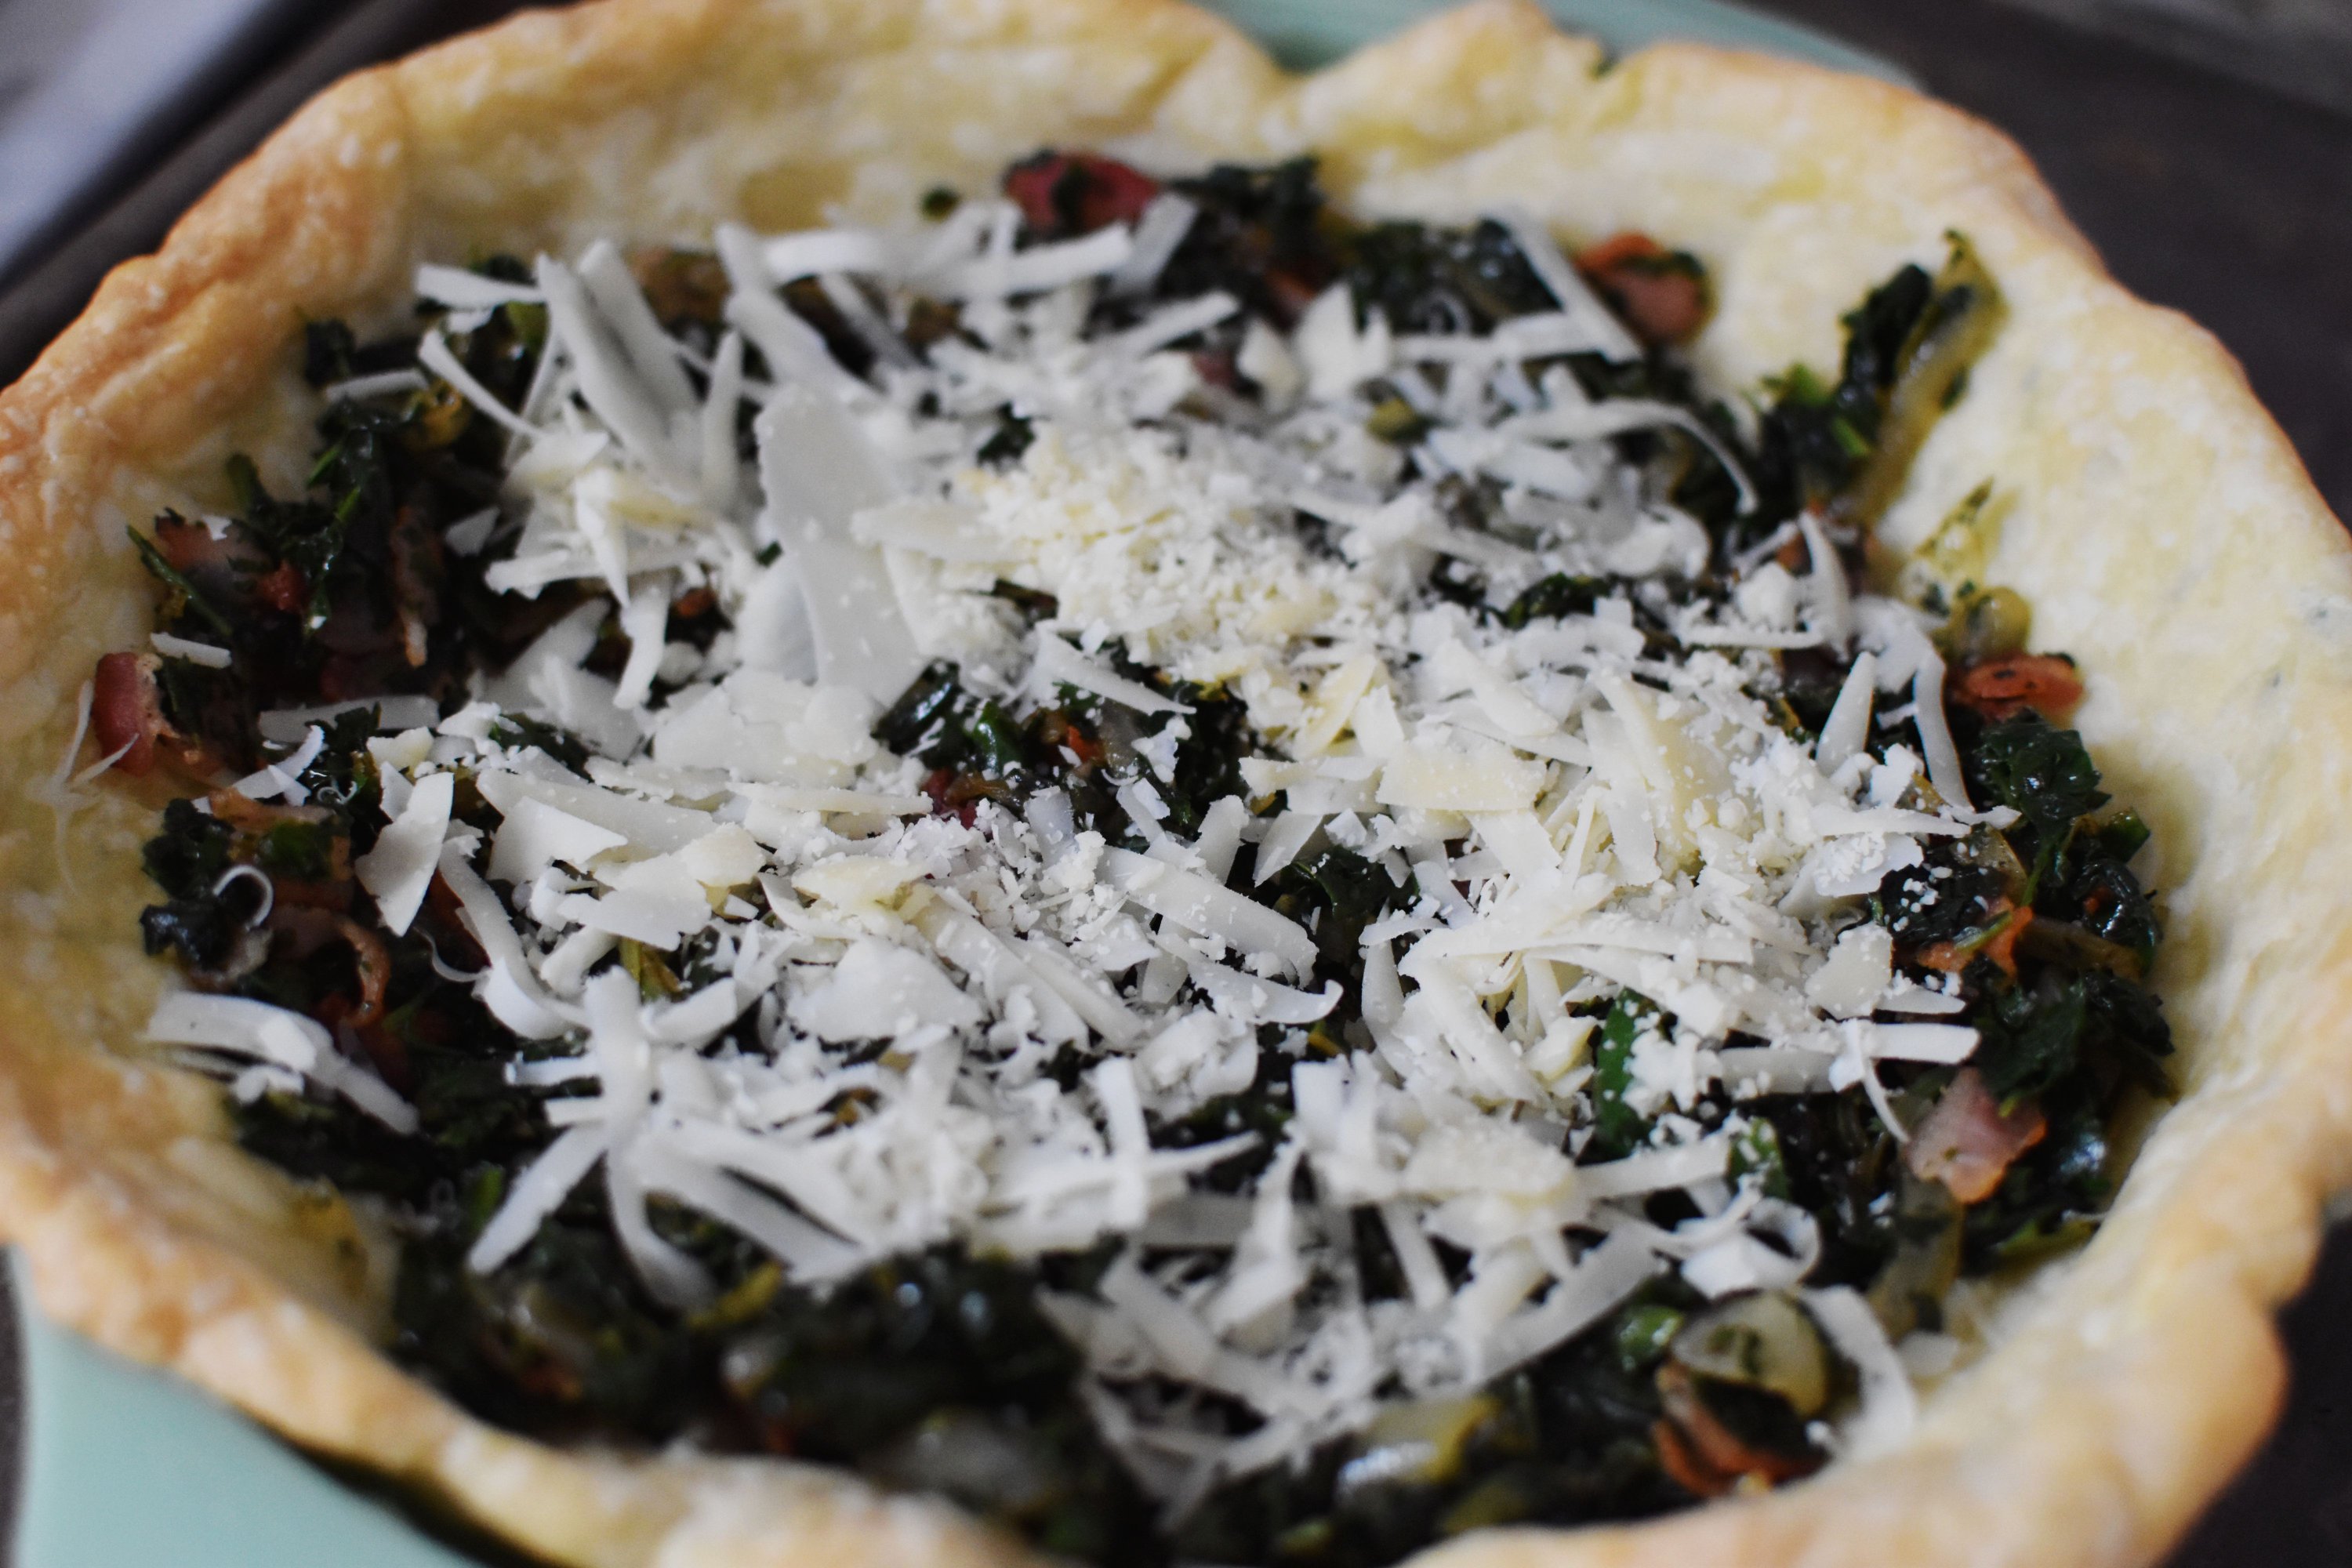
Line your cooled crust with about half of the cheese.
I had asiago cheese on hand, but you could use cheddar, Parmesan, brie, etc. You need about a cup total.
Put your cooled filling on top.
Top with the rest of your cheese.
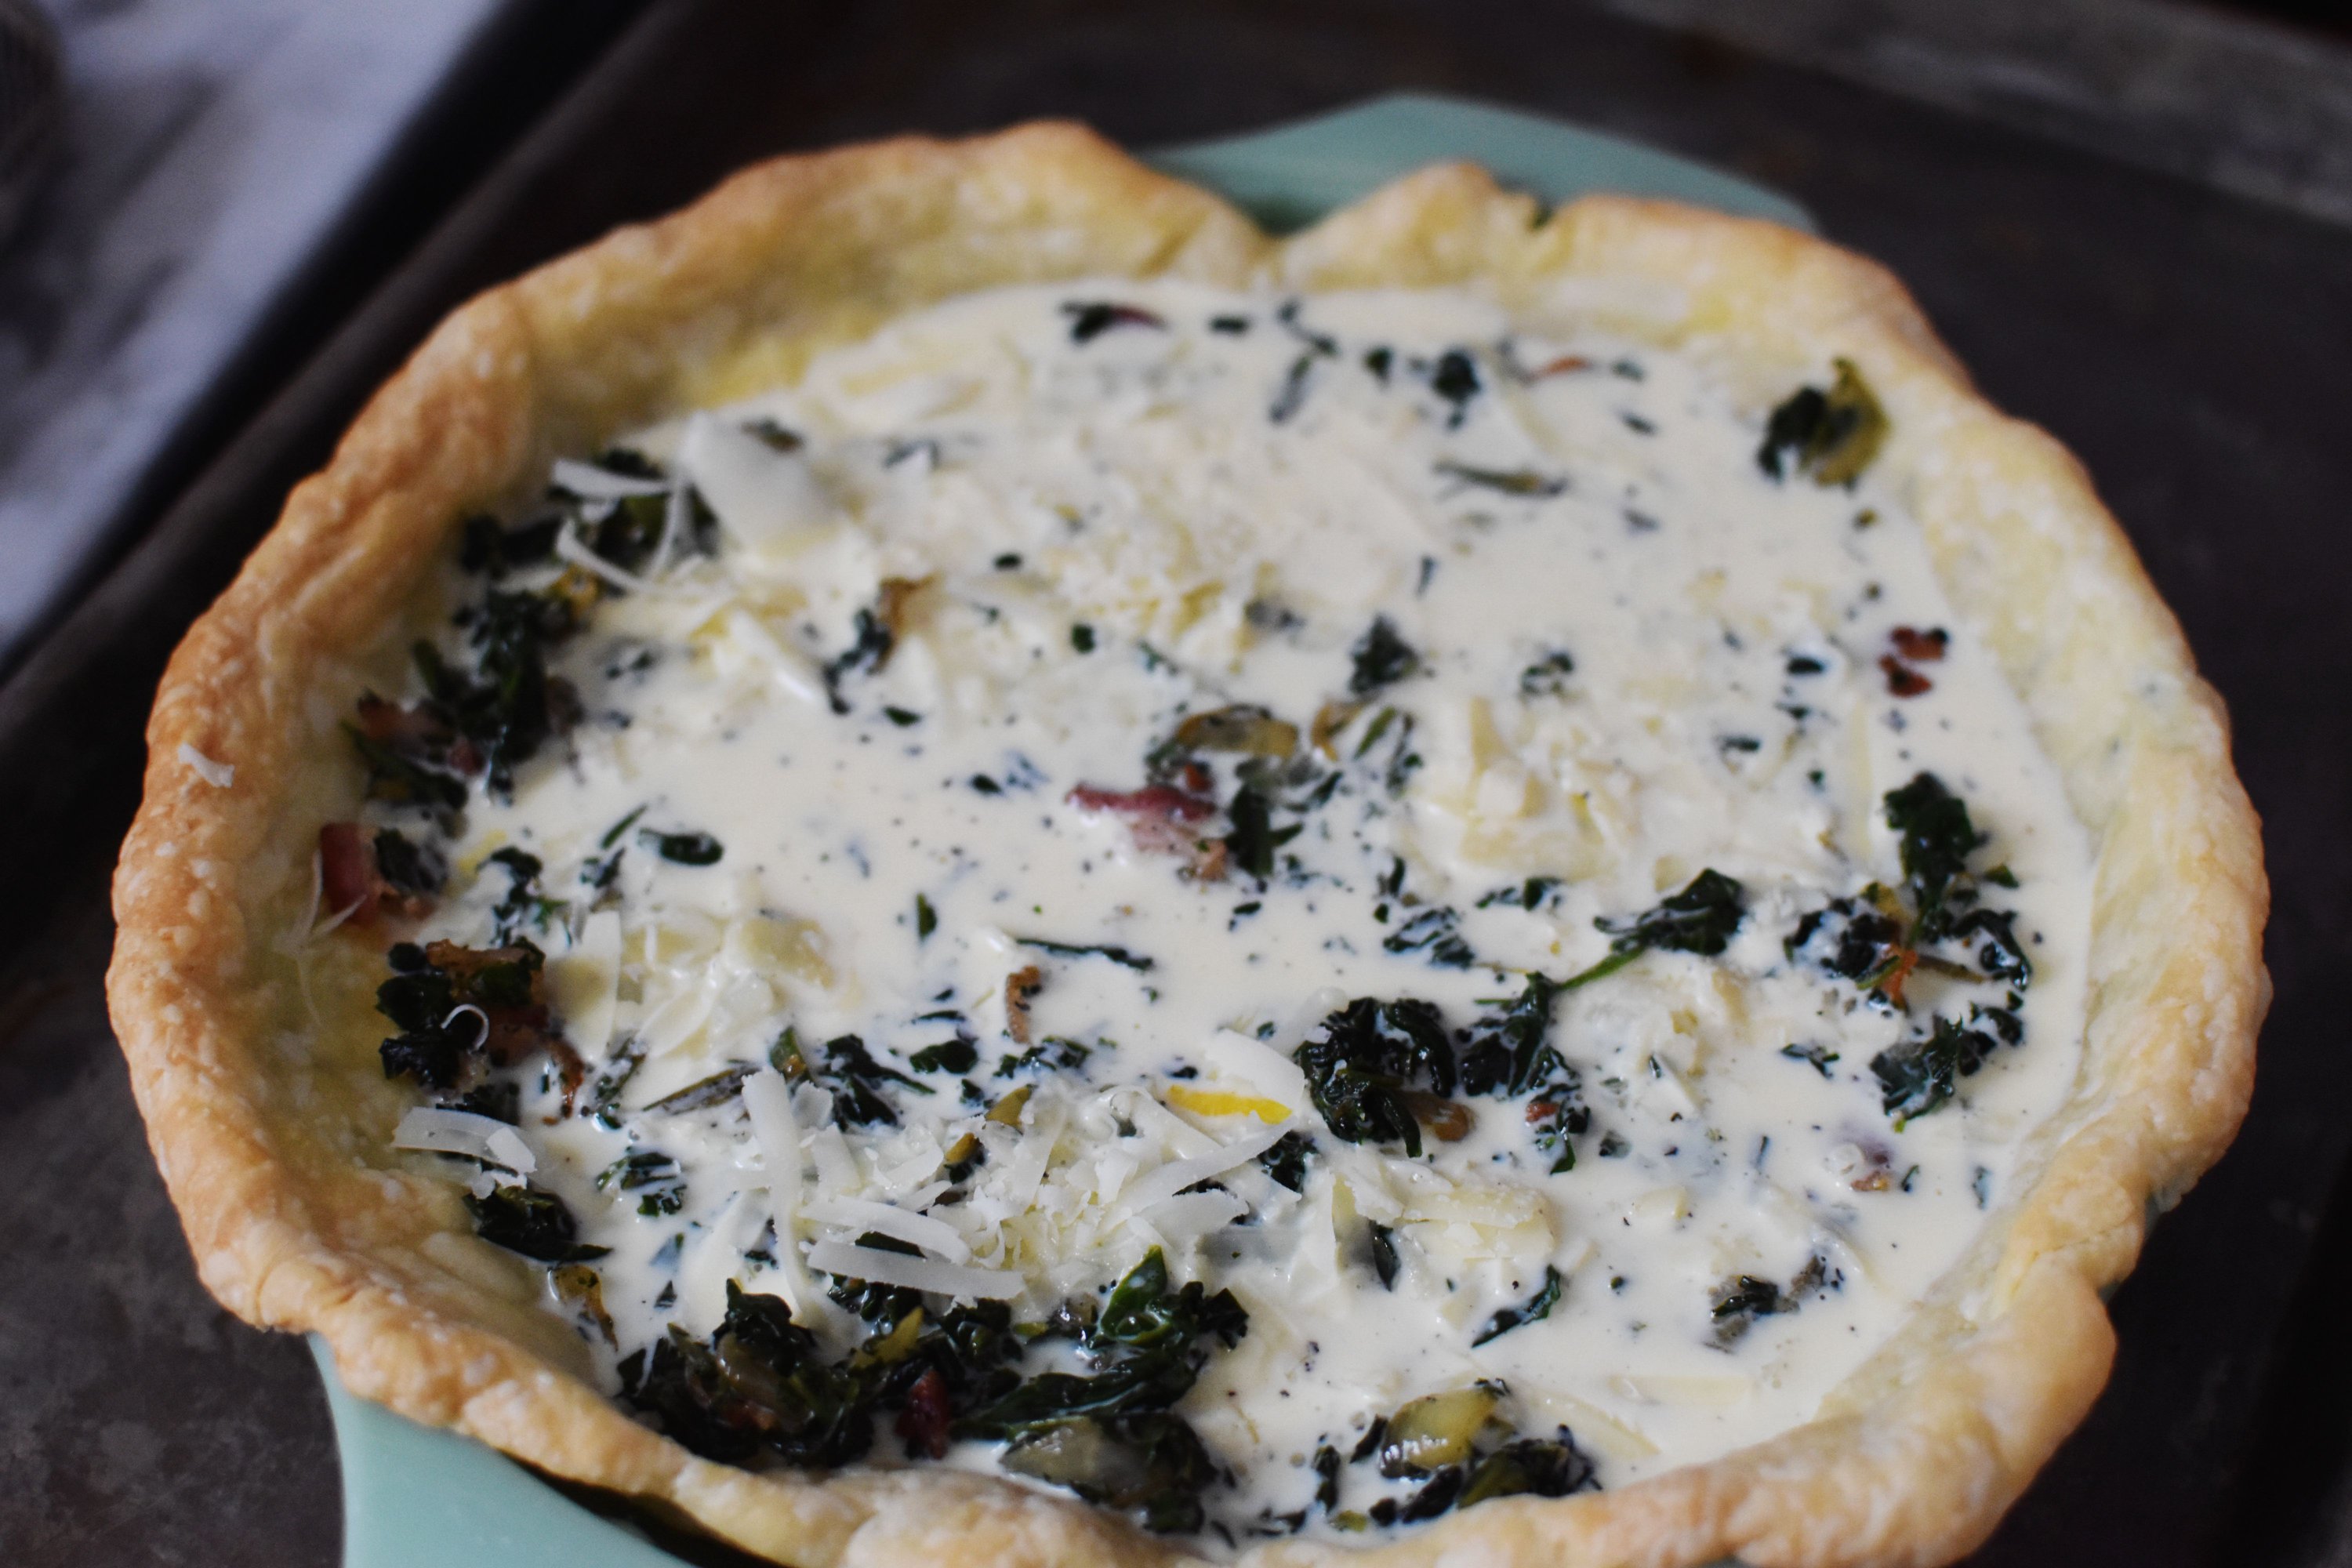
Now whisk 3 eggs, 1.5 cup milk or cream or whatever you like, and about a half teaspoon each of salt and pepper, more or less depending on your personal tastes. Pour the egg mixture over your cheese and filling.
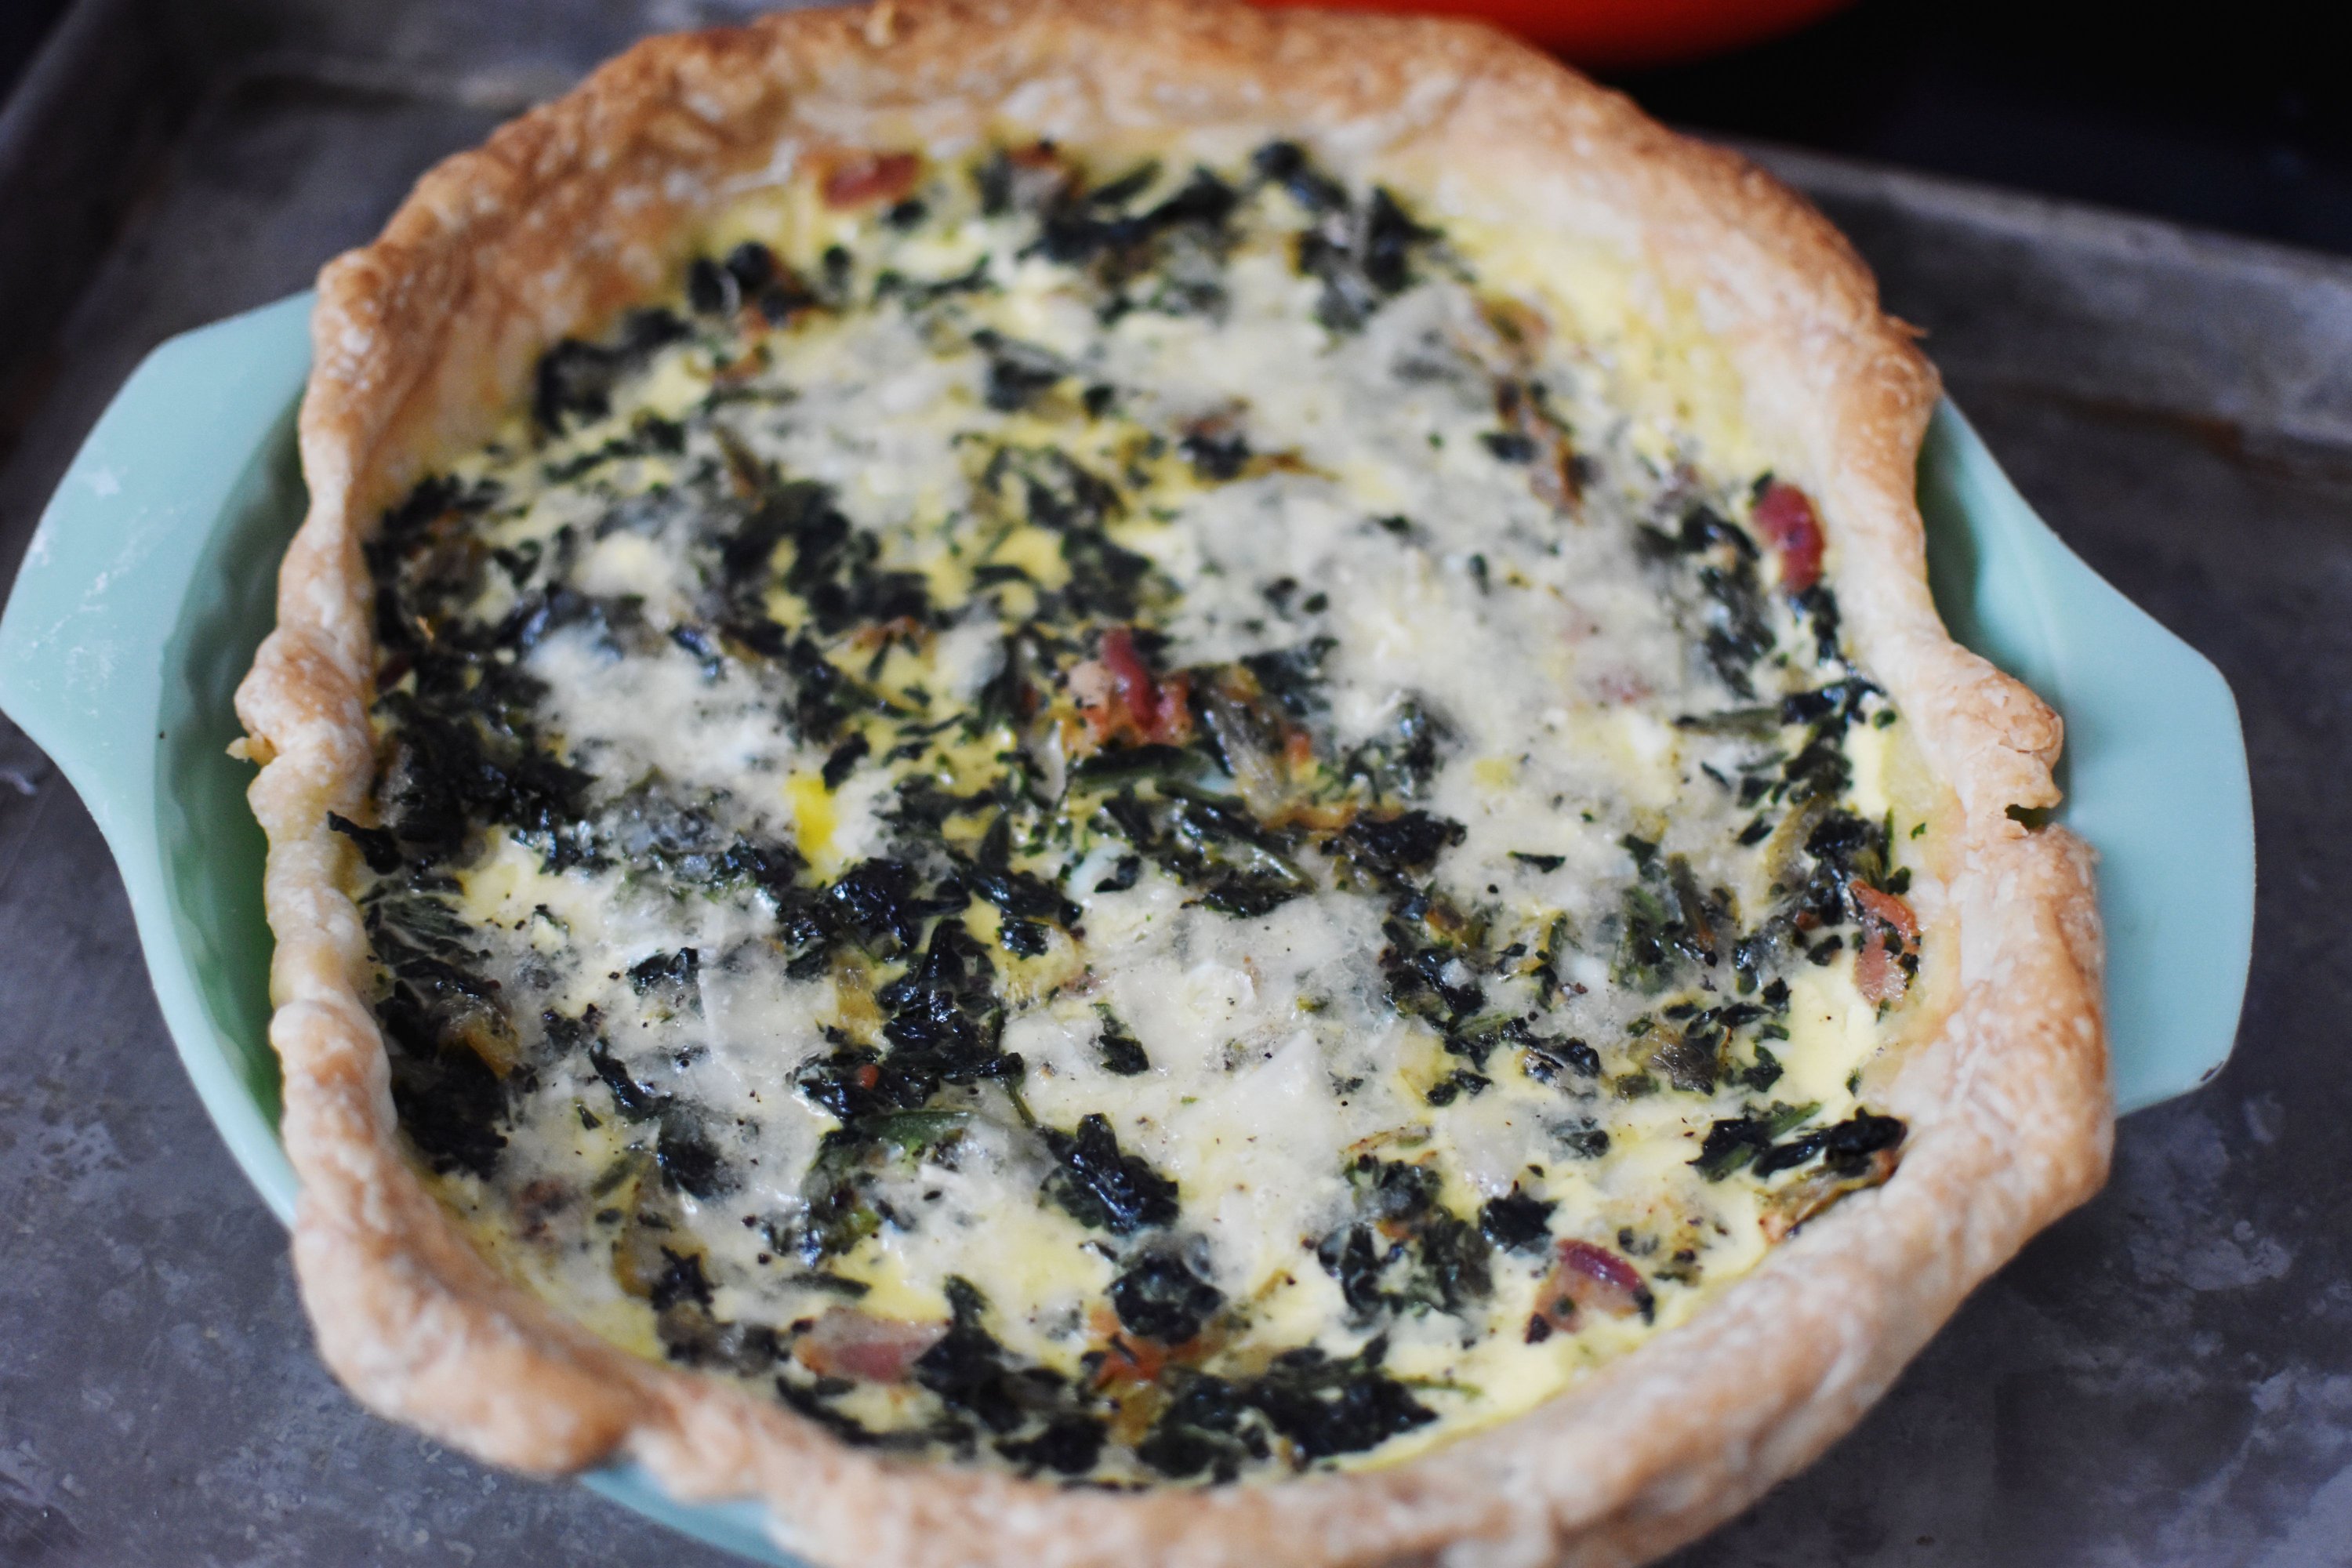
Put into your 350 degree oven and bake for 35-40 minutes, until it is just slightly jiggly in the middle.
Once it is done, let set for at least 45 minutes, or overnight. Then you may enjoy!
I would also highly recommend adding a bloody mary to the mix. Never a bad idea!

I hope you find ways to pass your snow day quickly too!

OMG that looks so good!!! I love the step by step pictures – super helpful!! What a great looking Bloody Mary too!!!
LikeLike
I’m going to make that, too. Right as after the scones. I swear to God!
LikeLike