I am about to share one of my darkest secrets: I am a scone snob. I maintain a high level of skepticism when planning to eat a scone. Only if the scone is flaky, but moist, with a delicate crumb and a crisp exterior do I admit that it is good.
How did I become such a scone snob? I learned how to make them. Once you have a good homemade scone, you can never again resort to the overly sweetened bricks that many bakeries sell. I will admit that I have never been to Britain, where scones originated, but I bet I would like it there.
The plus side of a good scone is that they are not difficult to make. Like many pastries, everything should be cold (I even freeze my butter), and you should never overwork the dough. If you can get those basic concepts down then you can make your own delicious scones at home.
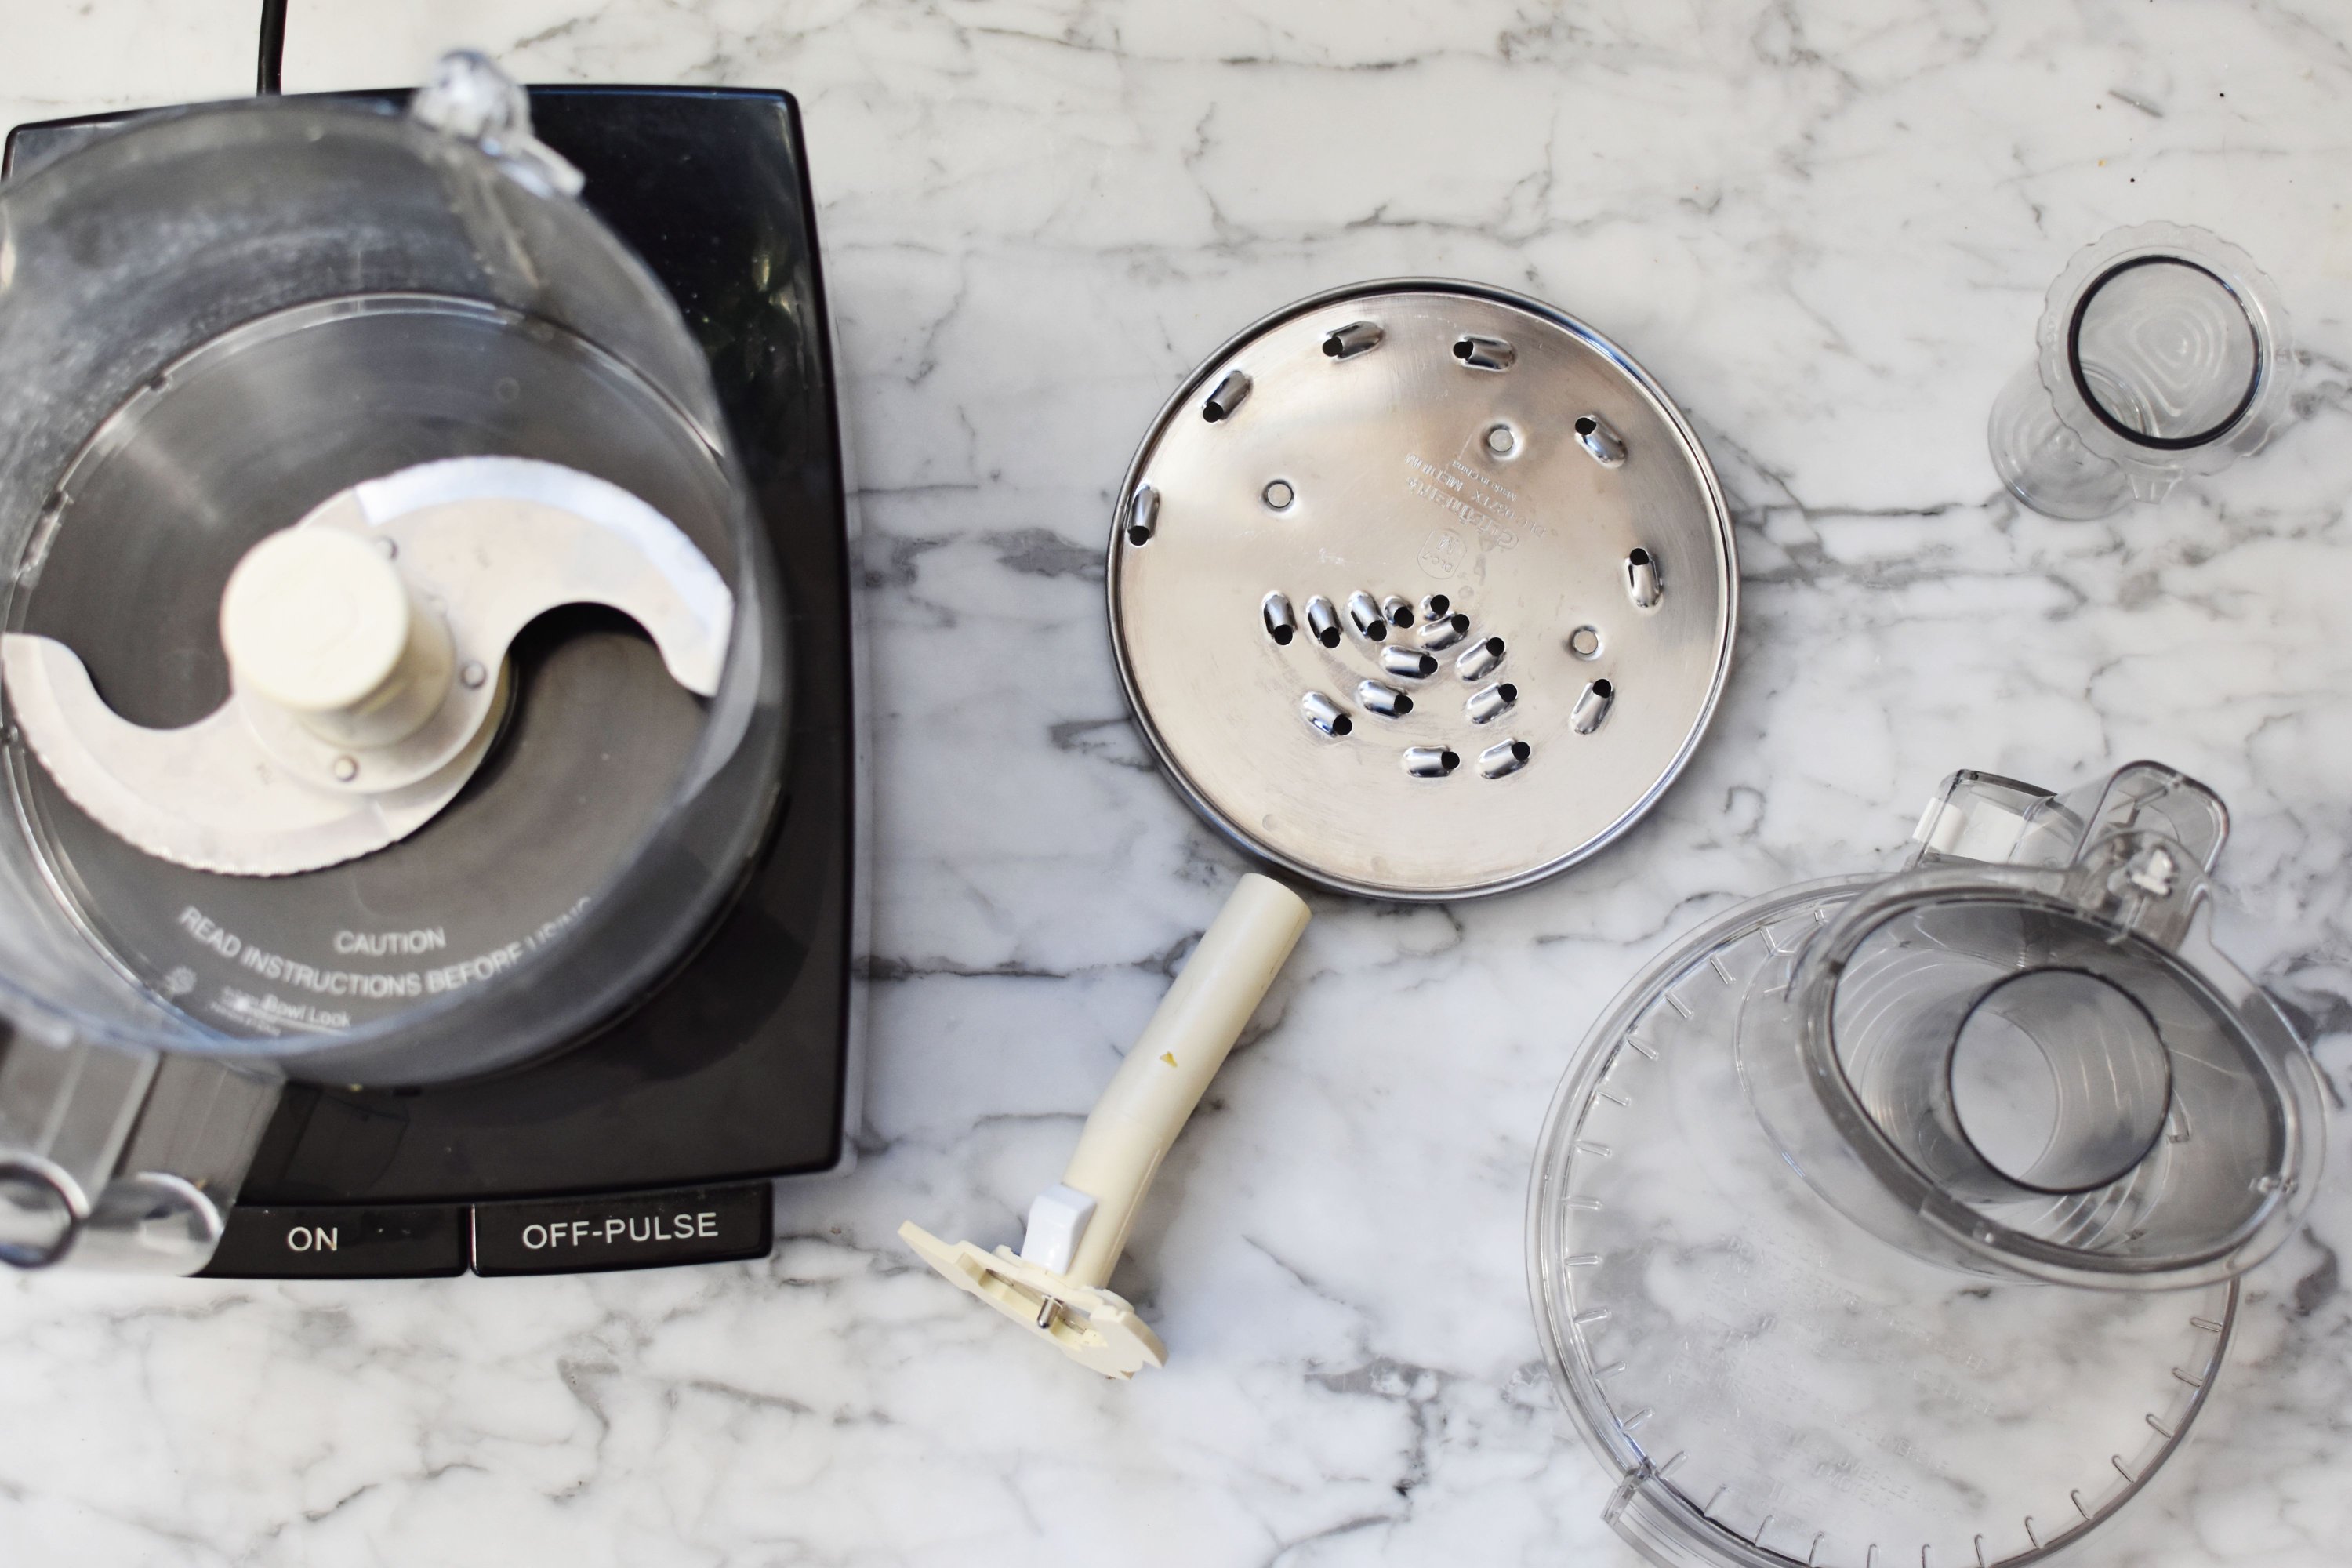
The following is a recipe I found on Chowhound. I like the technique and it always results in a flaky, delicious scone that is bursting with berries. You can find the original link here: https://www.chowhound.com/recipes/raspberry-scones-28560. I make the recipe exactly as shown, except that I like to use a food processor to grate the butter.
As a side note, my food processor is one of my favorite tools. You can mix, shred, or grate your ingredients in just a few seconds.
Preheat your oven to 400 degrees. Line a baking sheet with parchment paper.
Gather your ingredients, which include 2 cups all purpose flour, 1/4 cup sugar (plus a little more for sprinkling on top), 2.5 tsp baking powder, 1/2 tsp salt, 1 tsp lemon zest, a stick of frozen butter, 3/4 cup cream (plus a little more for brushing) and 1 cup of frozen berries. I used raspberries. They should be frozen, because of the technique we will use to incorporate them into the dough.

Mix your flour, baking soda, sugar, and salt in a bowl. I add them to my food processor and mix them with the basic blade. Then I change to the grating disk. Put the whole stick of frozen butter through the grating disk, on top of your flour mixture.
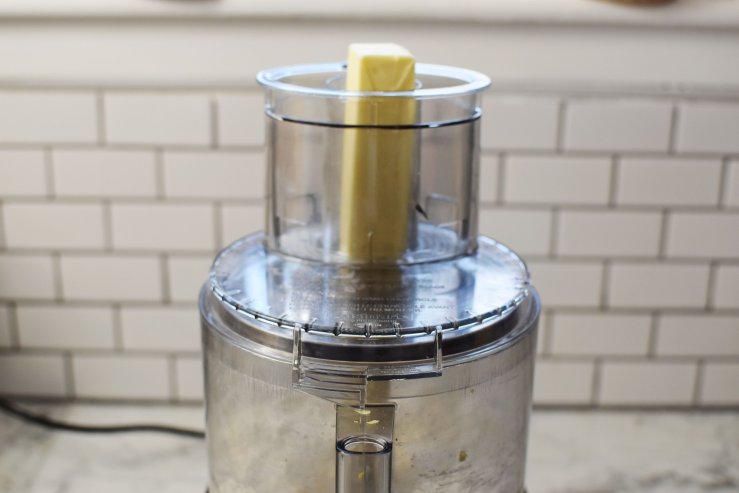
If you don’t have a food processor, or you want to grate by hand, go ahead. However, I would put the grated butter in the freezer for a few minutes to ensure that it is still cold.
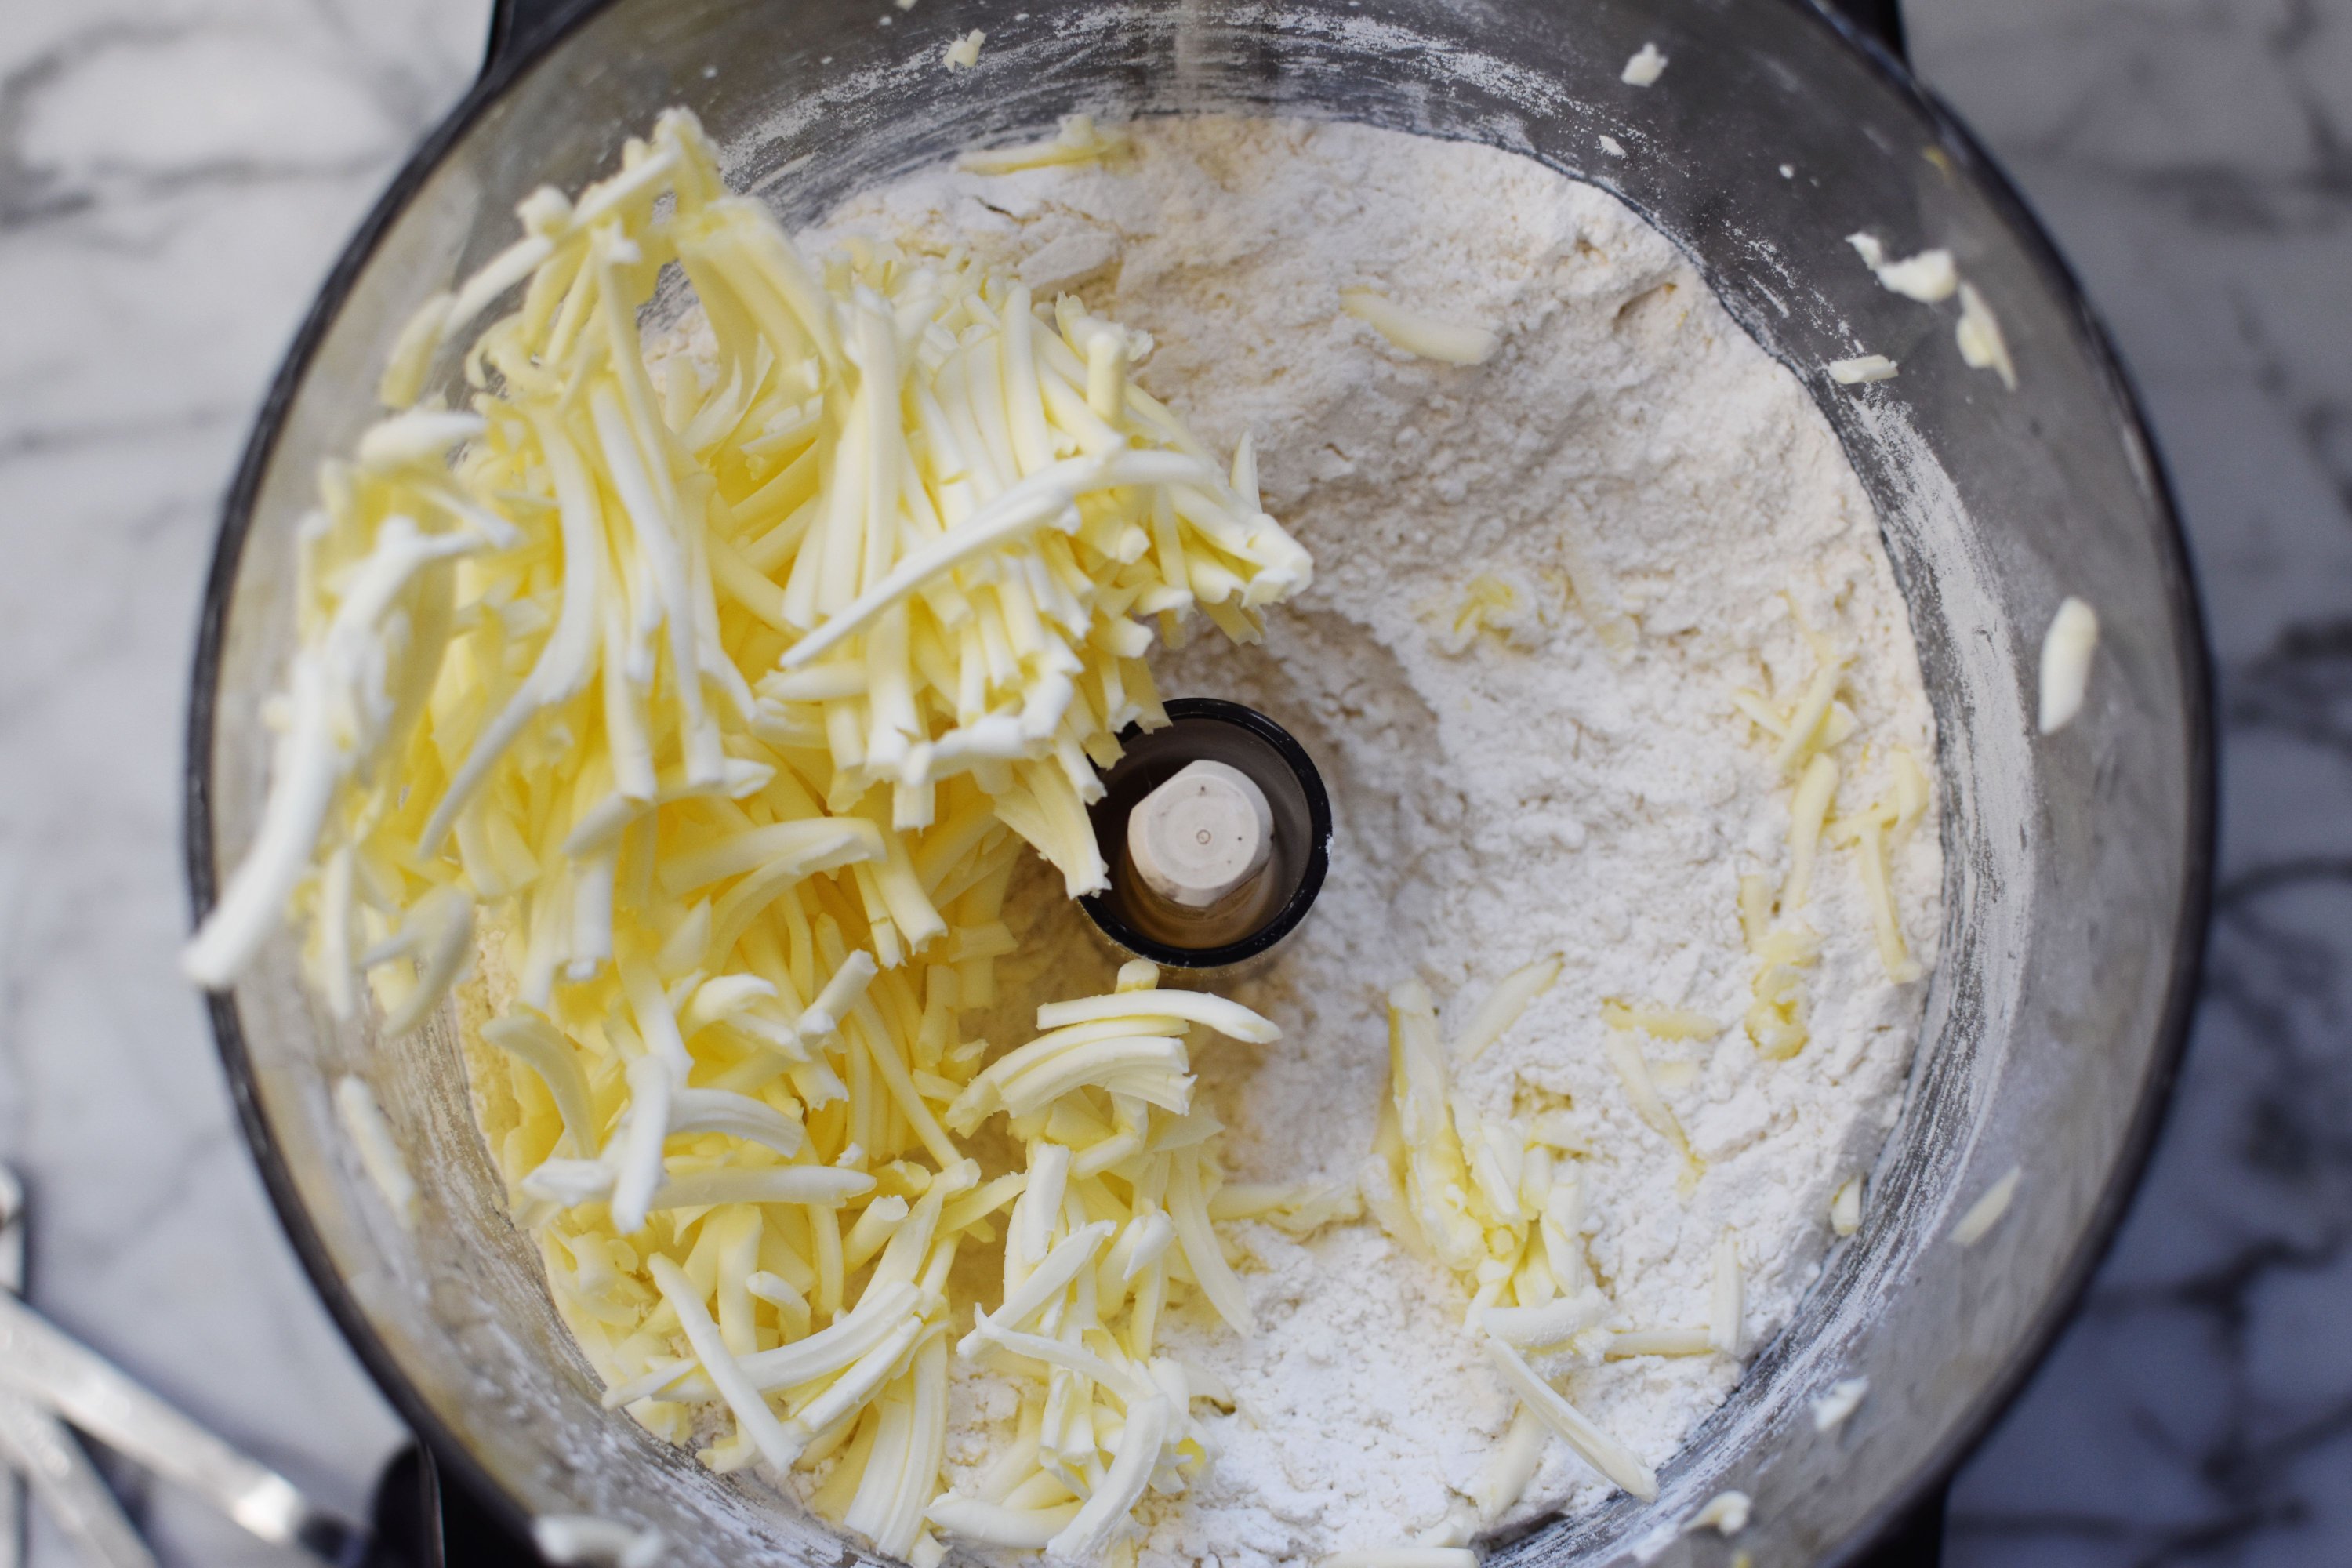
The cold butter will melt as the scones bake, which will make delicious flaky layers. If the butter was melted, or softer, the layers wouldn’t form.
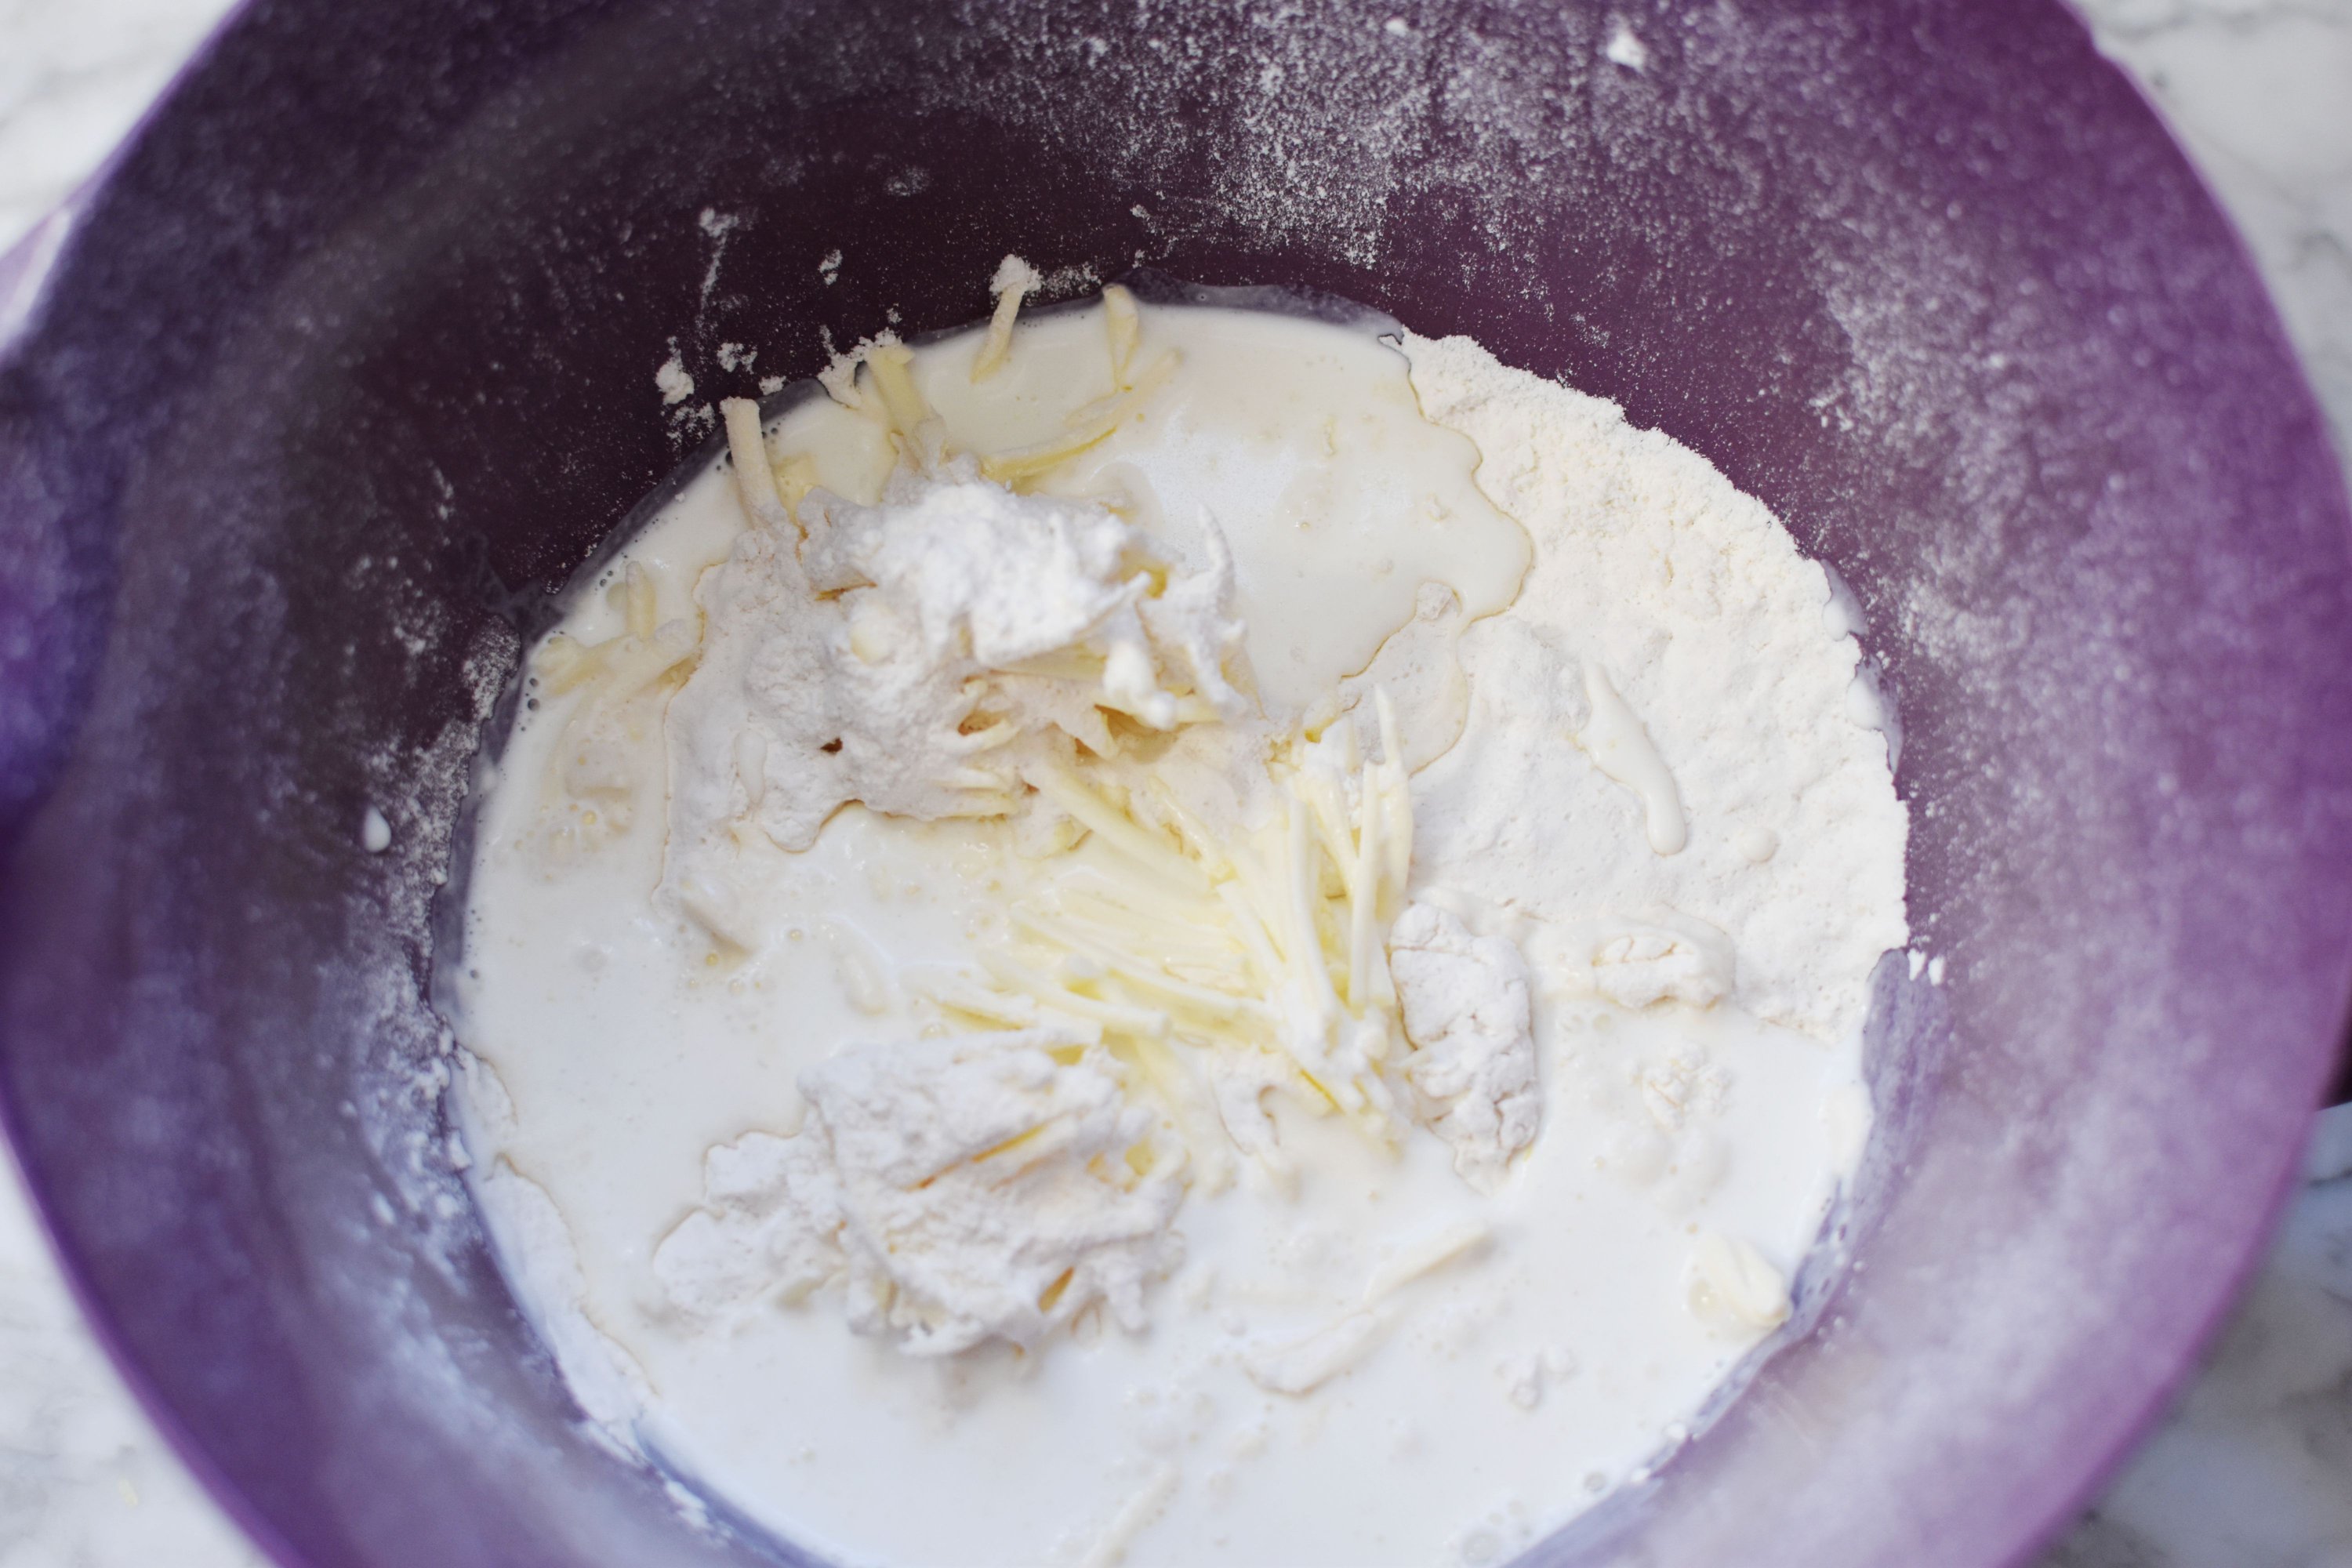
Then, you will have to dirty another bowl. Sorry. That is the only downside of a food processor. So put what is in the food processor into a large bowl, and pour your cold cream on top.
Mix until it is mostly together. It won’t all come together.
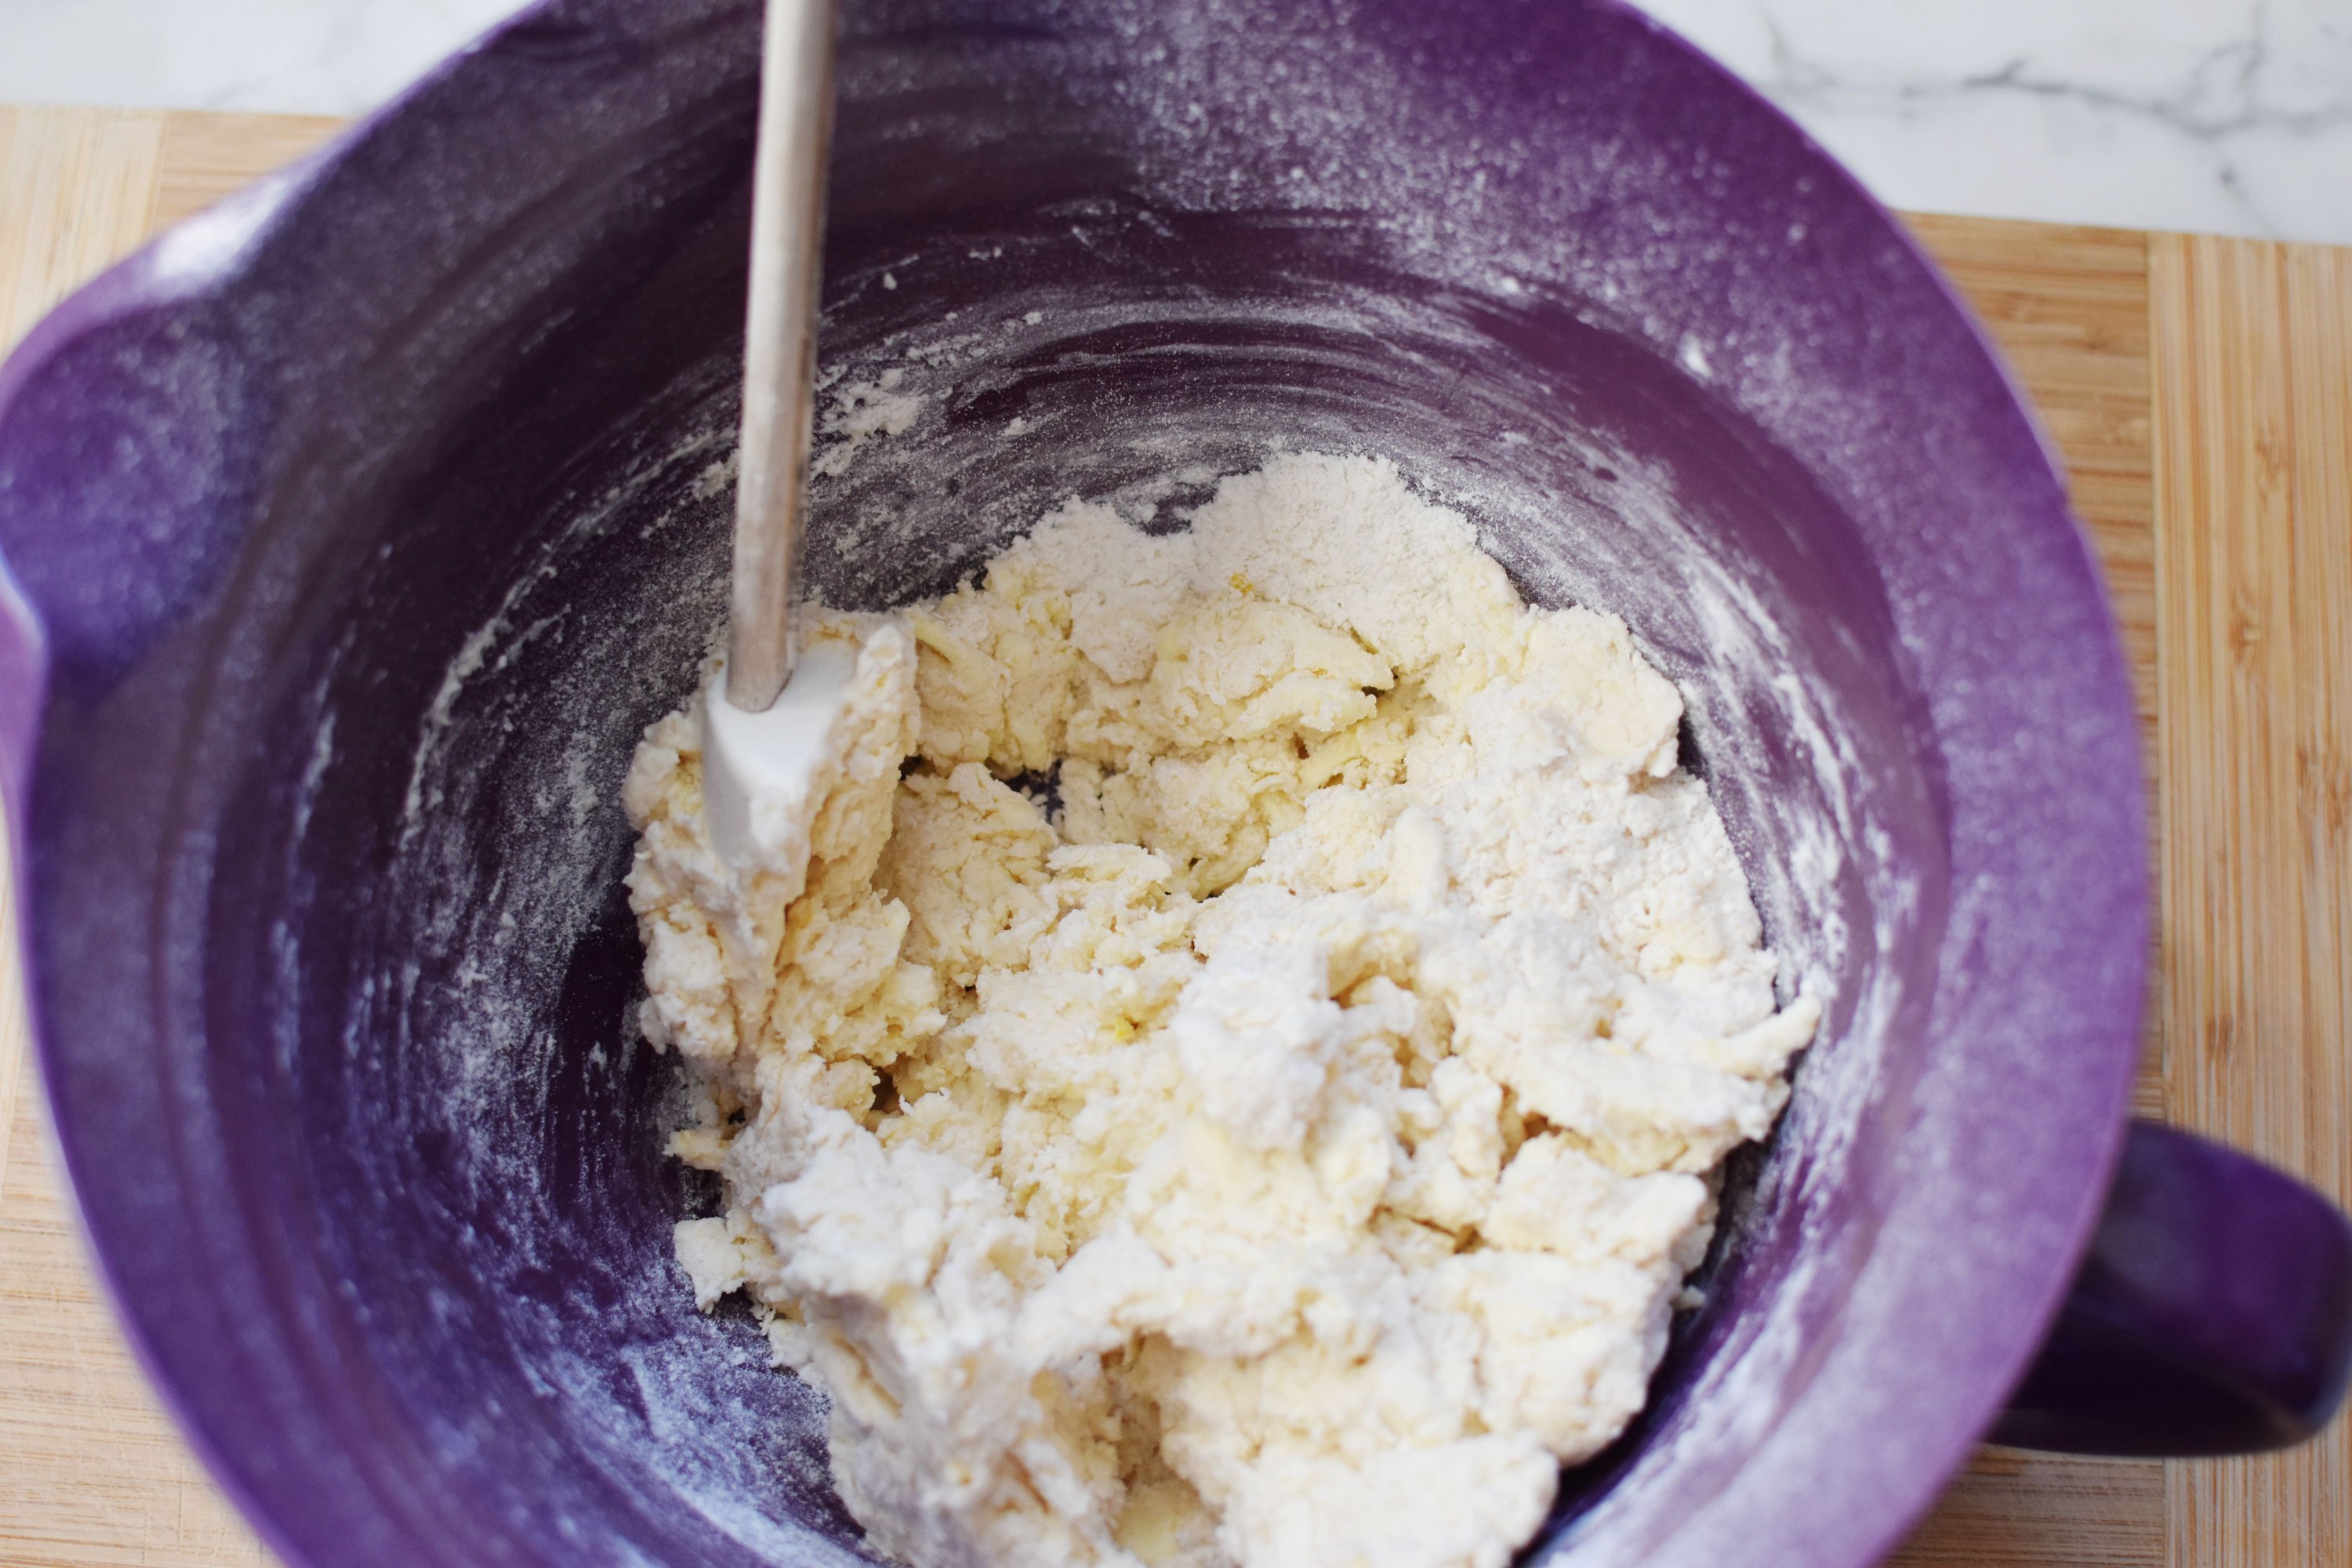
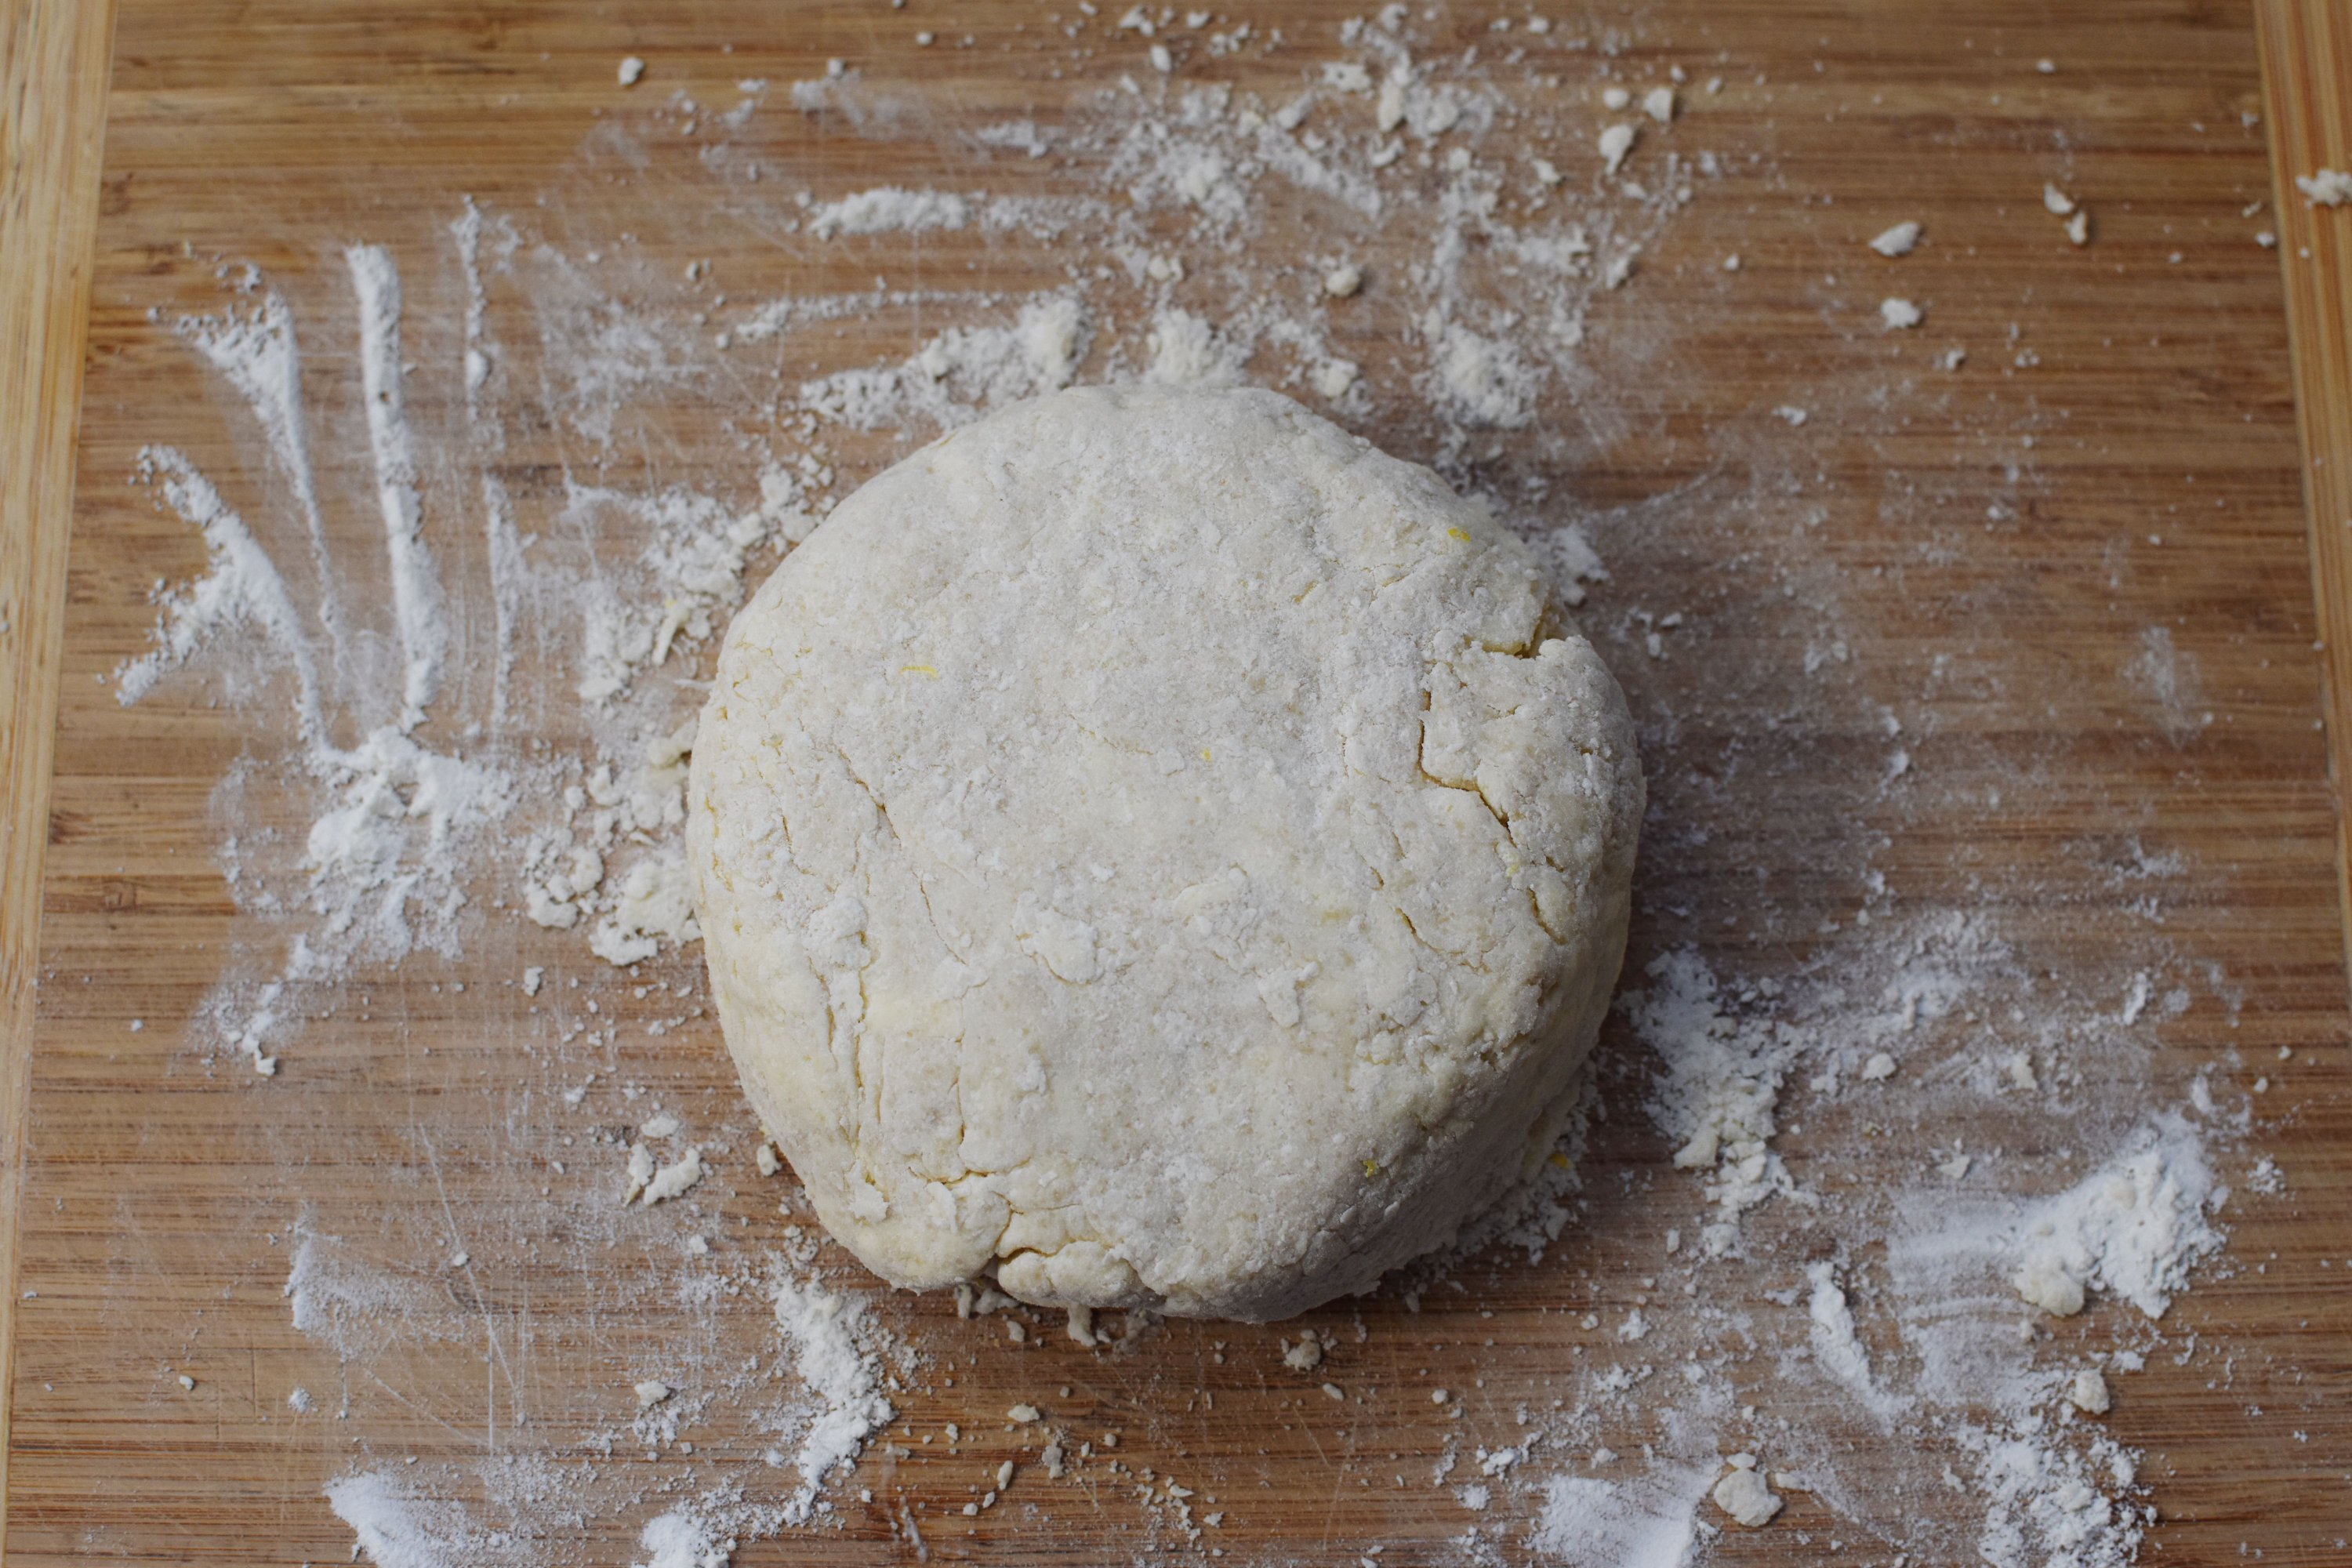
When it has come together like mine did in the above picture, dump onto a lightly floured cutting board or other surface. Knead gently until most of the flour is incorporated, and form into a ball. Do not overwork. You don’t want that butter to melt.
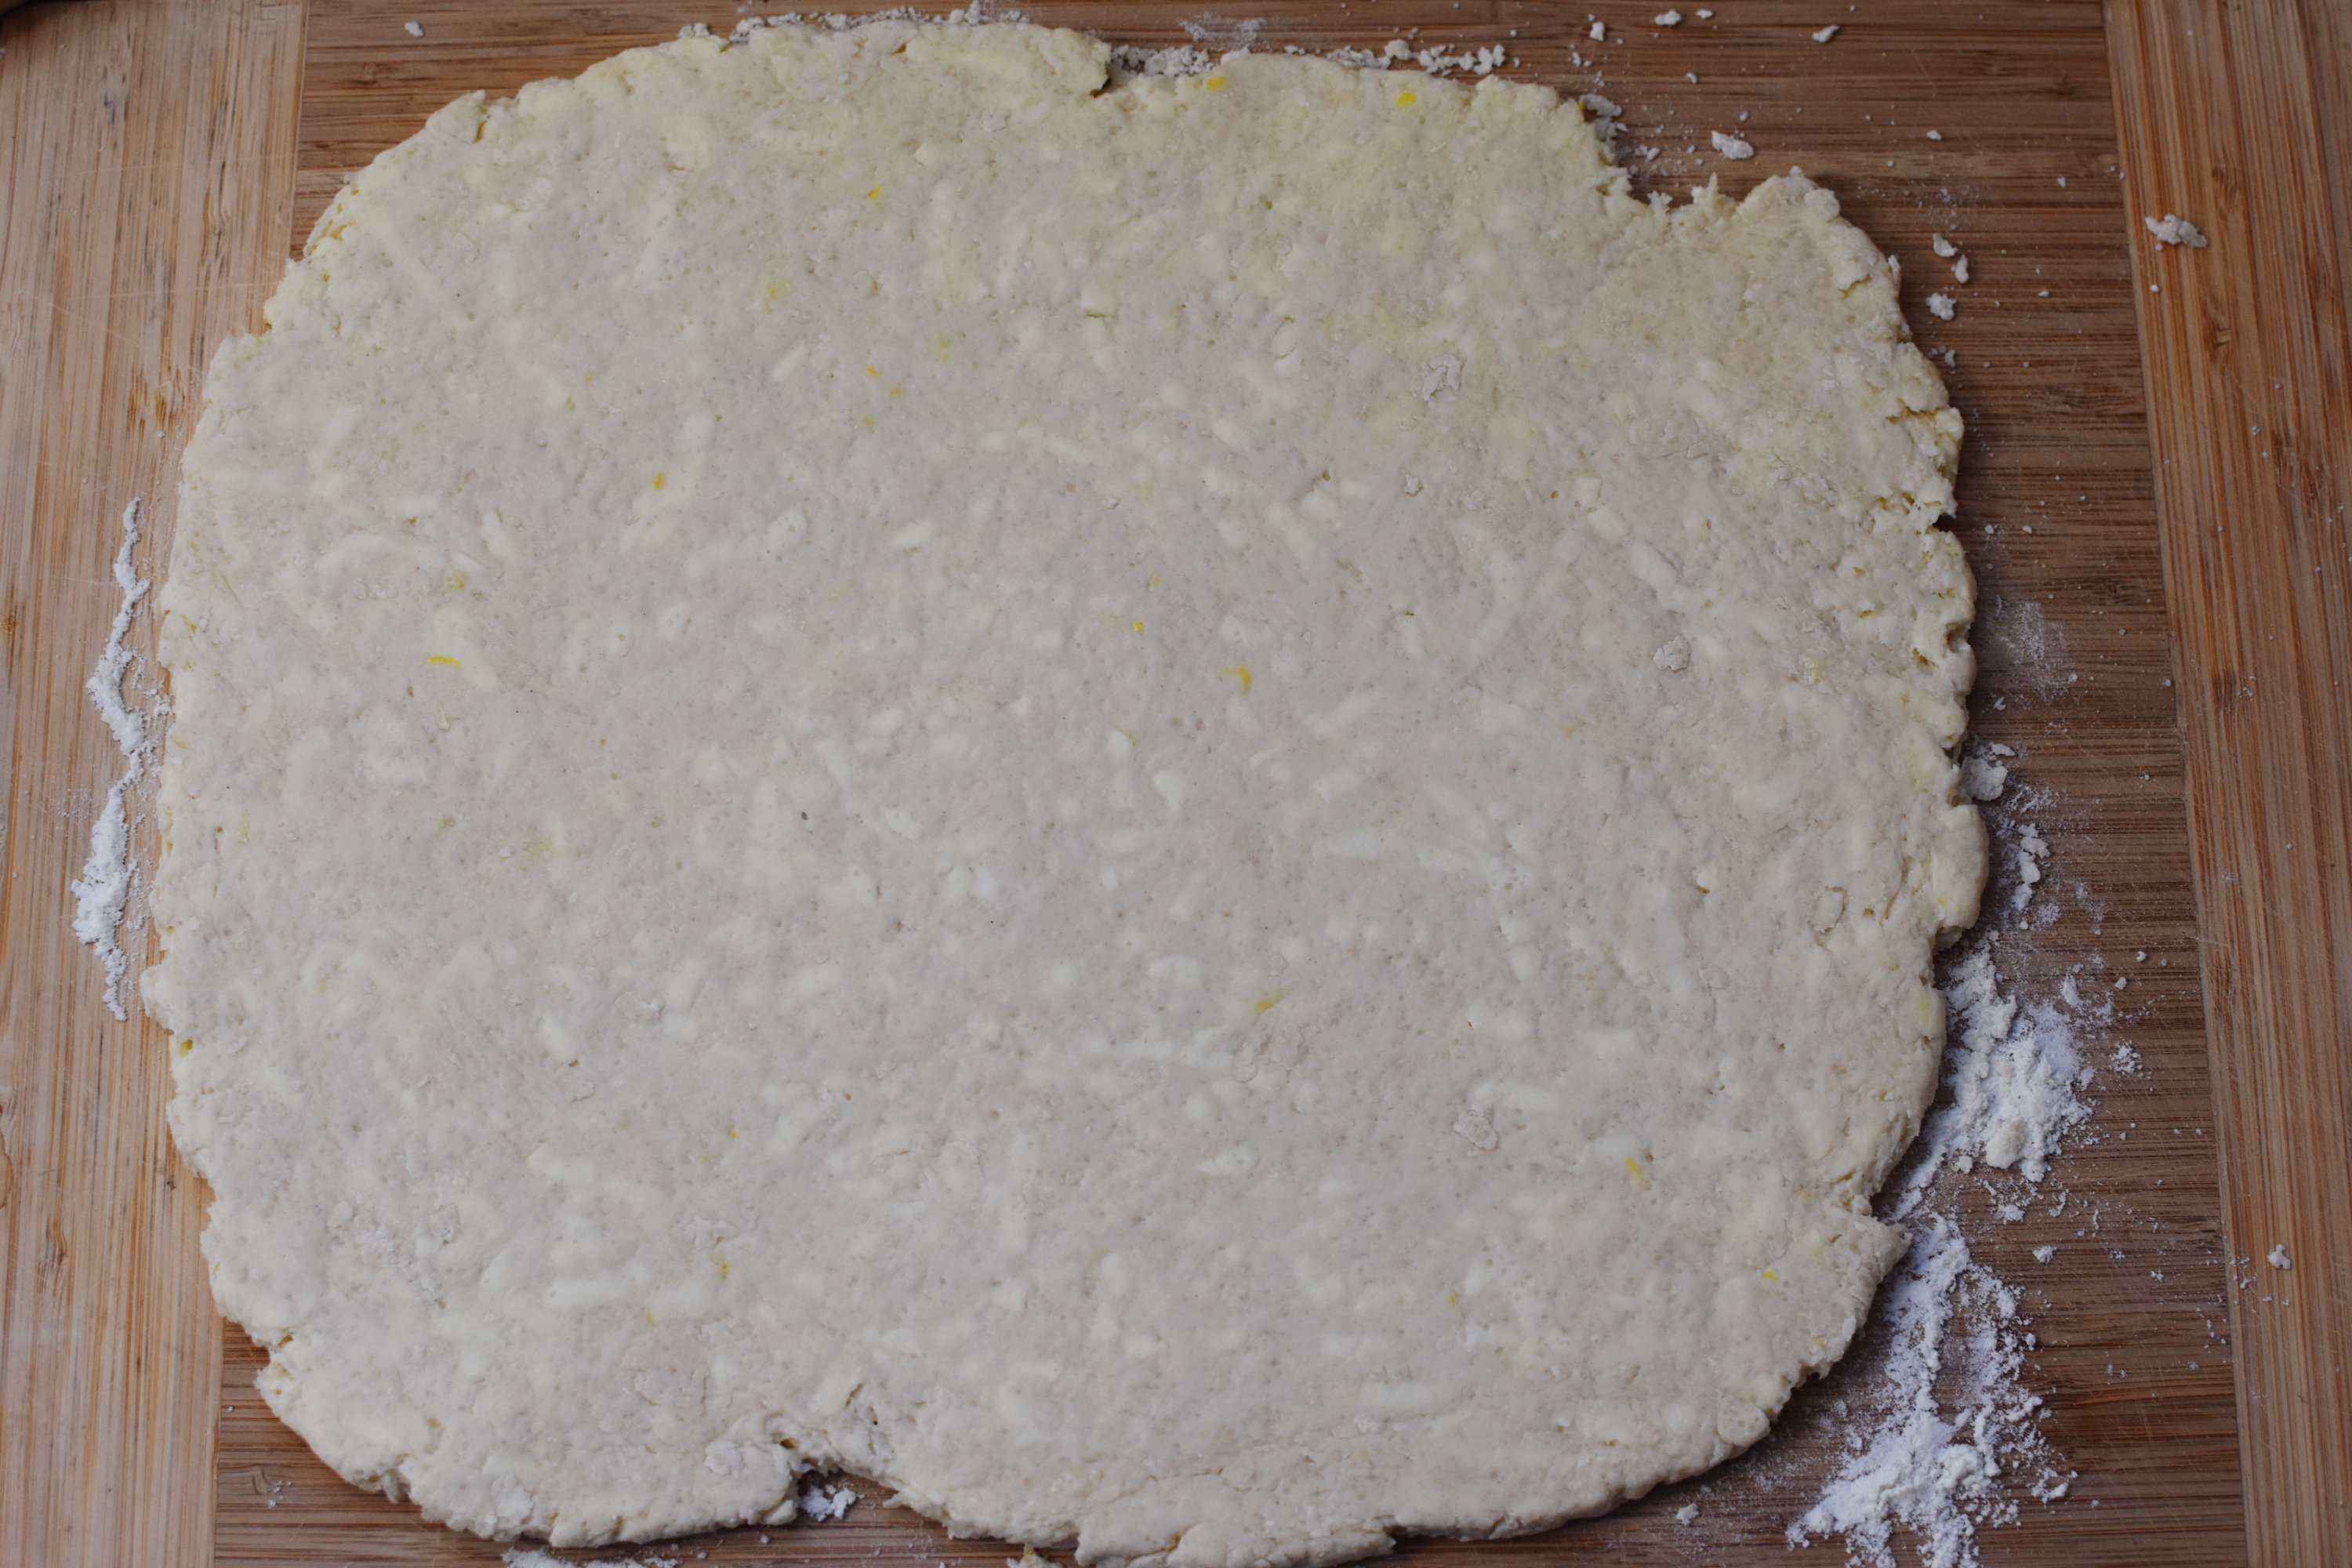
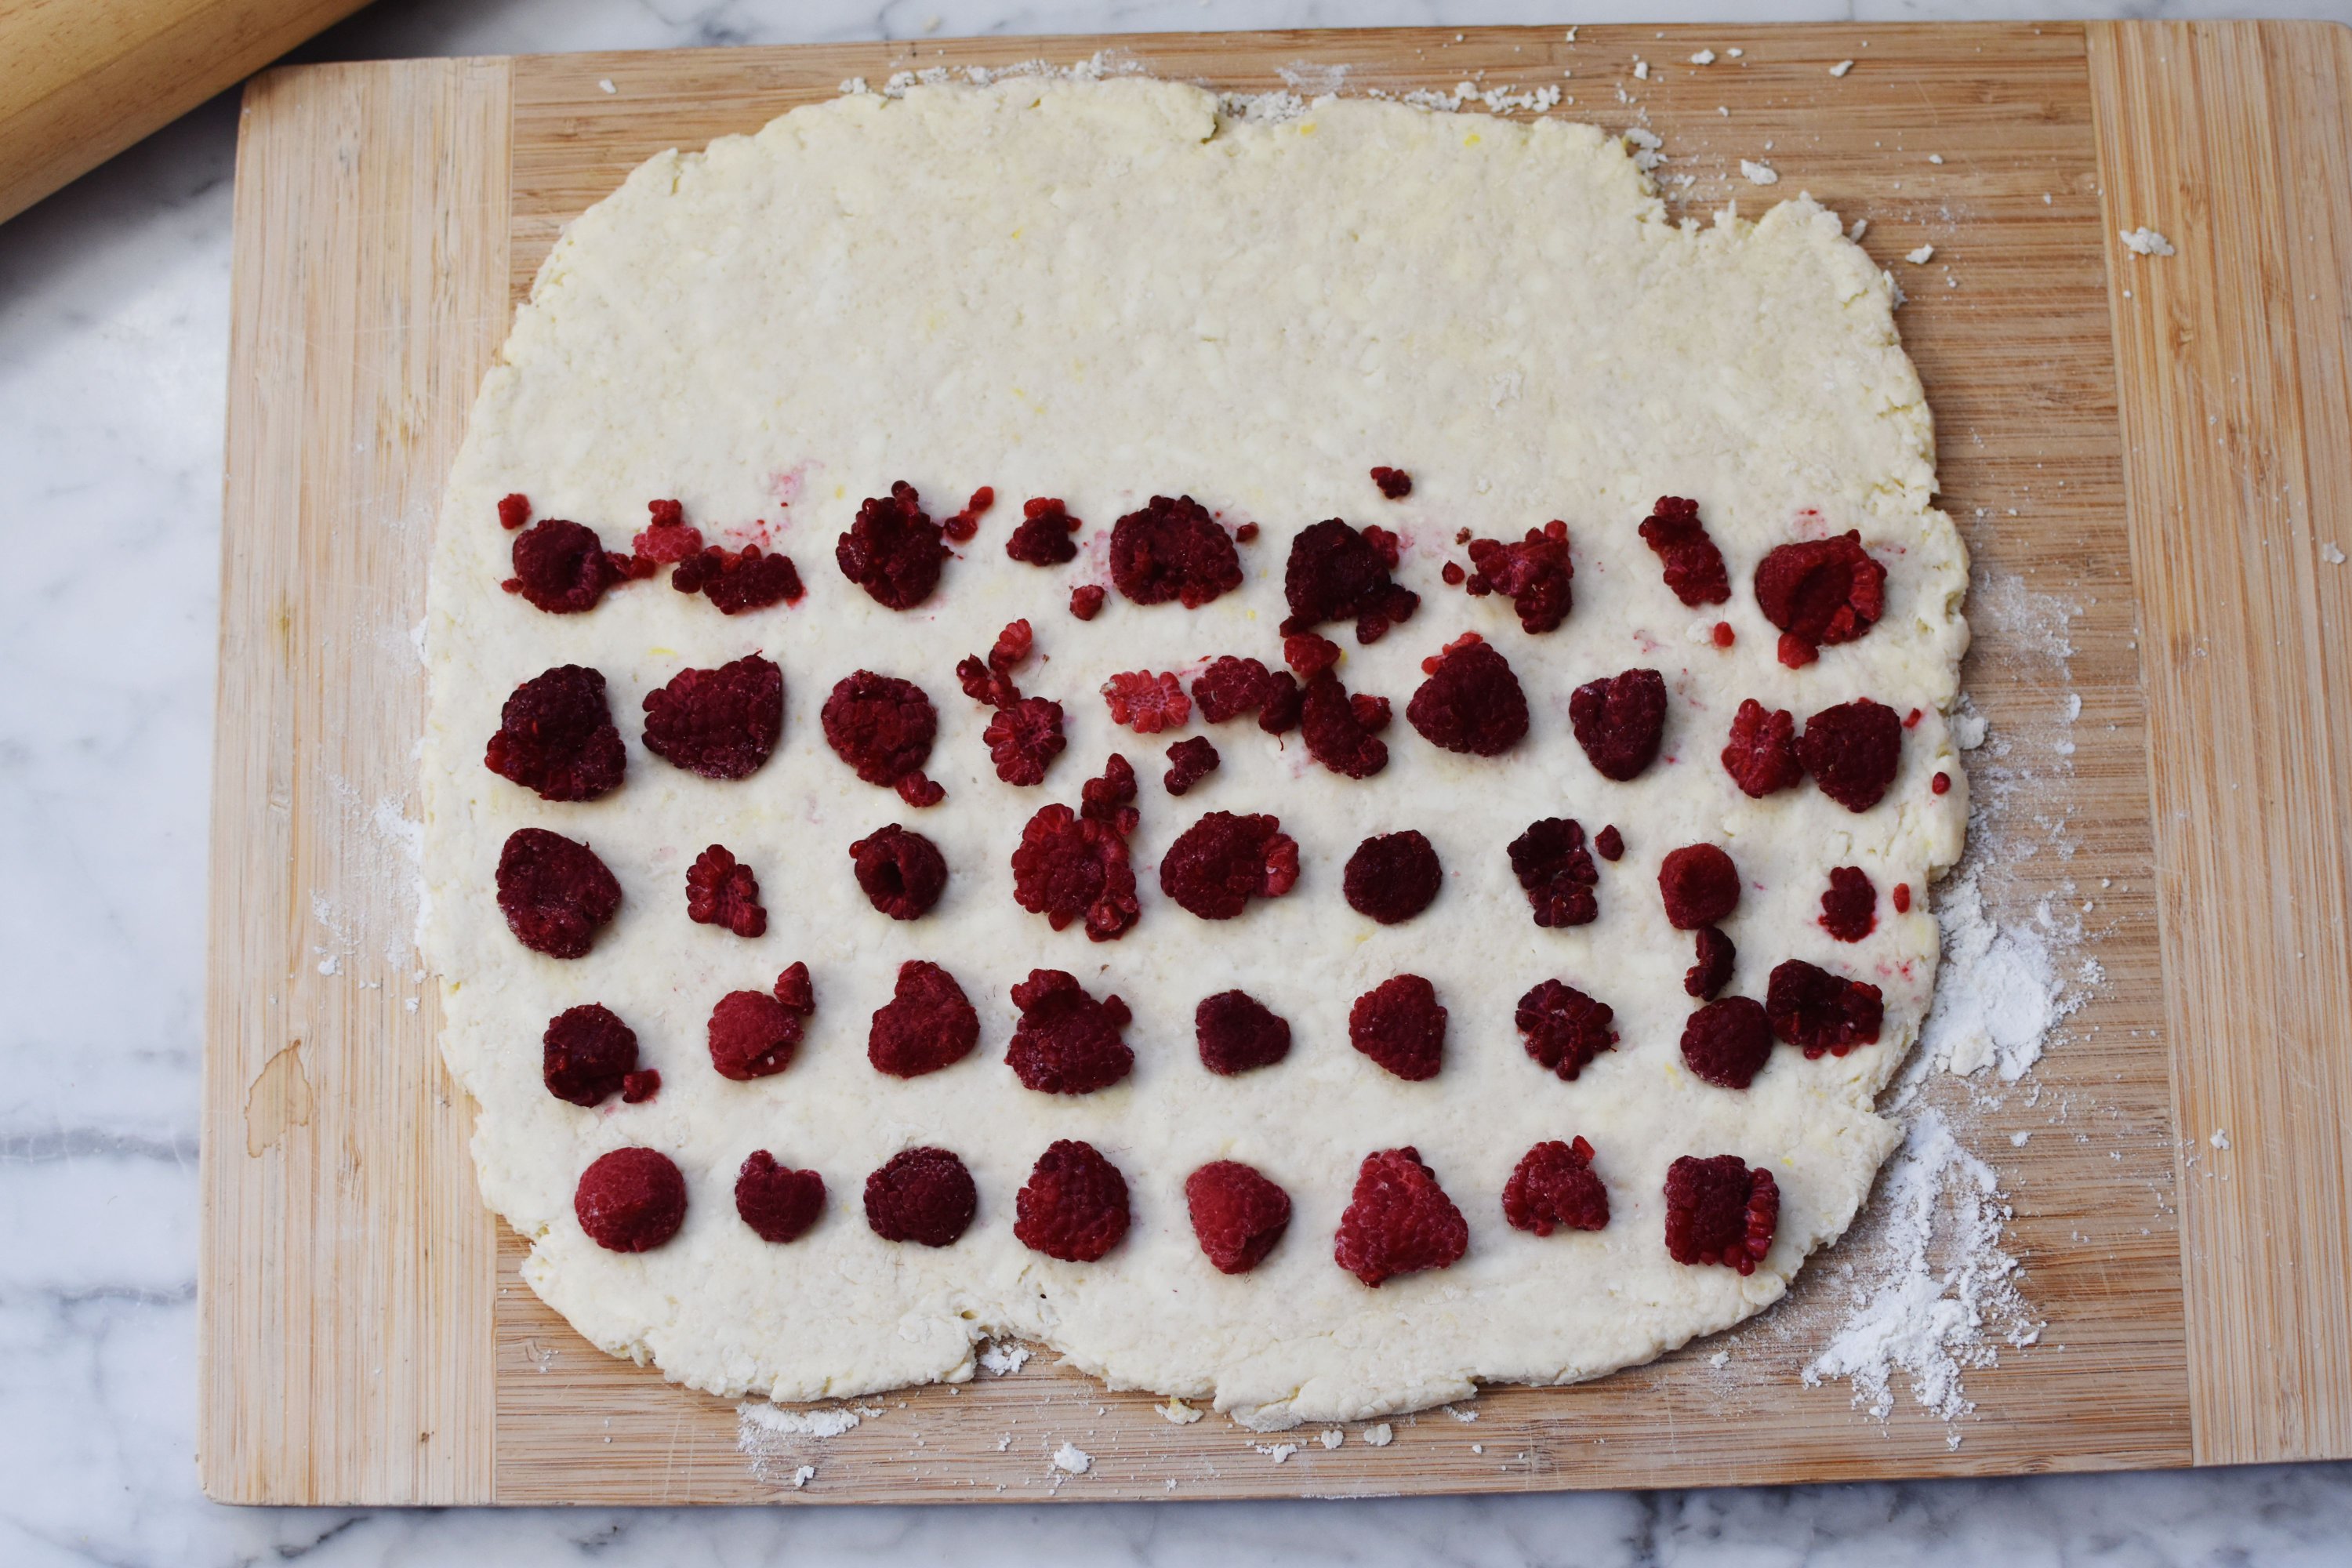
Use a rolling pin to shape your dough into about a 8X10 inch rectangle. It should be approximately 1/2 inch thick.
Now comes the fun part. Take your frozen berries and push them into the bottom 2/3 of the dough. If they break, don’t worry. I like to push mine in gently so they won’t move when I fold the dough.
Now, starting from the top berry-less third of the dough, start folding the dough into thirds.
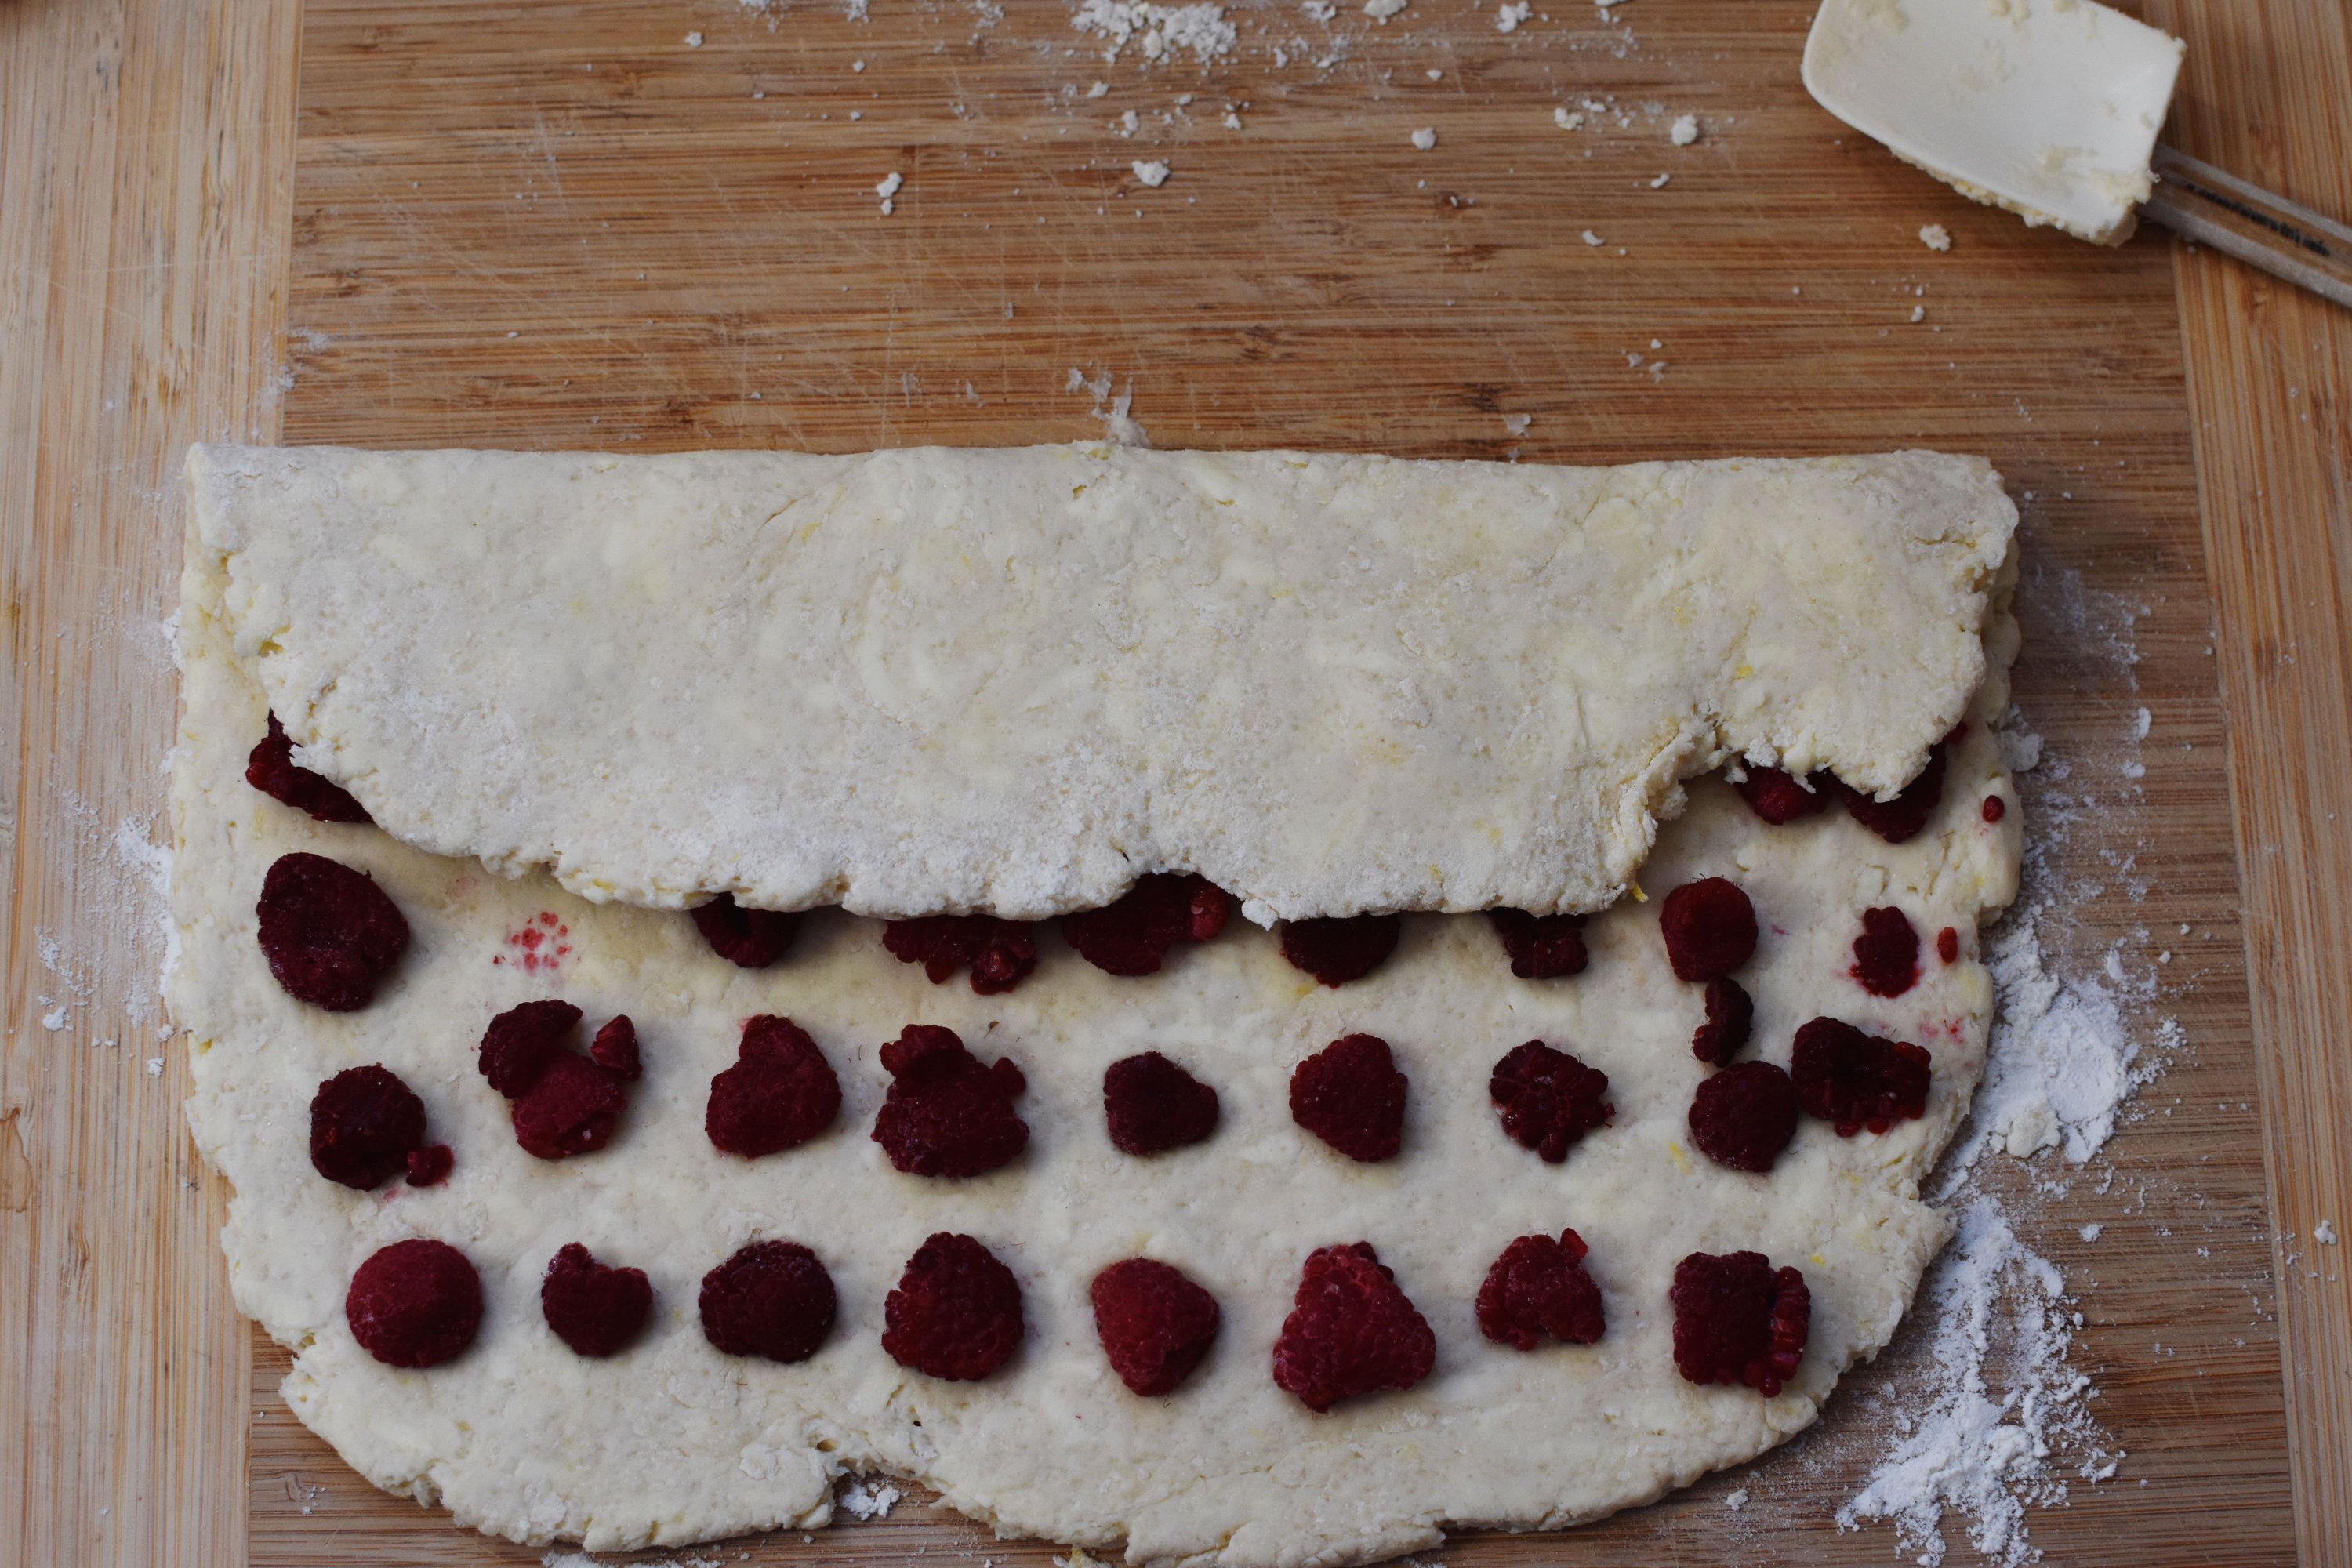
Then fold it again, until it looks like the photo below. If it sticks, use a spatula or dough scraper to release from the surface below.

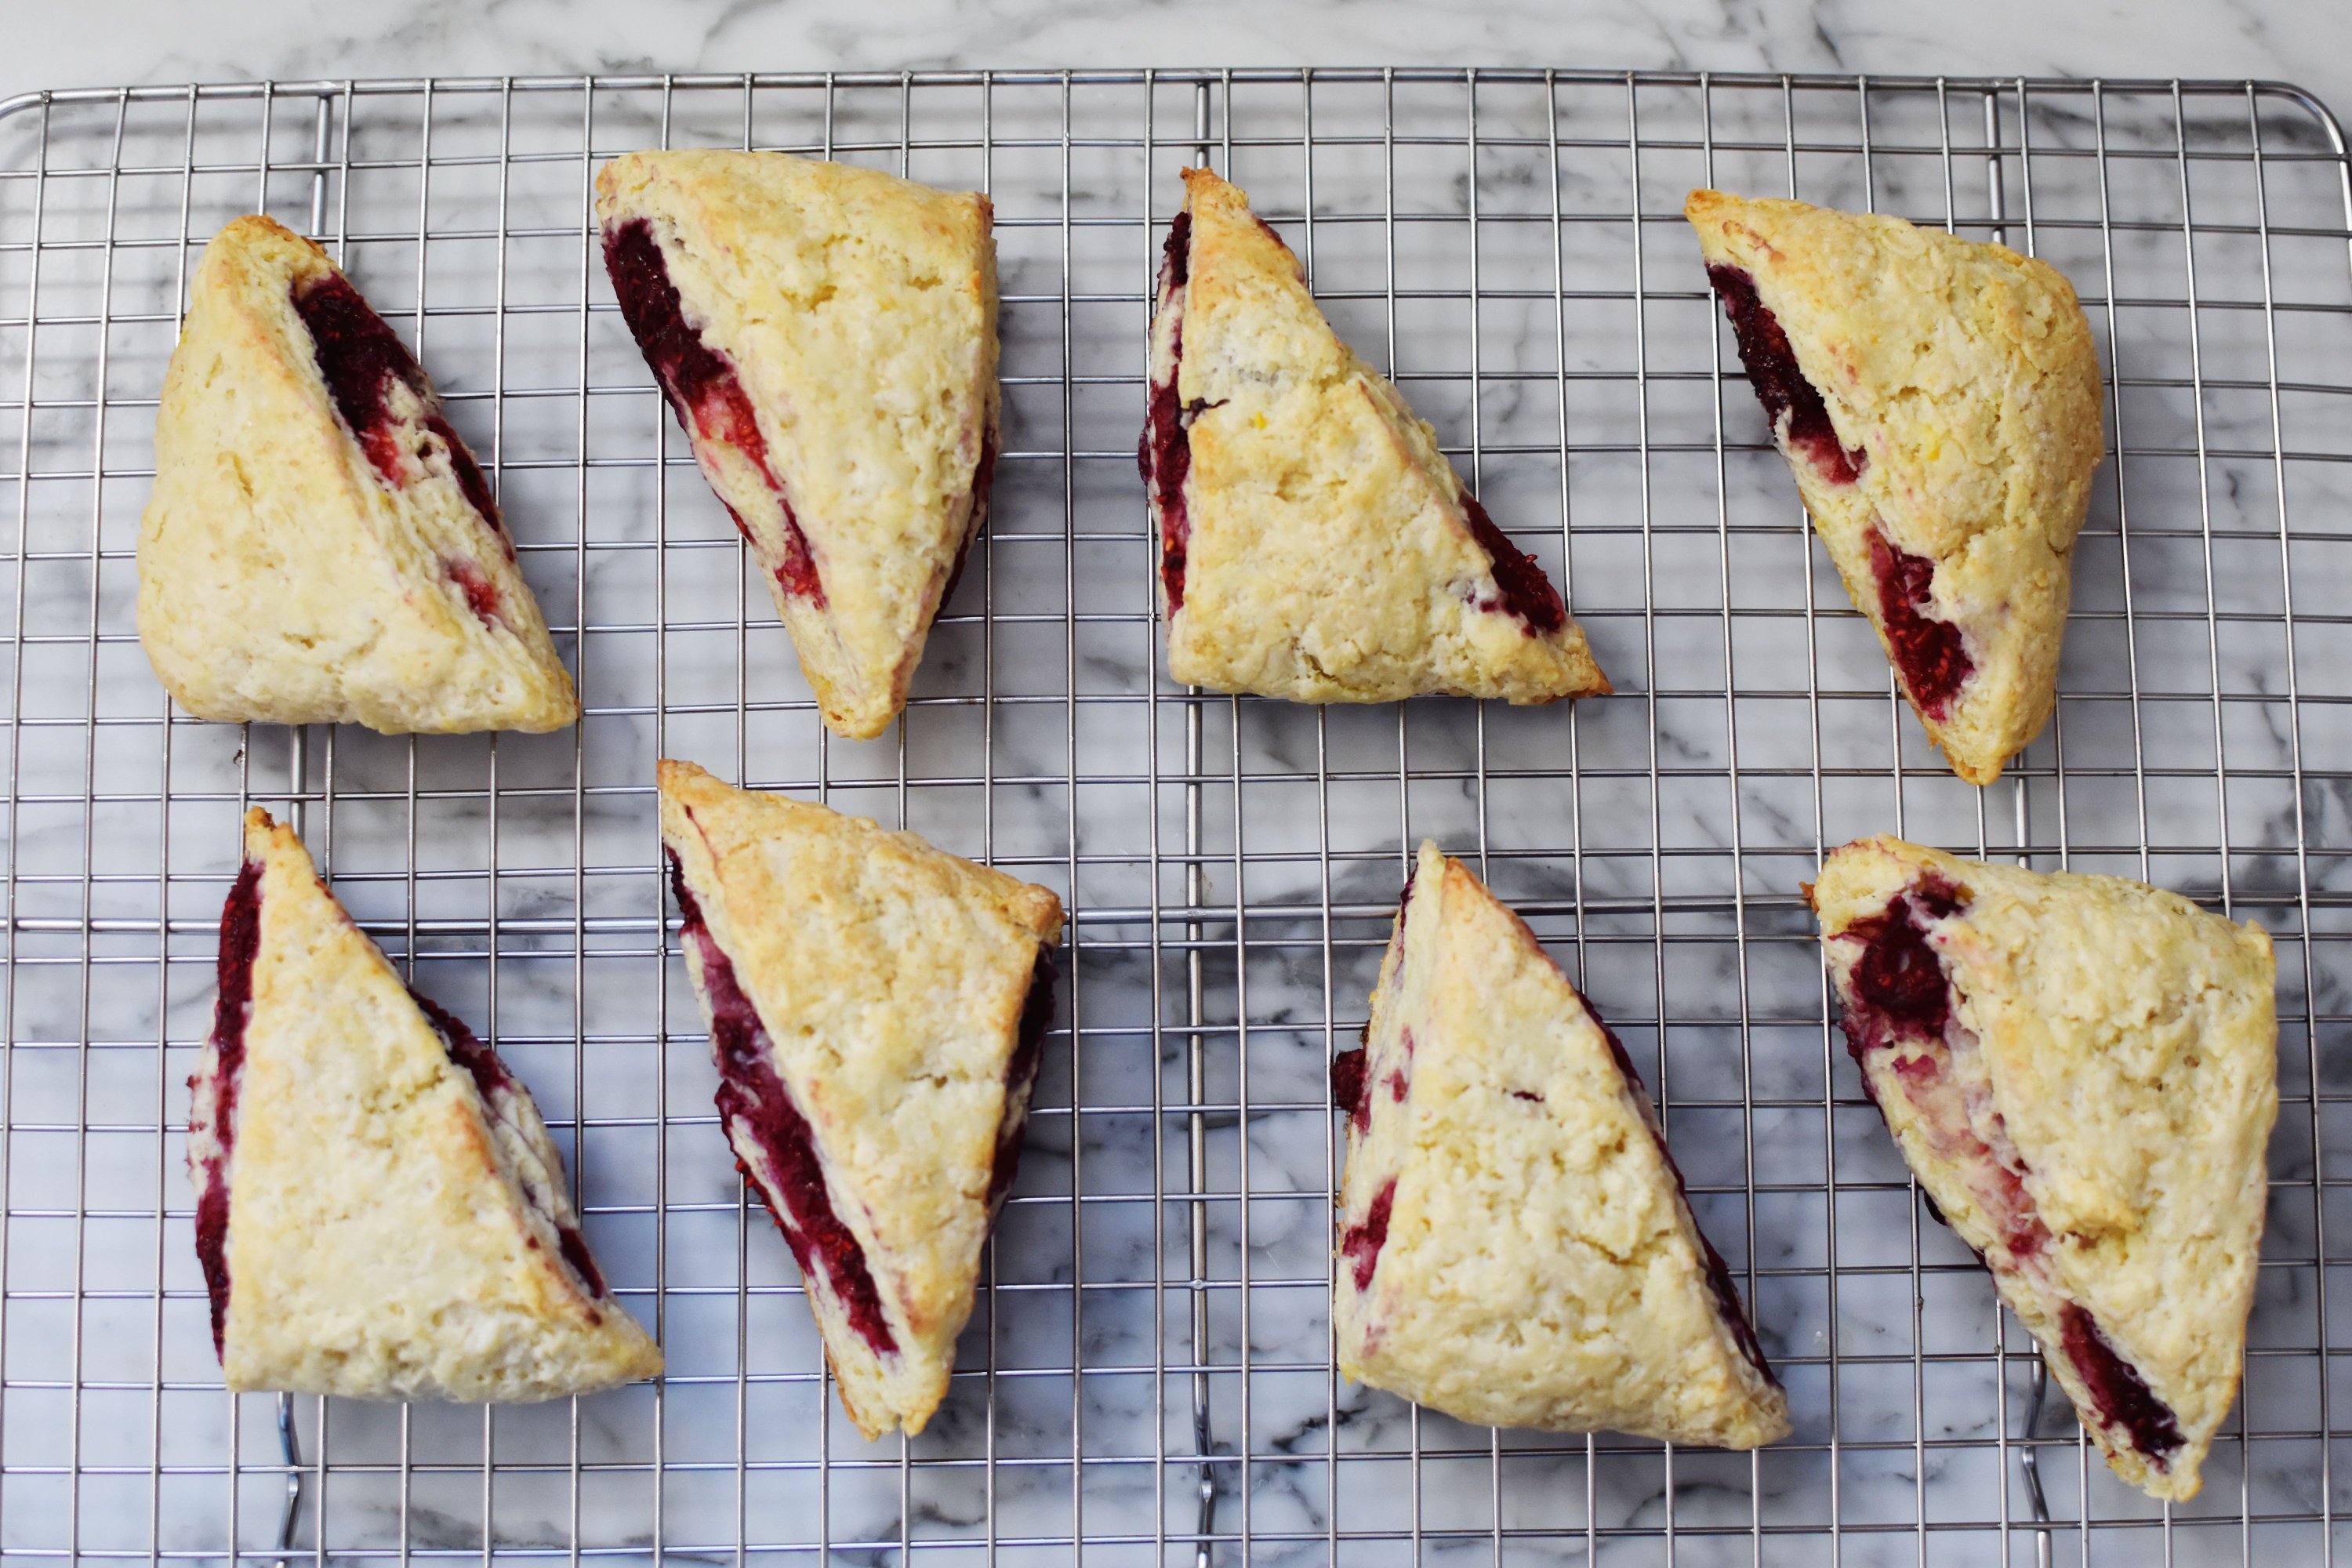
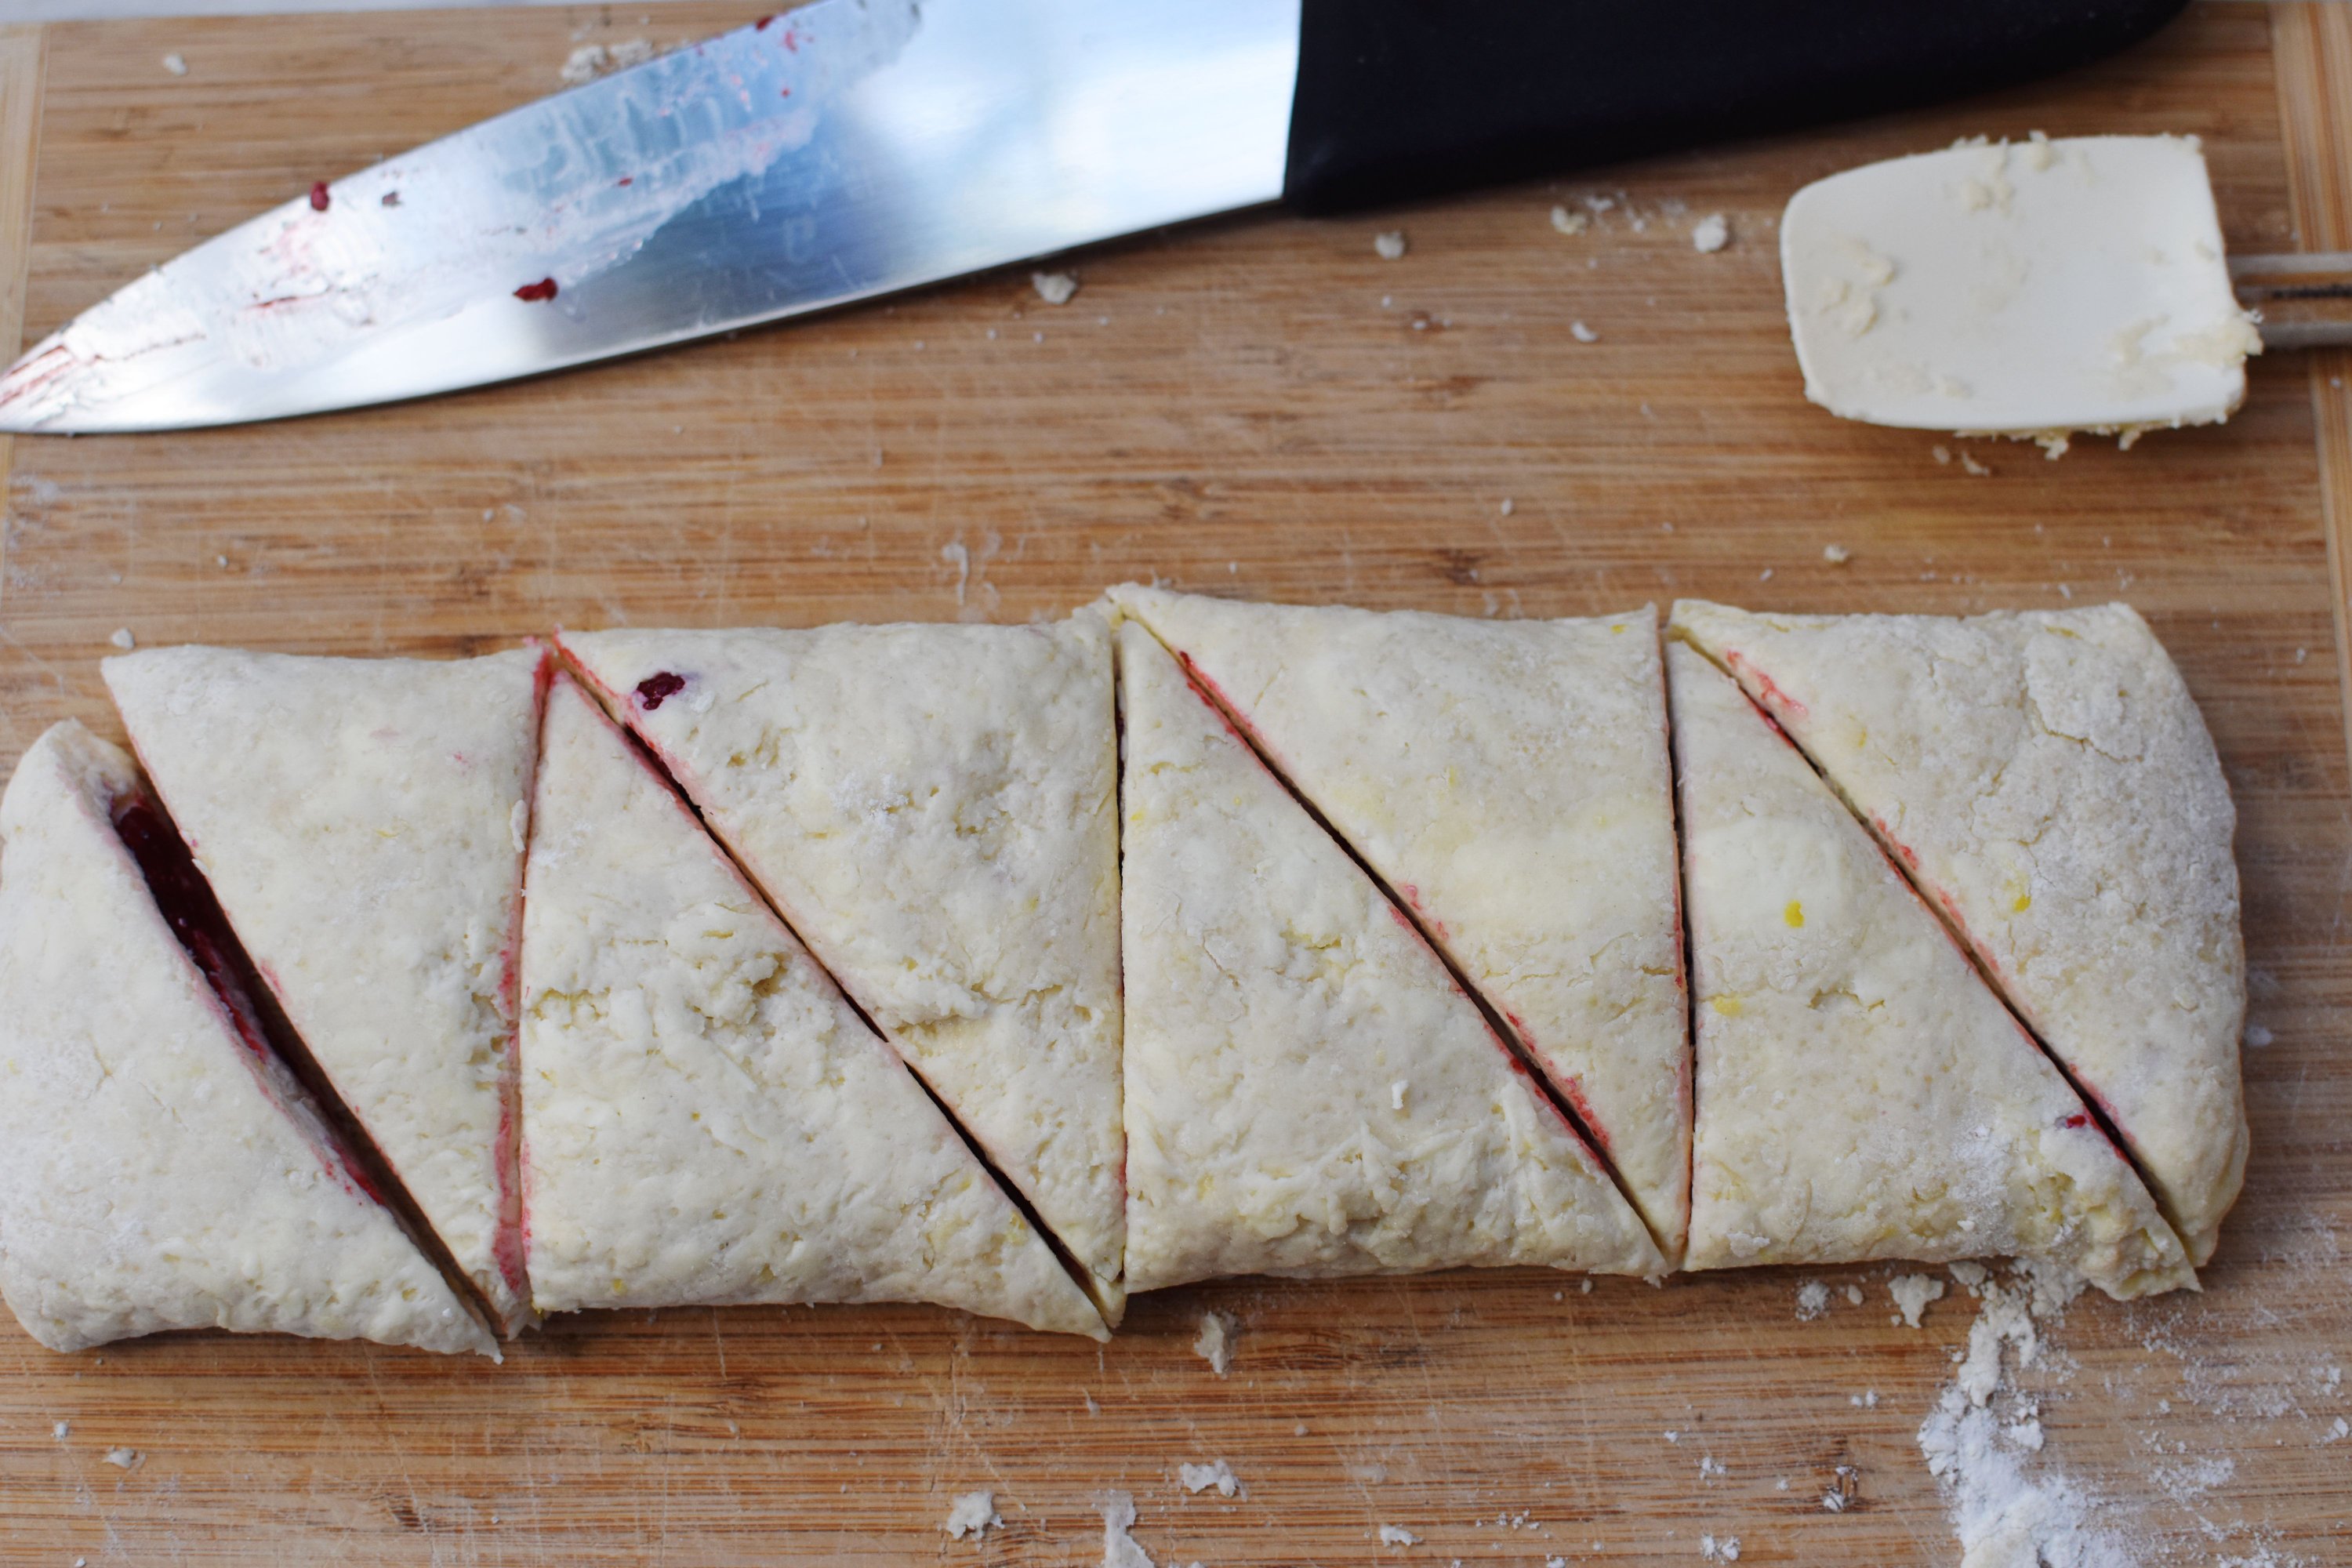
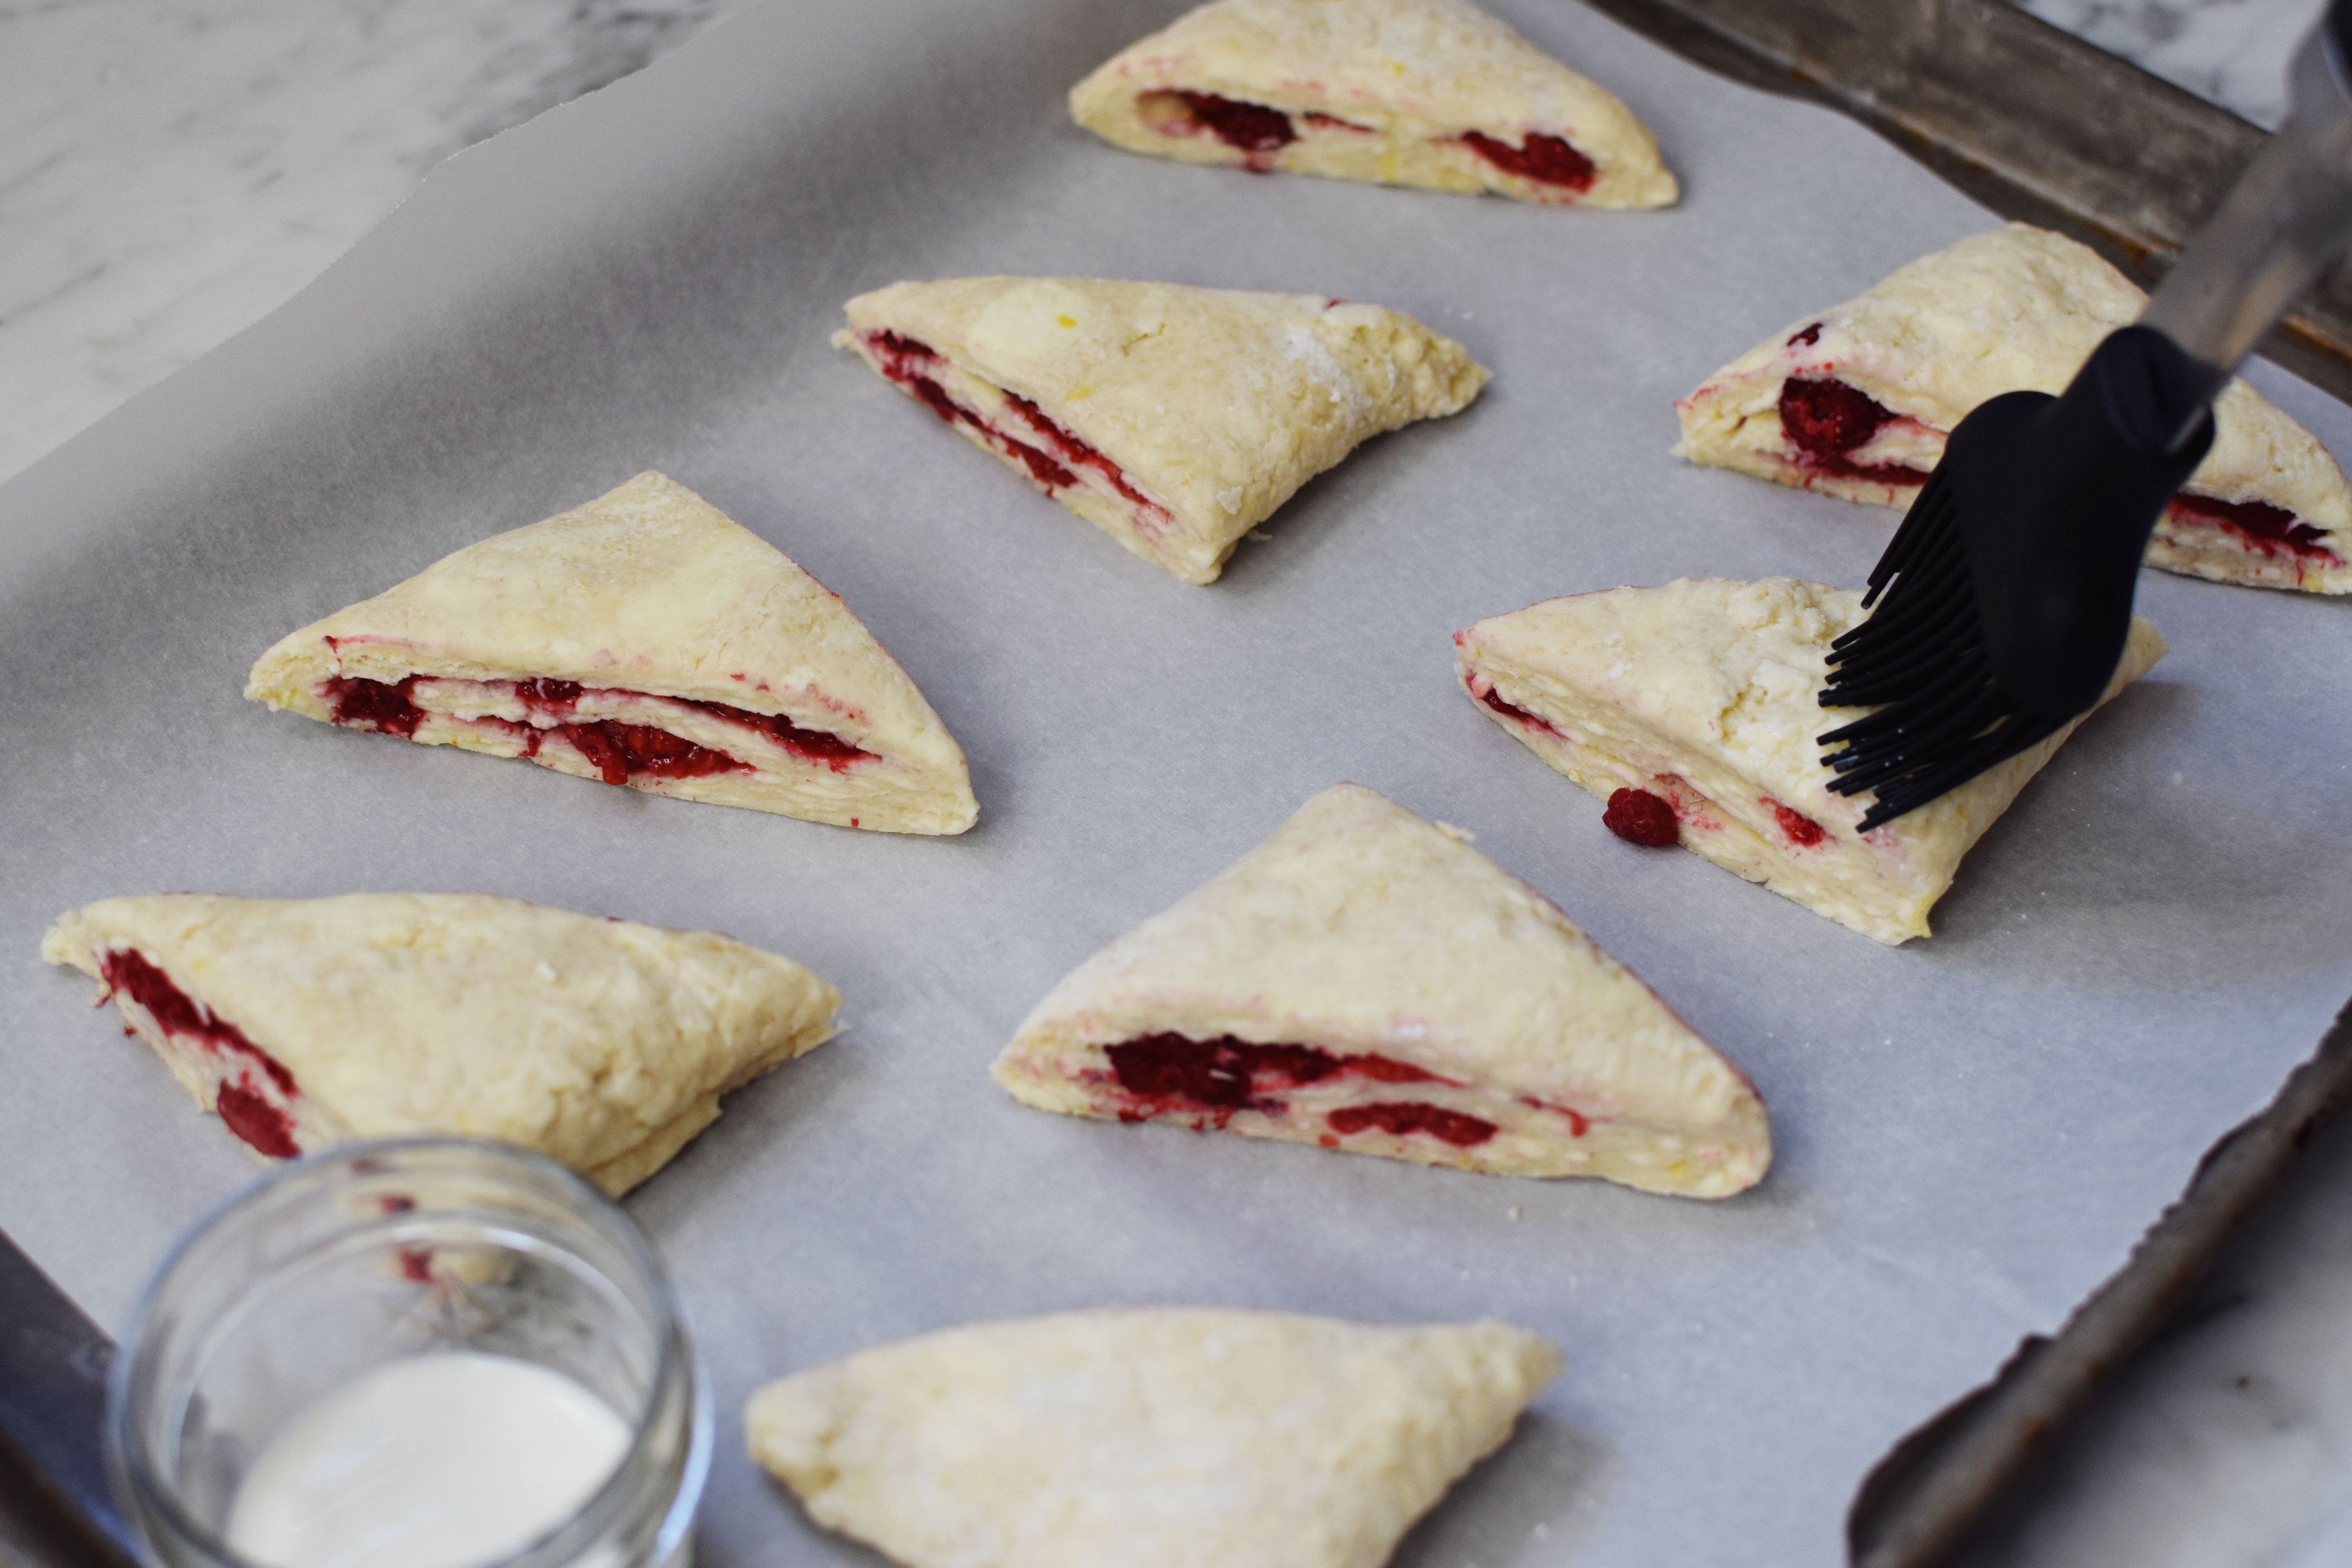
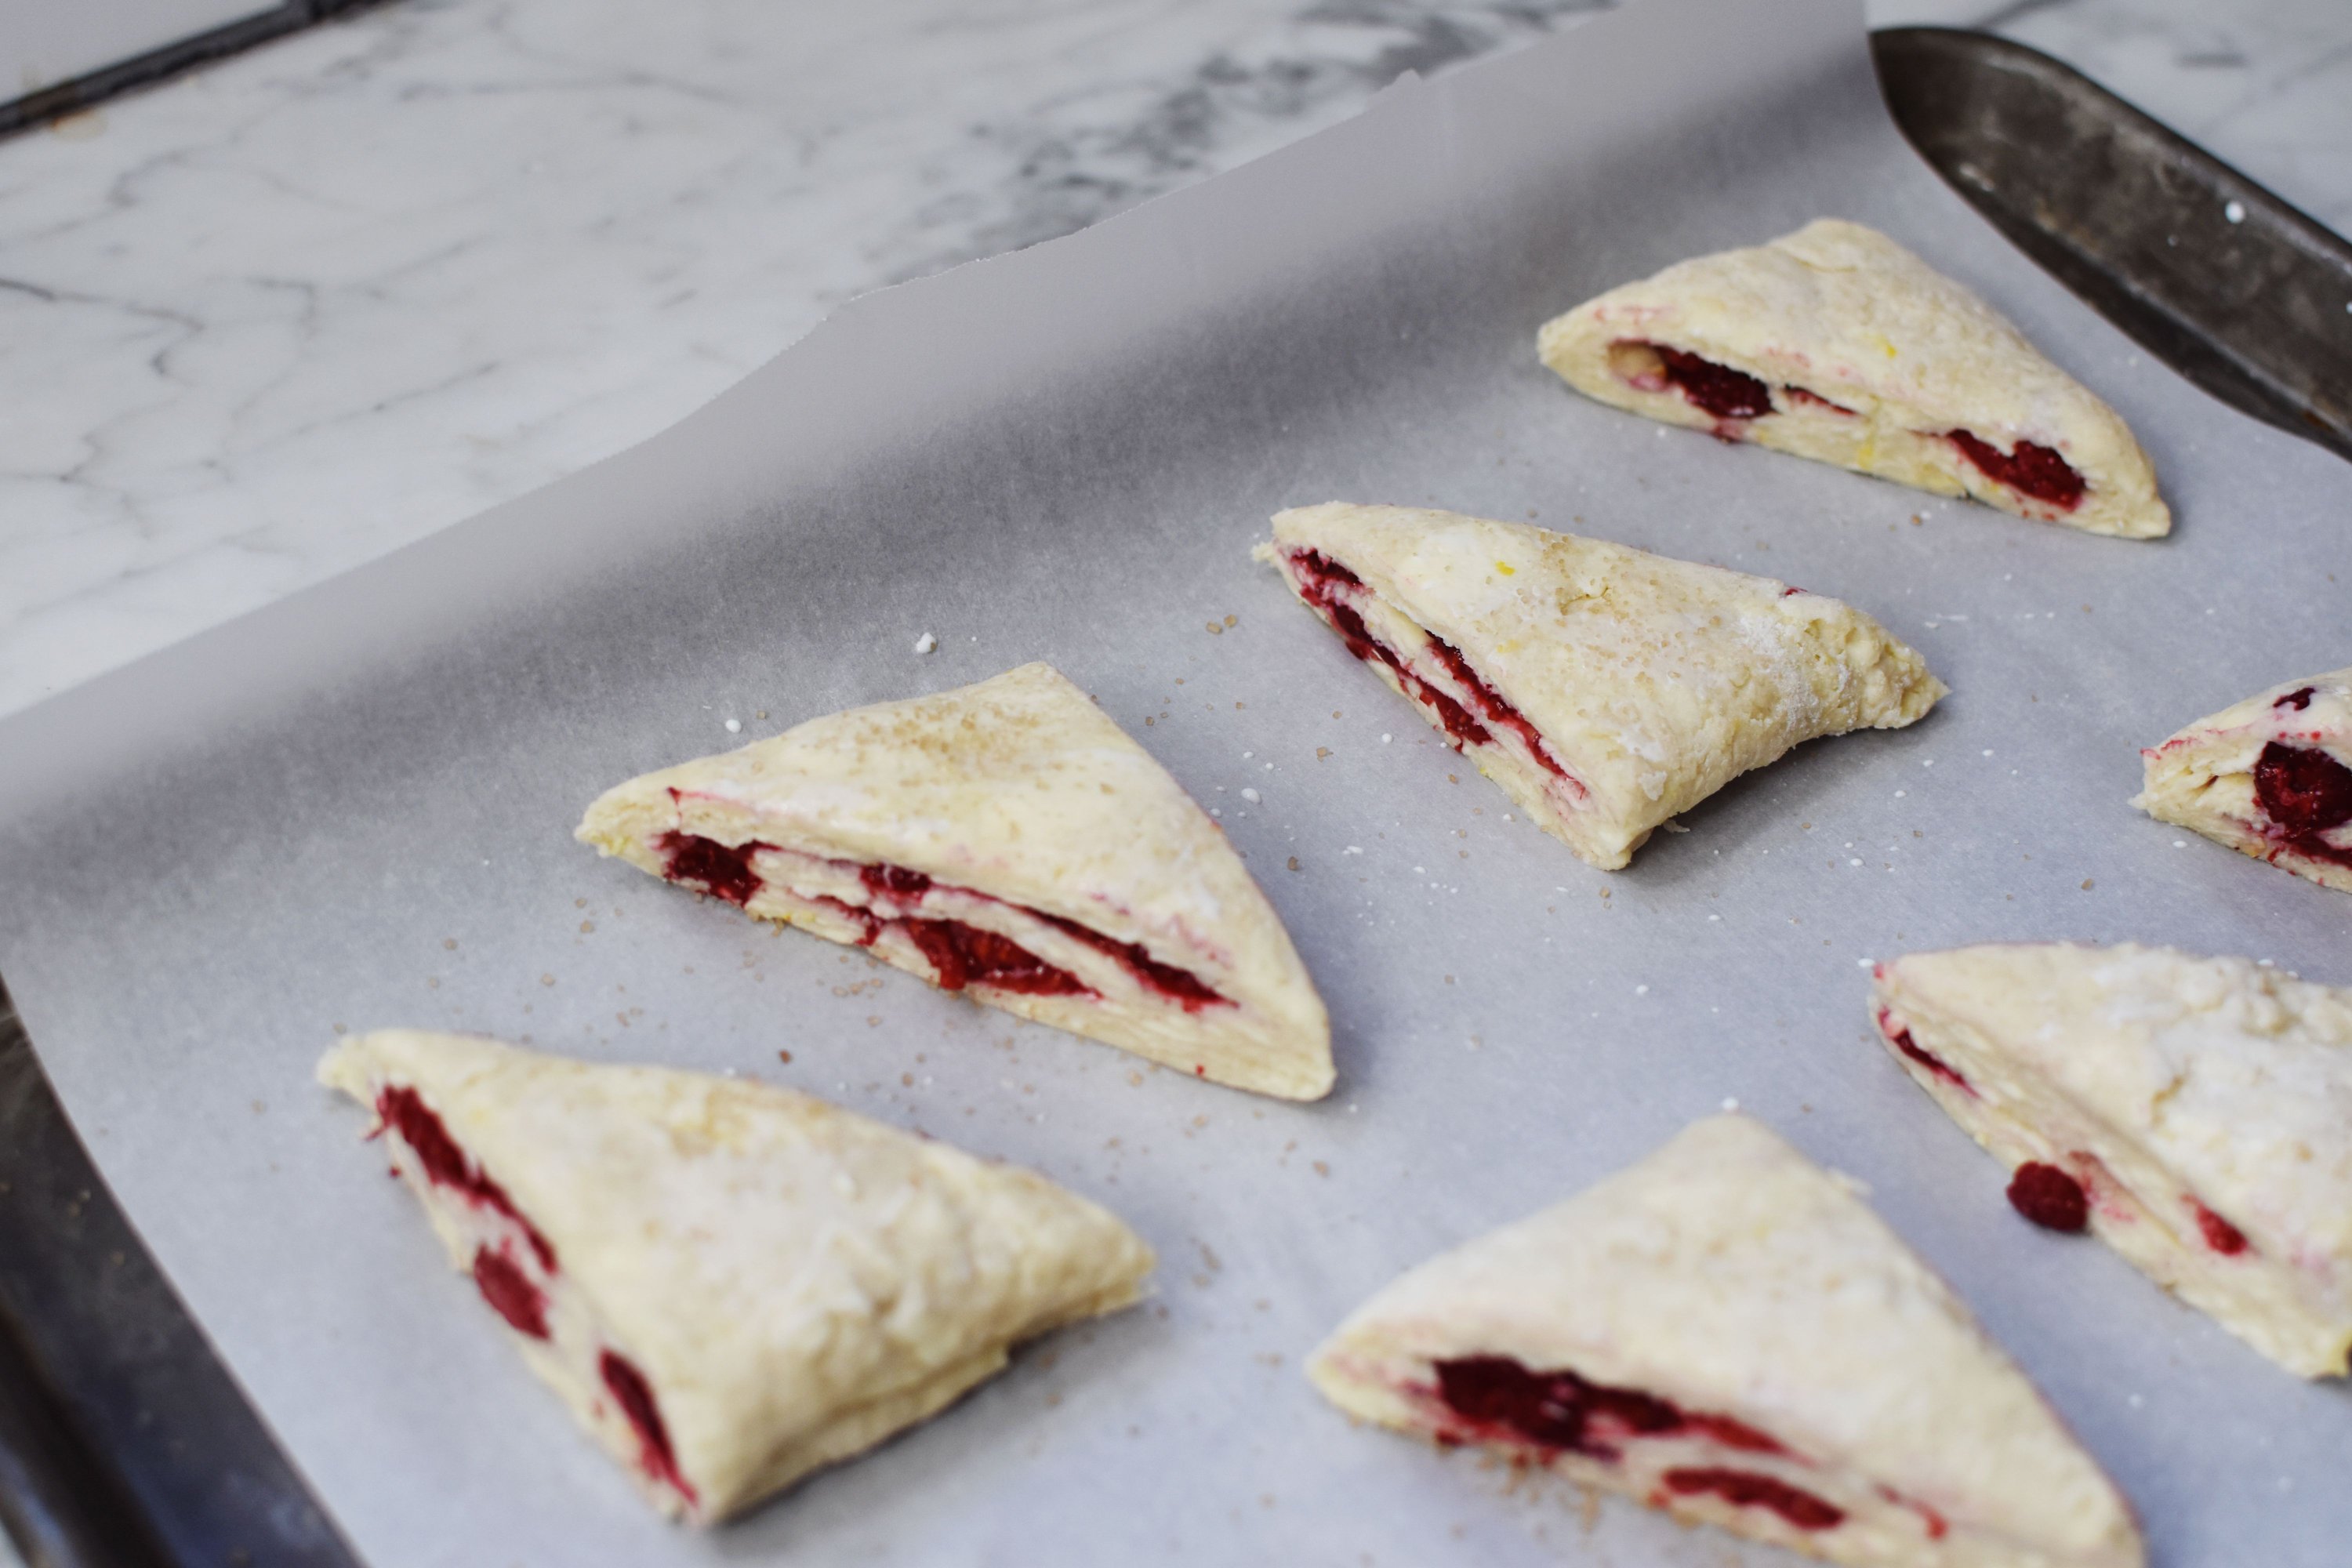
Cut as I did into quarters, then cut each square in half on a diagonal. Then transfer these cute little triangles to your prepared pan. Put them in a freezer for a few minutes while you clean up the mess you made.
After about five minutes or so (or longer! You can freeze them overnight and bake them in the morning, then bring them to work- remember, that is how to get people to like you), take them out and brush them with a little cream.
Then sprinkle with a little bit of sugar. I used demerera sugar because I like the chunky crystals, but you can use any kind you want.
Now put them in your pre-heated oven and let bake for 20-30 minutes. The original recipe says about 20 minutes, but I find in my oven they need at least 26 to get to a nice golden brown on top. When they are done, transfer to a wire rack and let cool for at least 5 minutes.
In my opinion, these do not need any toppings or glaze. I think they are most delicious soon after baking, and they should all be eaten within a day, maybe two. I also do not like to cover mine for storage because I find it alters the crispy outside that I enjoy so much.
I enjoy this recipe because first of all, it’s delicious. Second, it is pretty easy. All in all it takes me about 20 minutes to prepare, and then time for cooking. Third, it doesn’t contain eggs, so you can nibble on the dough. Scones with eggs are another topic altogether.
What do you think? Will you make them? Have I converted you to a scone snob too?

I love scones too and it is easy to make:) this scones of yours looks devil. yumy…;)
LikeLike
Omg my mouth was watering while reading and viewing this recipe. The author explains the procedure with surgical precision while still conveying the texture and taste of the product. The scones look amazing!!!
LikeLike
You know I have to do this and he’s making me do the cinnamon buns too, but, no doubt, will eat my share. Especially because of the raspberries – my favorite.
LikeLike